
The Art Behind the Moments
More than a blog for my associate and second shooter team.
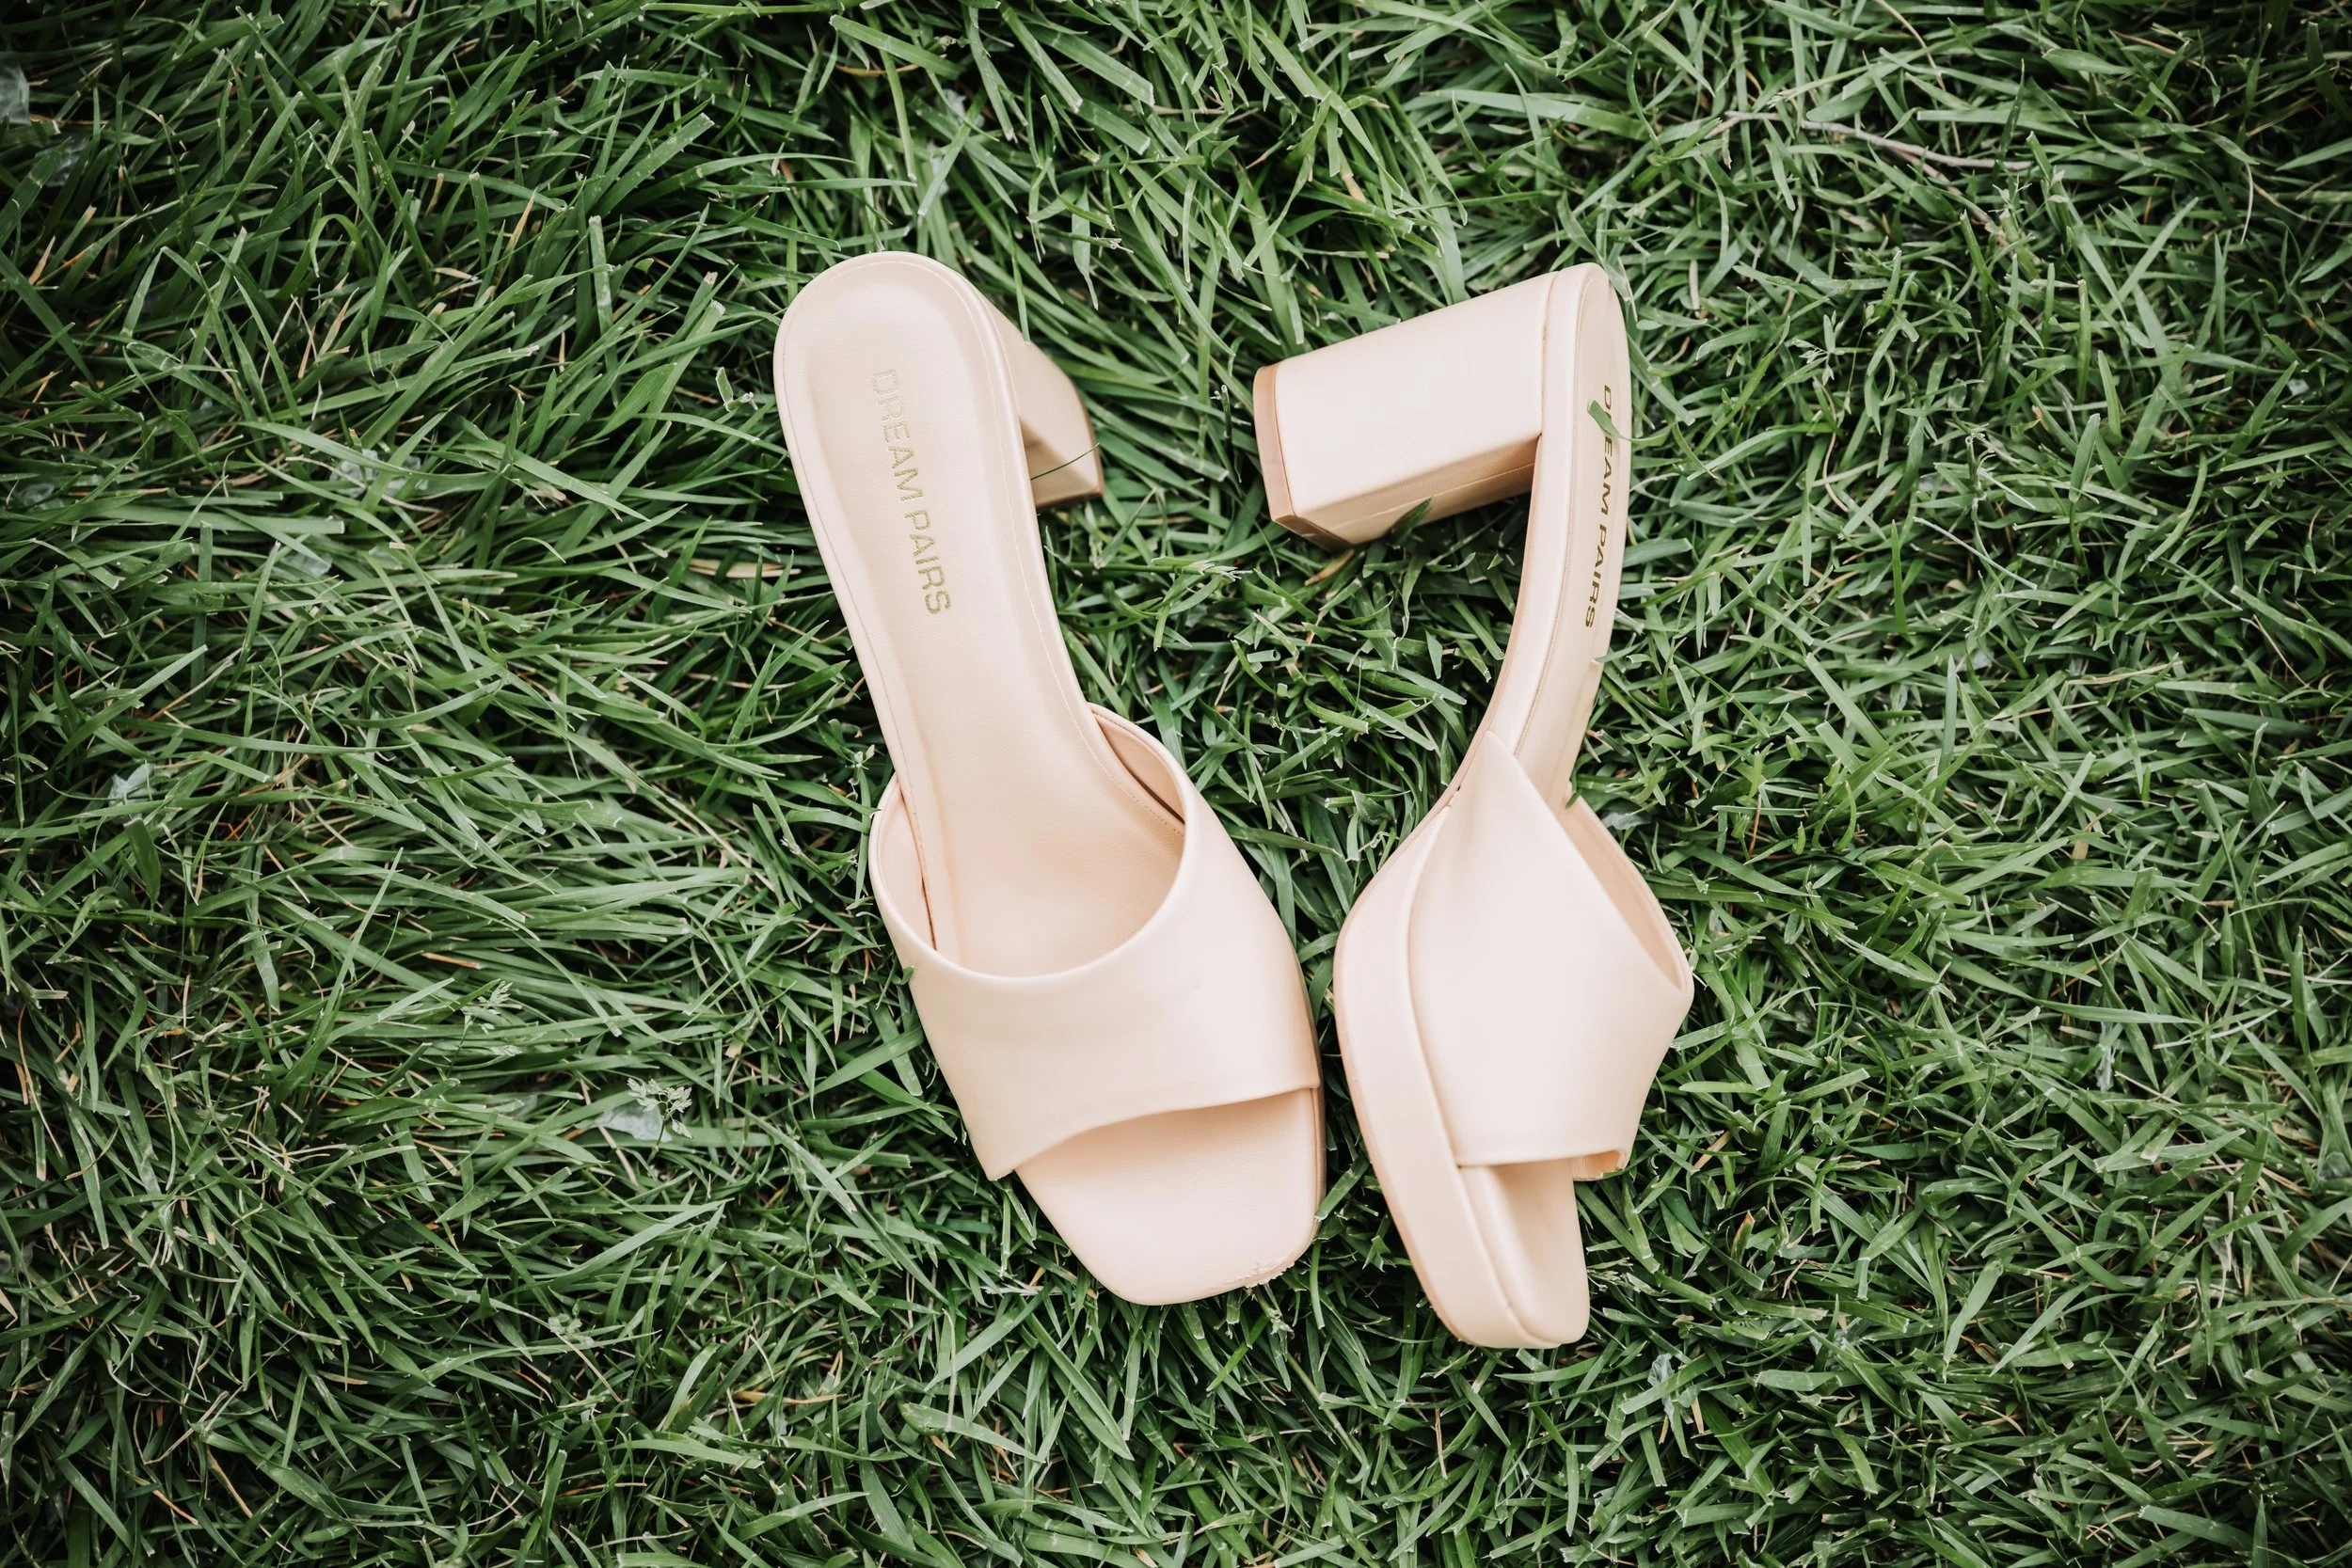
Before We Begin…
I know this will be a lot to read, I want to explain why I'm writing all of this down.
Photography is an art, and every photographer has their own style. This guide isn't here to take away your creativity or tell you there's only one right way to photograph a wedding. It's here to help you build a strong foundation while working for/with Eleshea (Fresh Feature) during a wedding or event.
Everything in this guide comes from years of photographing weddings, working alongside other photographers, learning from mentors, making my own mistakes, and seeing what consistently creates polished, professional images. These aren't random rules. They're lessons that have been learned through experience.
When you're photographing for Fresh Feature, I ask that you follow these guidelines so every client receives the consistent experience and quality they've come to expect from our brand. Outside of Fresh Feature, I encourage you to continue to experiment, try new techniques, and continue developing your own creative style. That's one of the best ways to grow as a photographer, and I never want you to lose what makes your work unique.
The little details matter. Most clients won't know why a picture looks polished, but they will know when it does. My hope is that this guide helps those details become second nature so you can spend less time thinking about the technical side of photography and more time creating meaningful images.
So, please take your time while reading through this. There is LOTS of important information here!

Formal Posing
This is a BIG ONE! Formal portraits are some of the most important pictures we take on a wedding day. These are the images that get framed, printed, and shared with family for years to come. Slow down, pay attention to the little things, and don't be afraid to make adjustments before clicking the shutter.
Clothing During Formals
At any point when you are taking formals… (Family, Wedding Party, Bride & Groom alone these rules apply)!
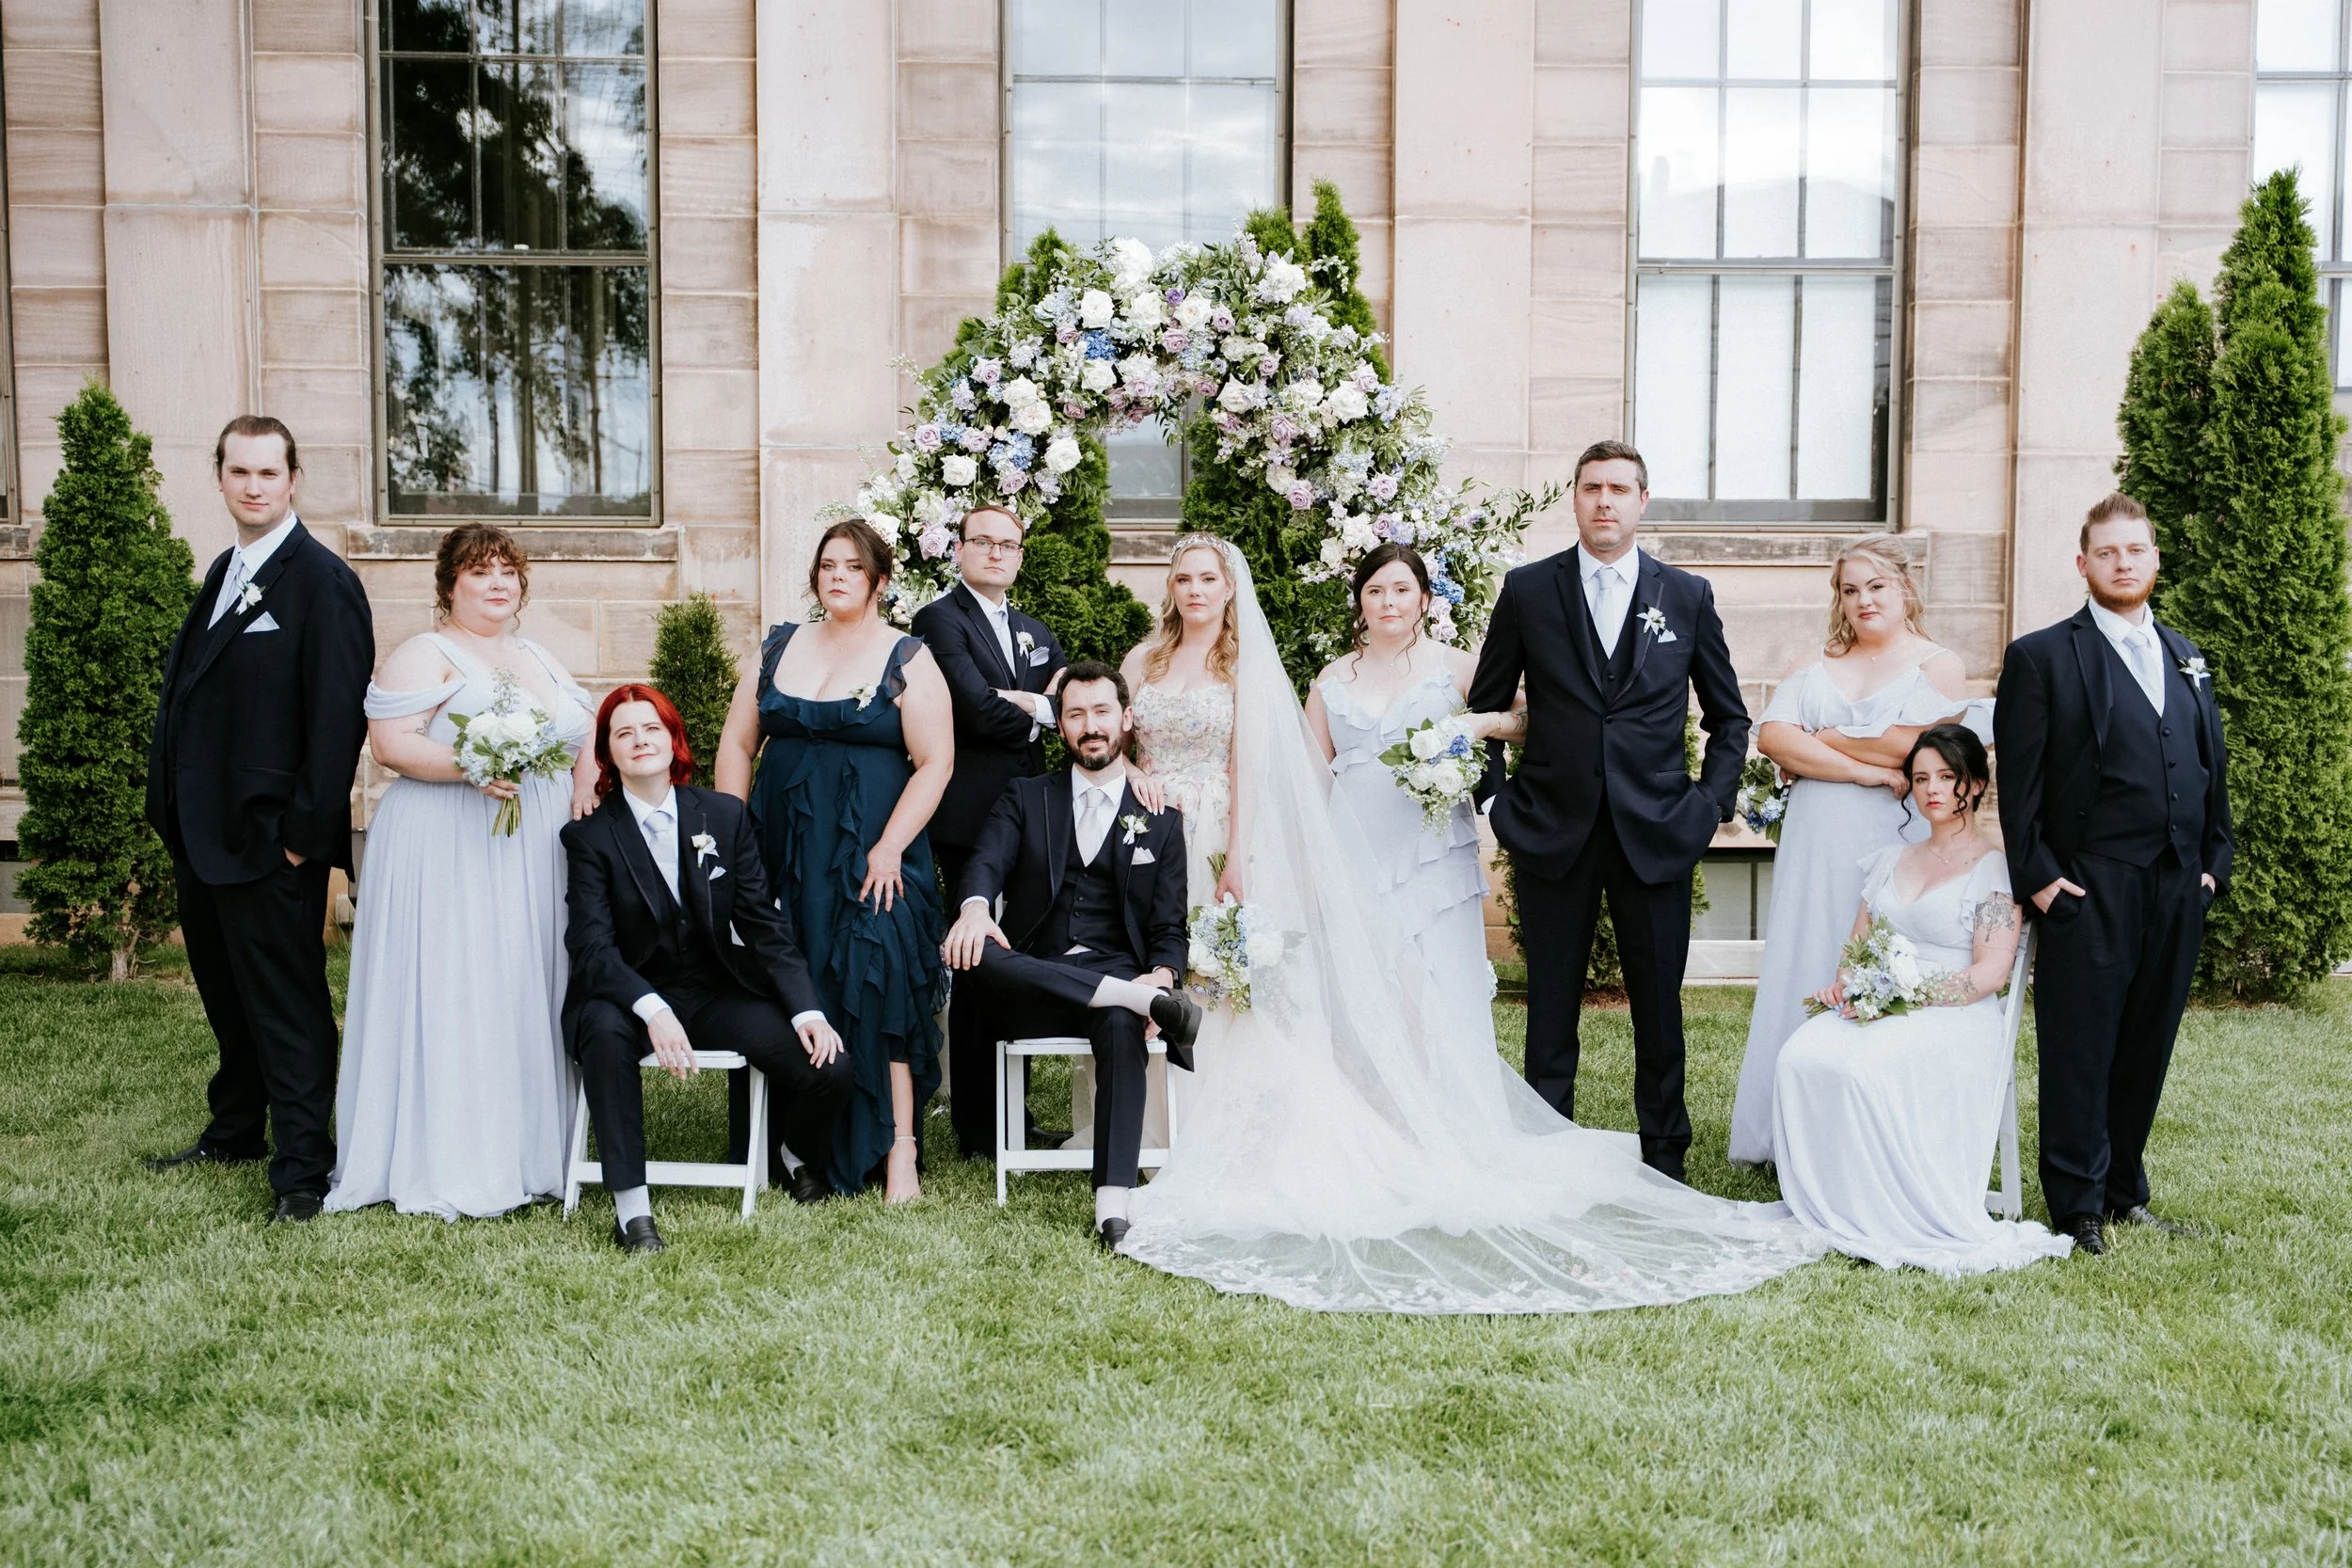
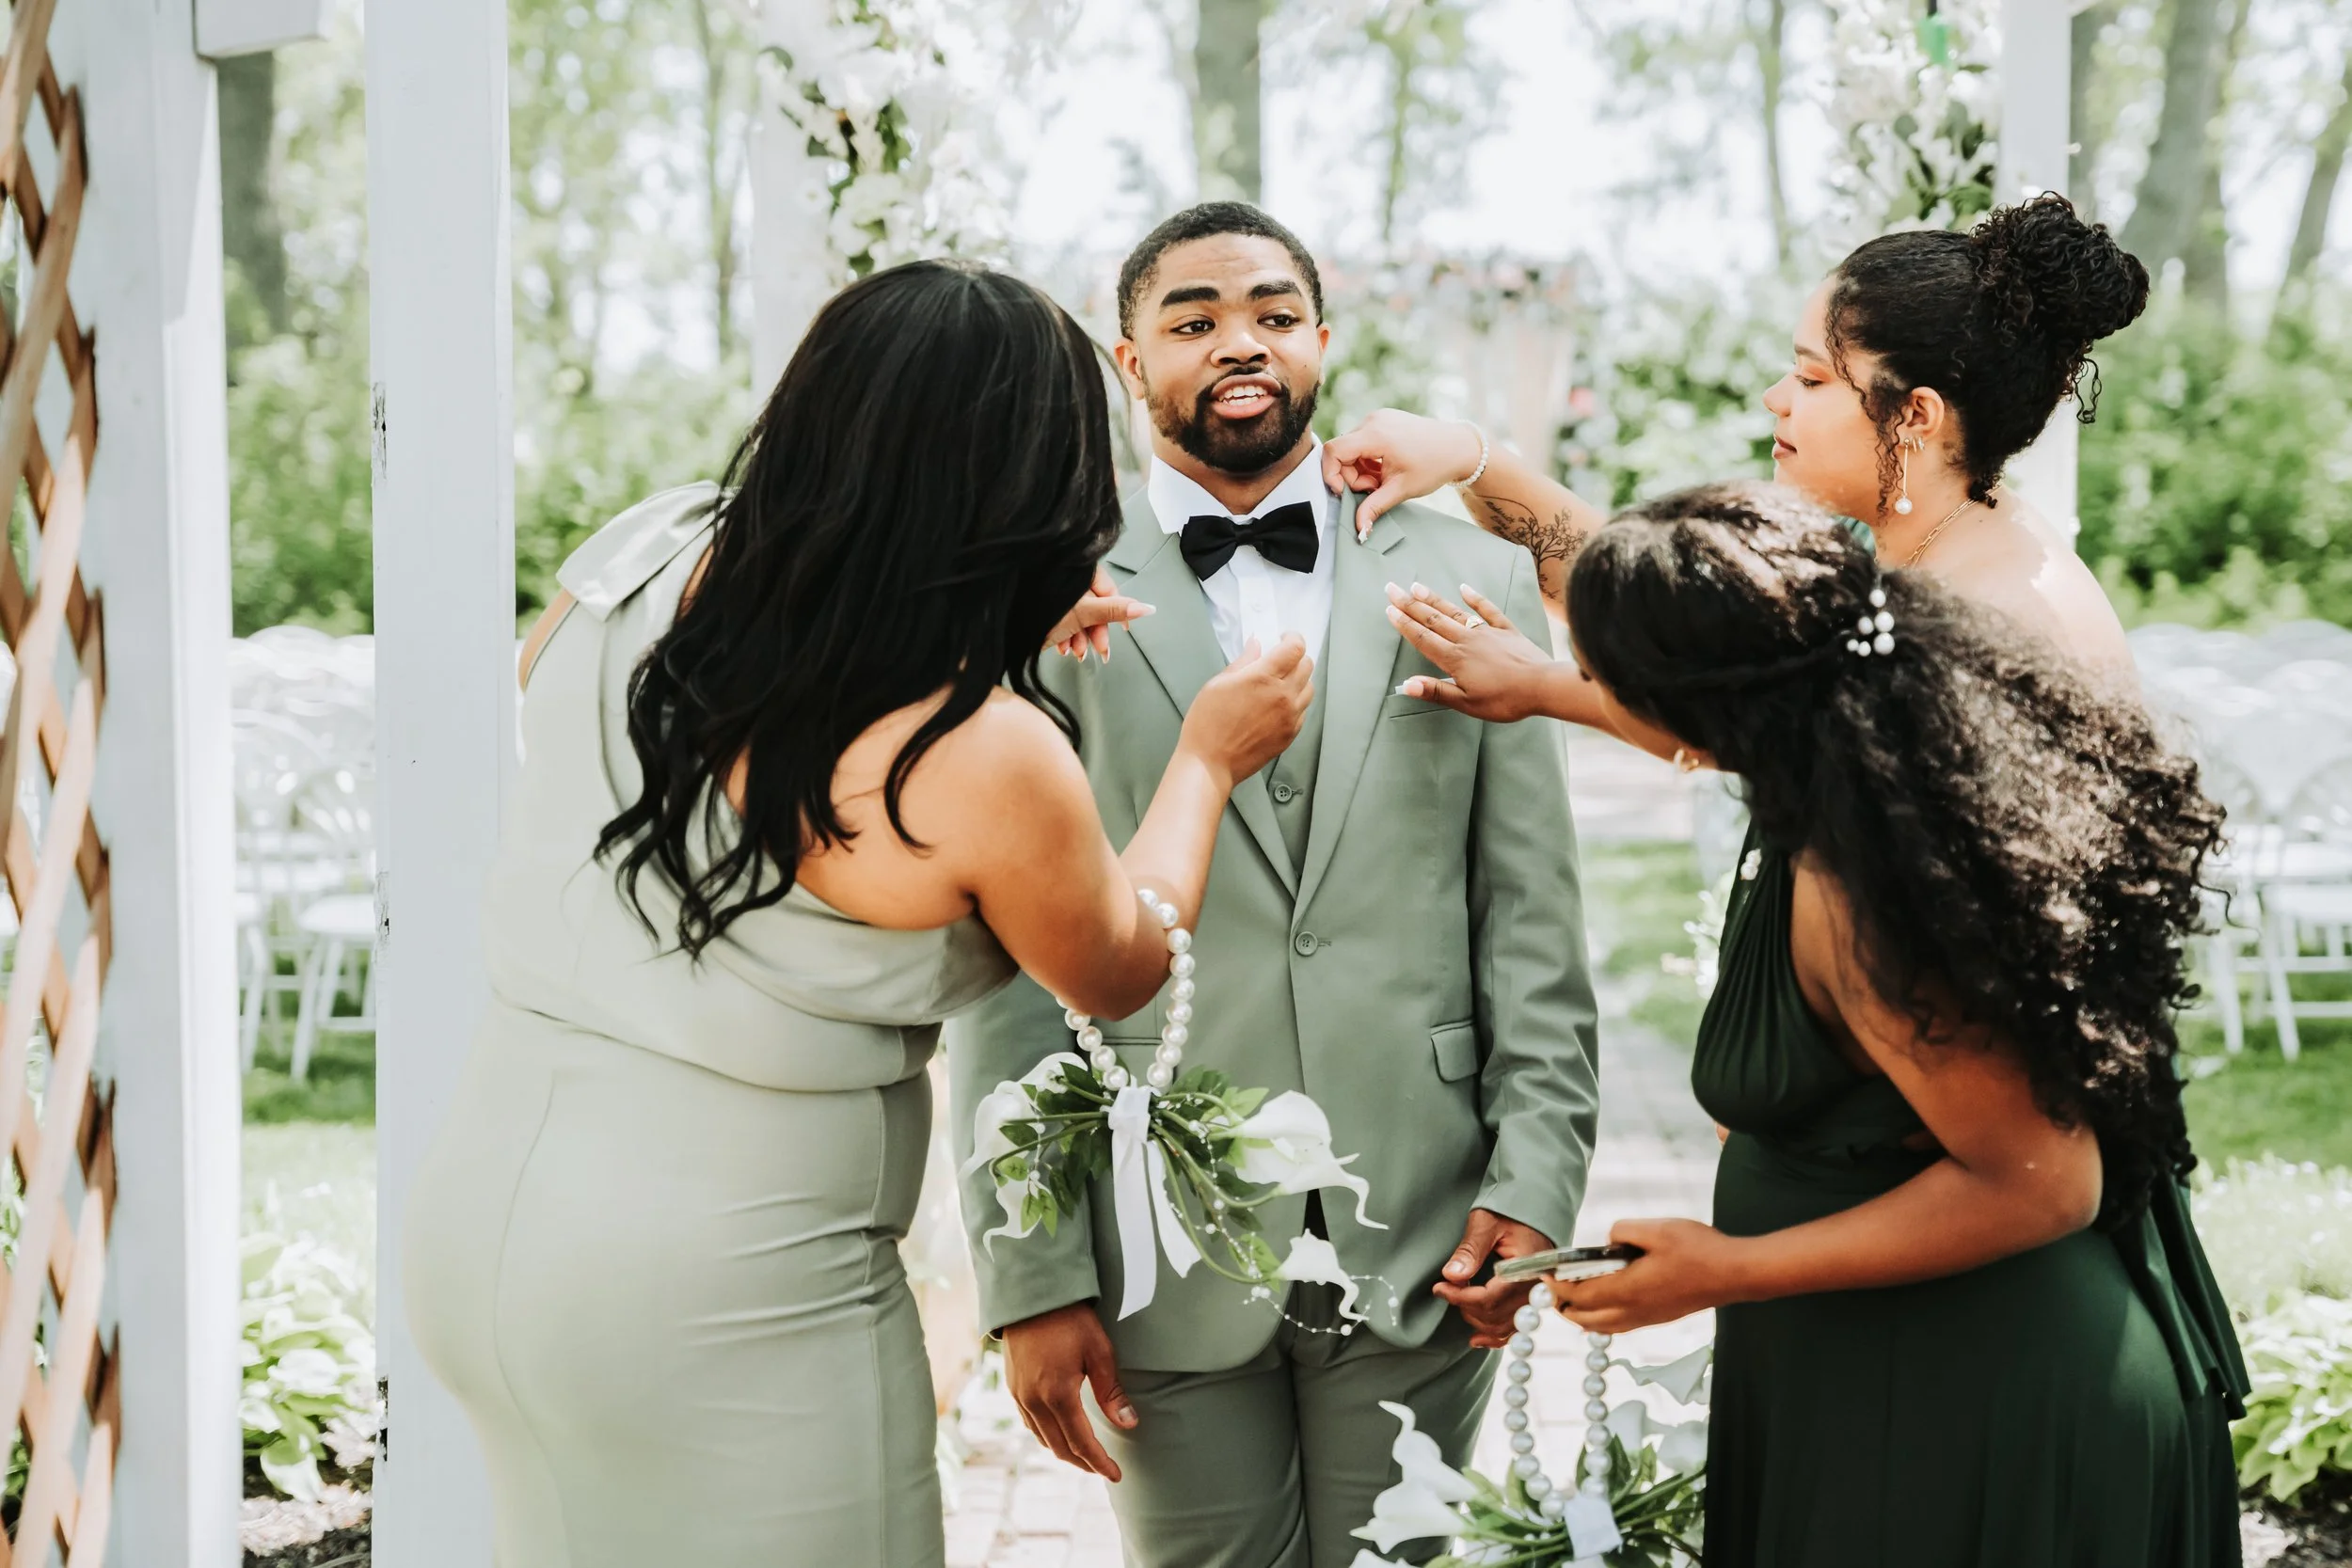
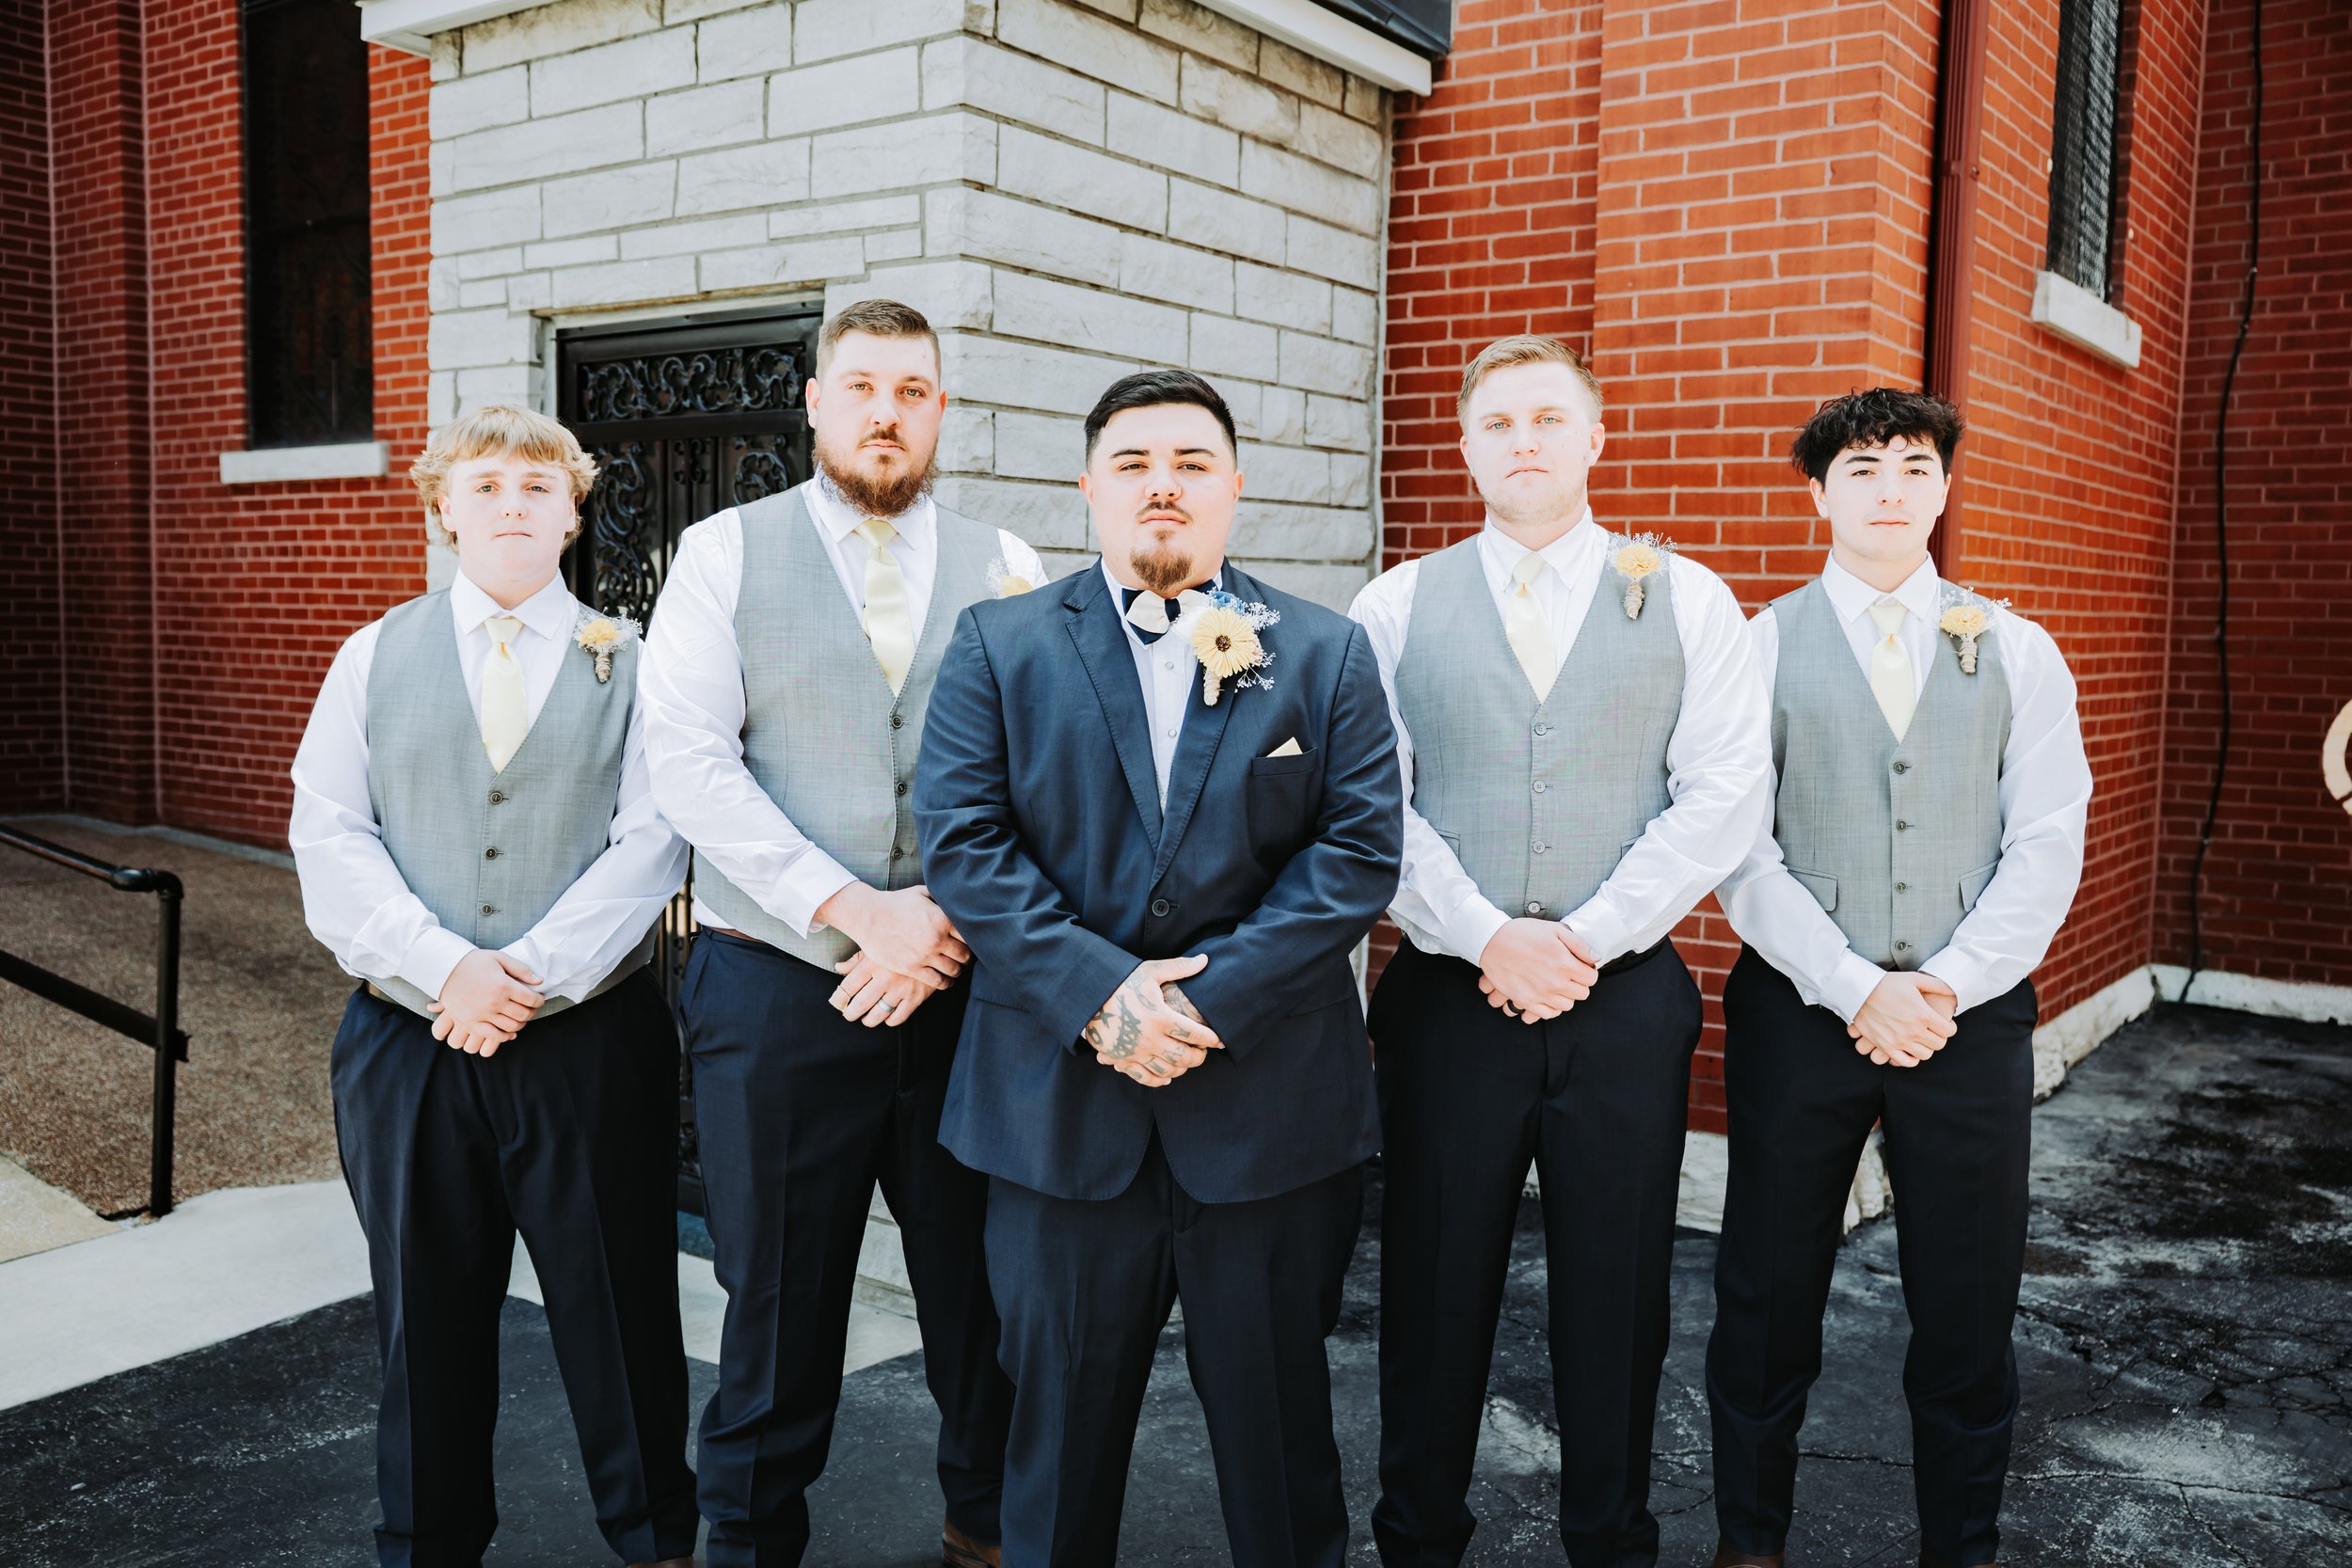
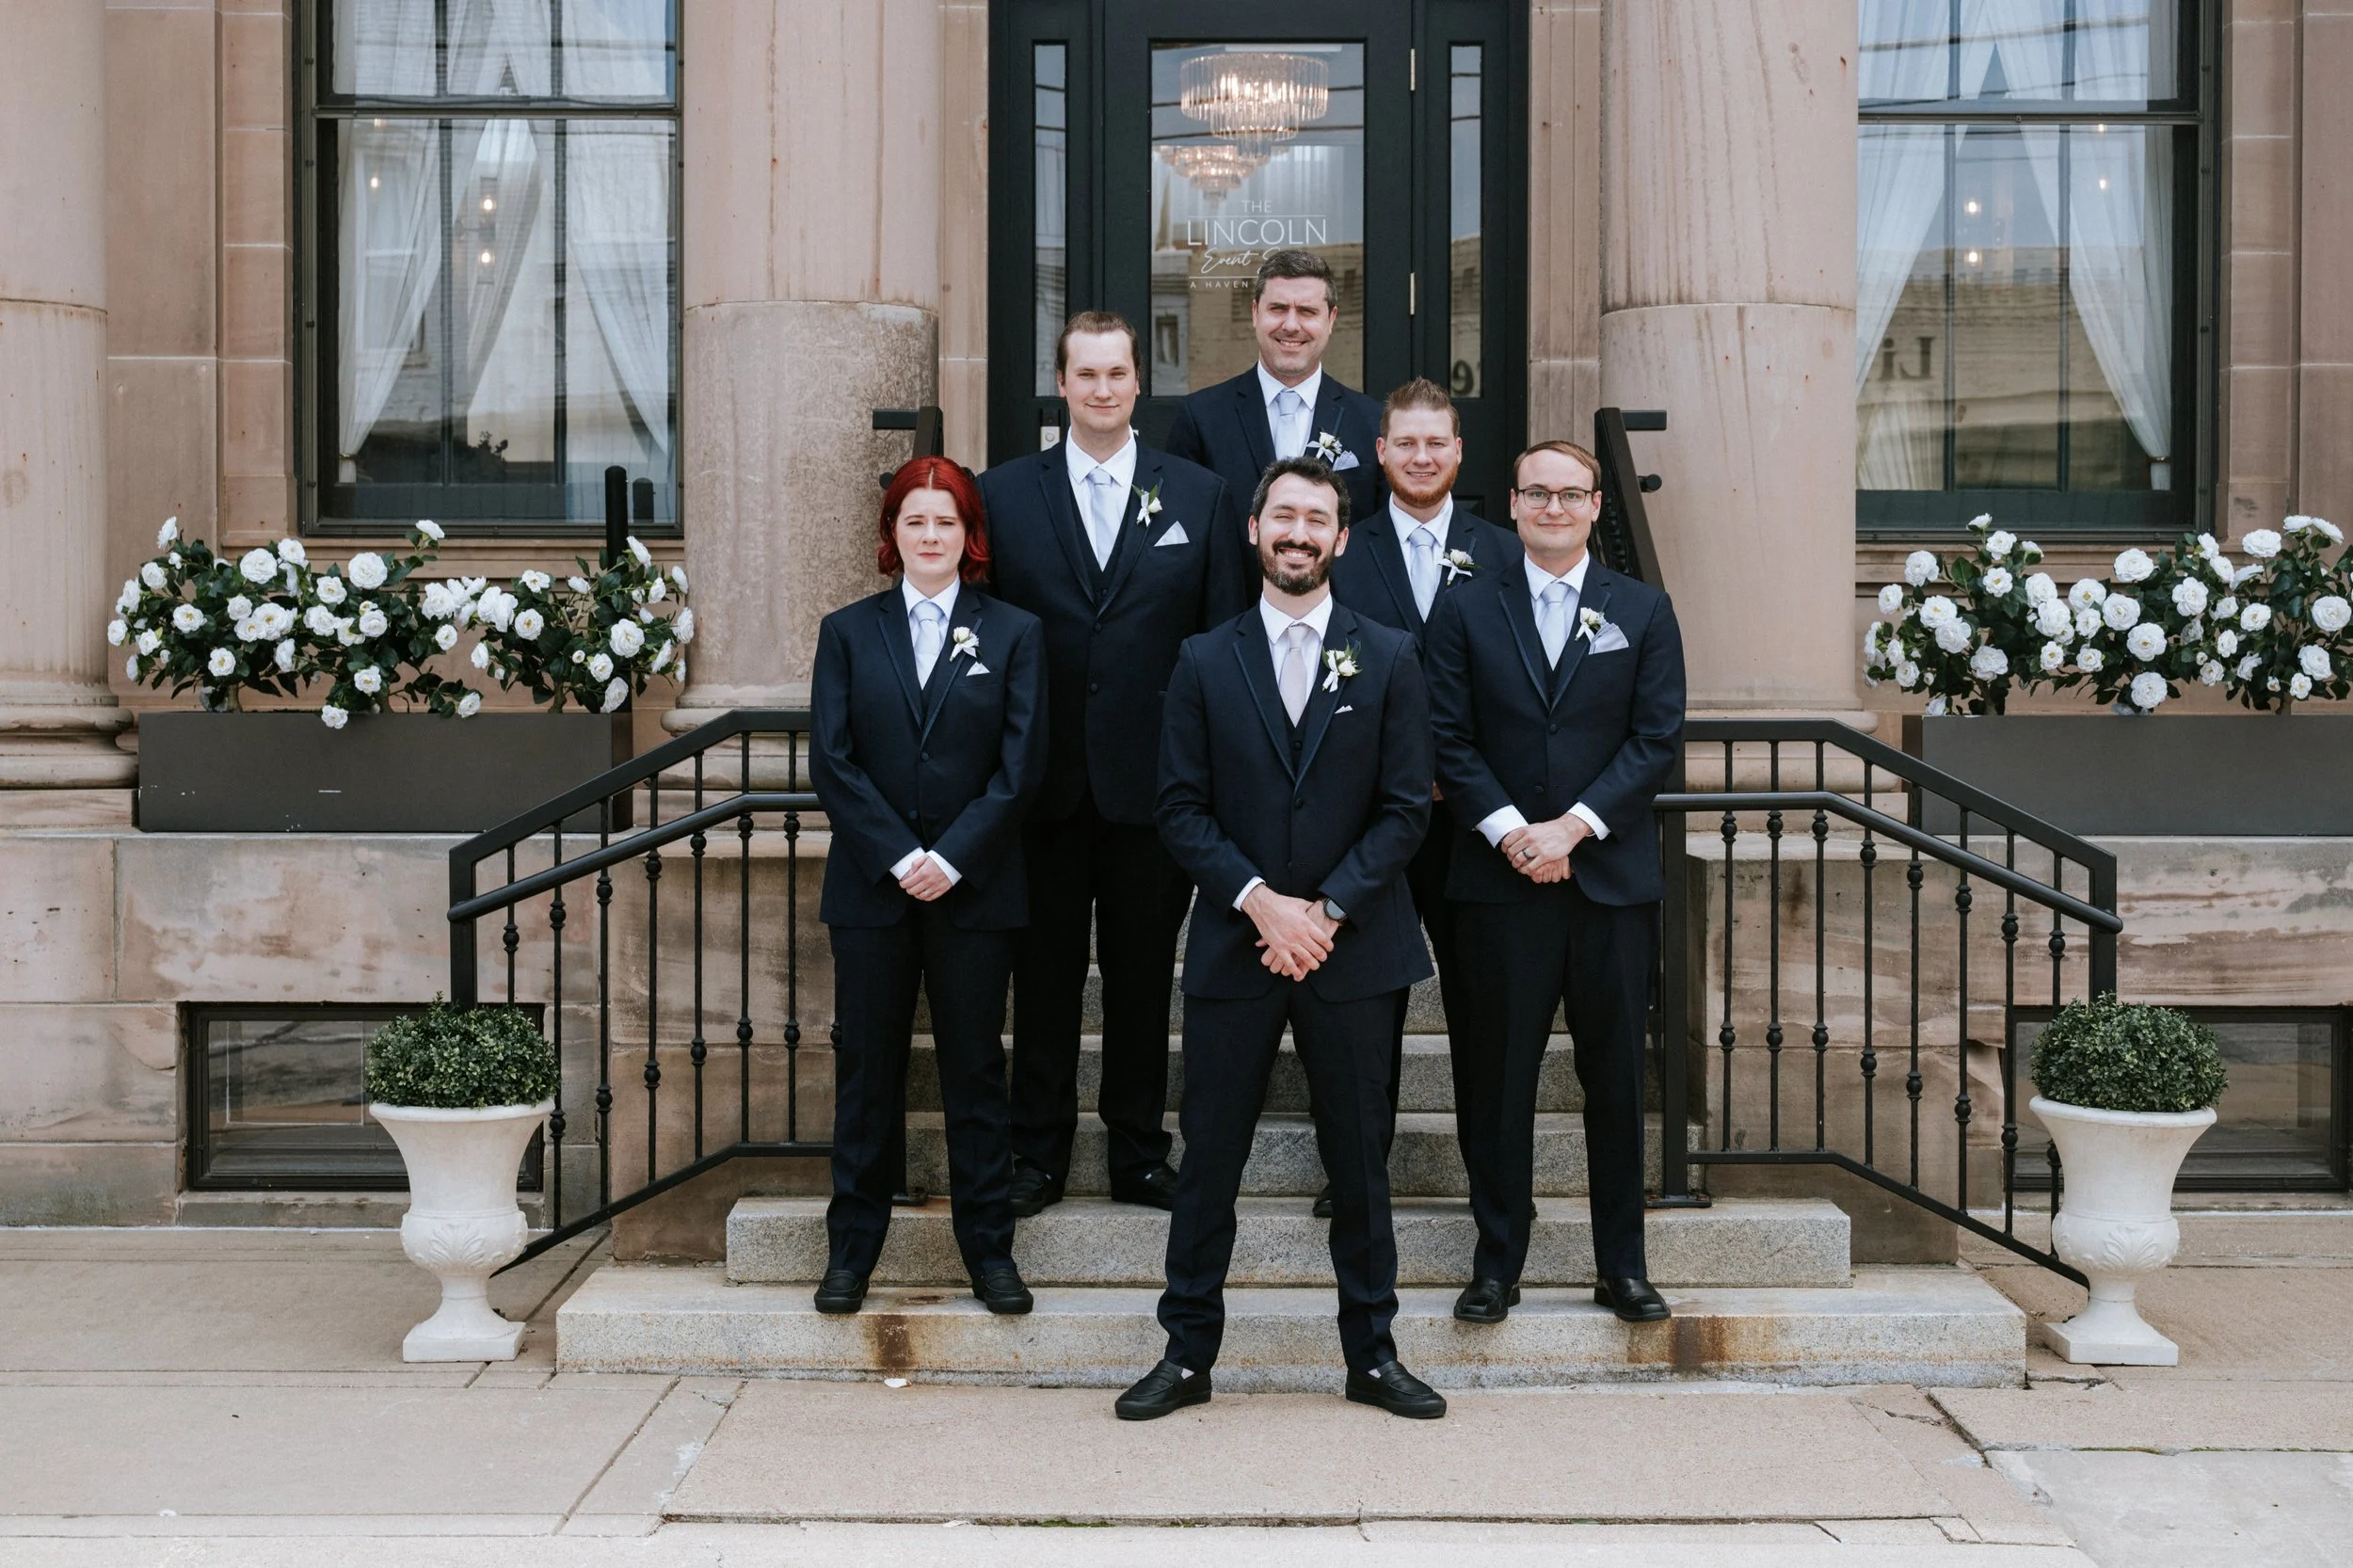
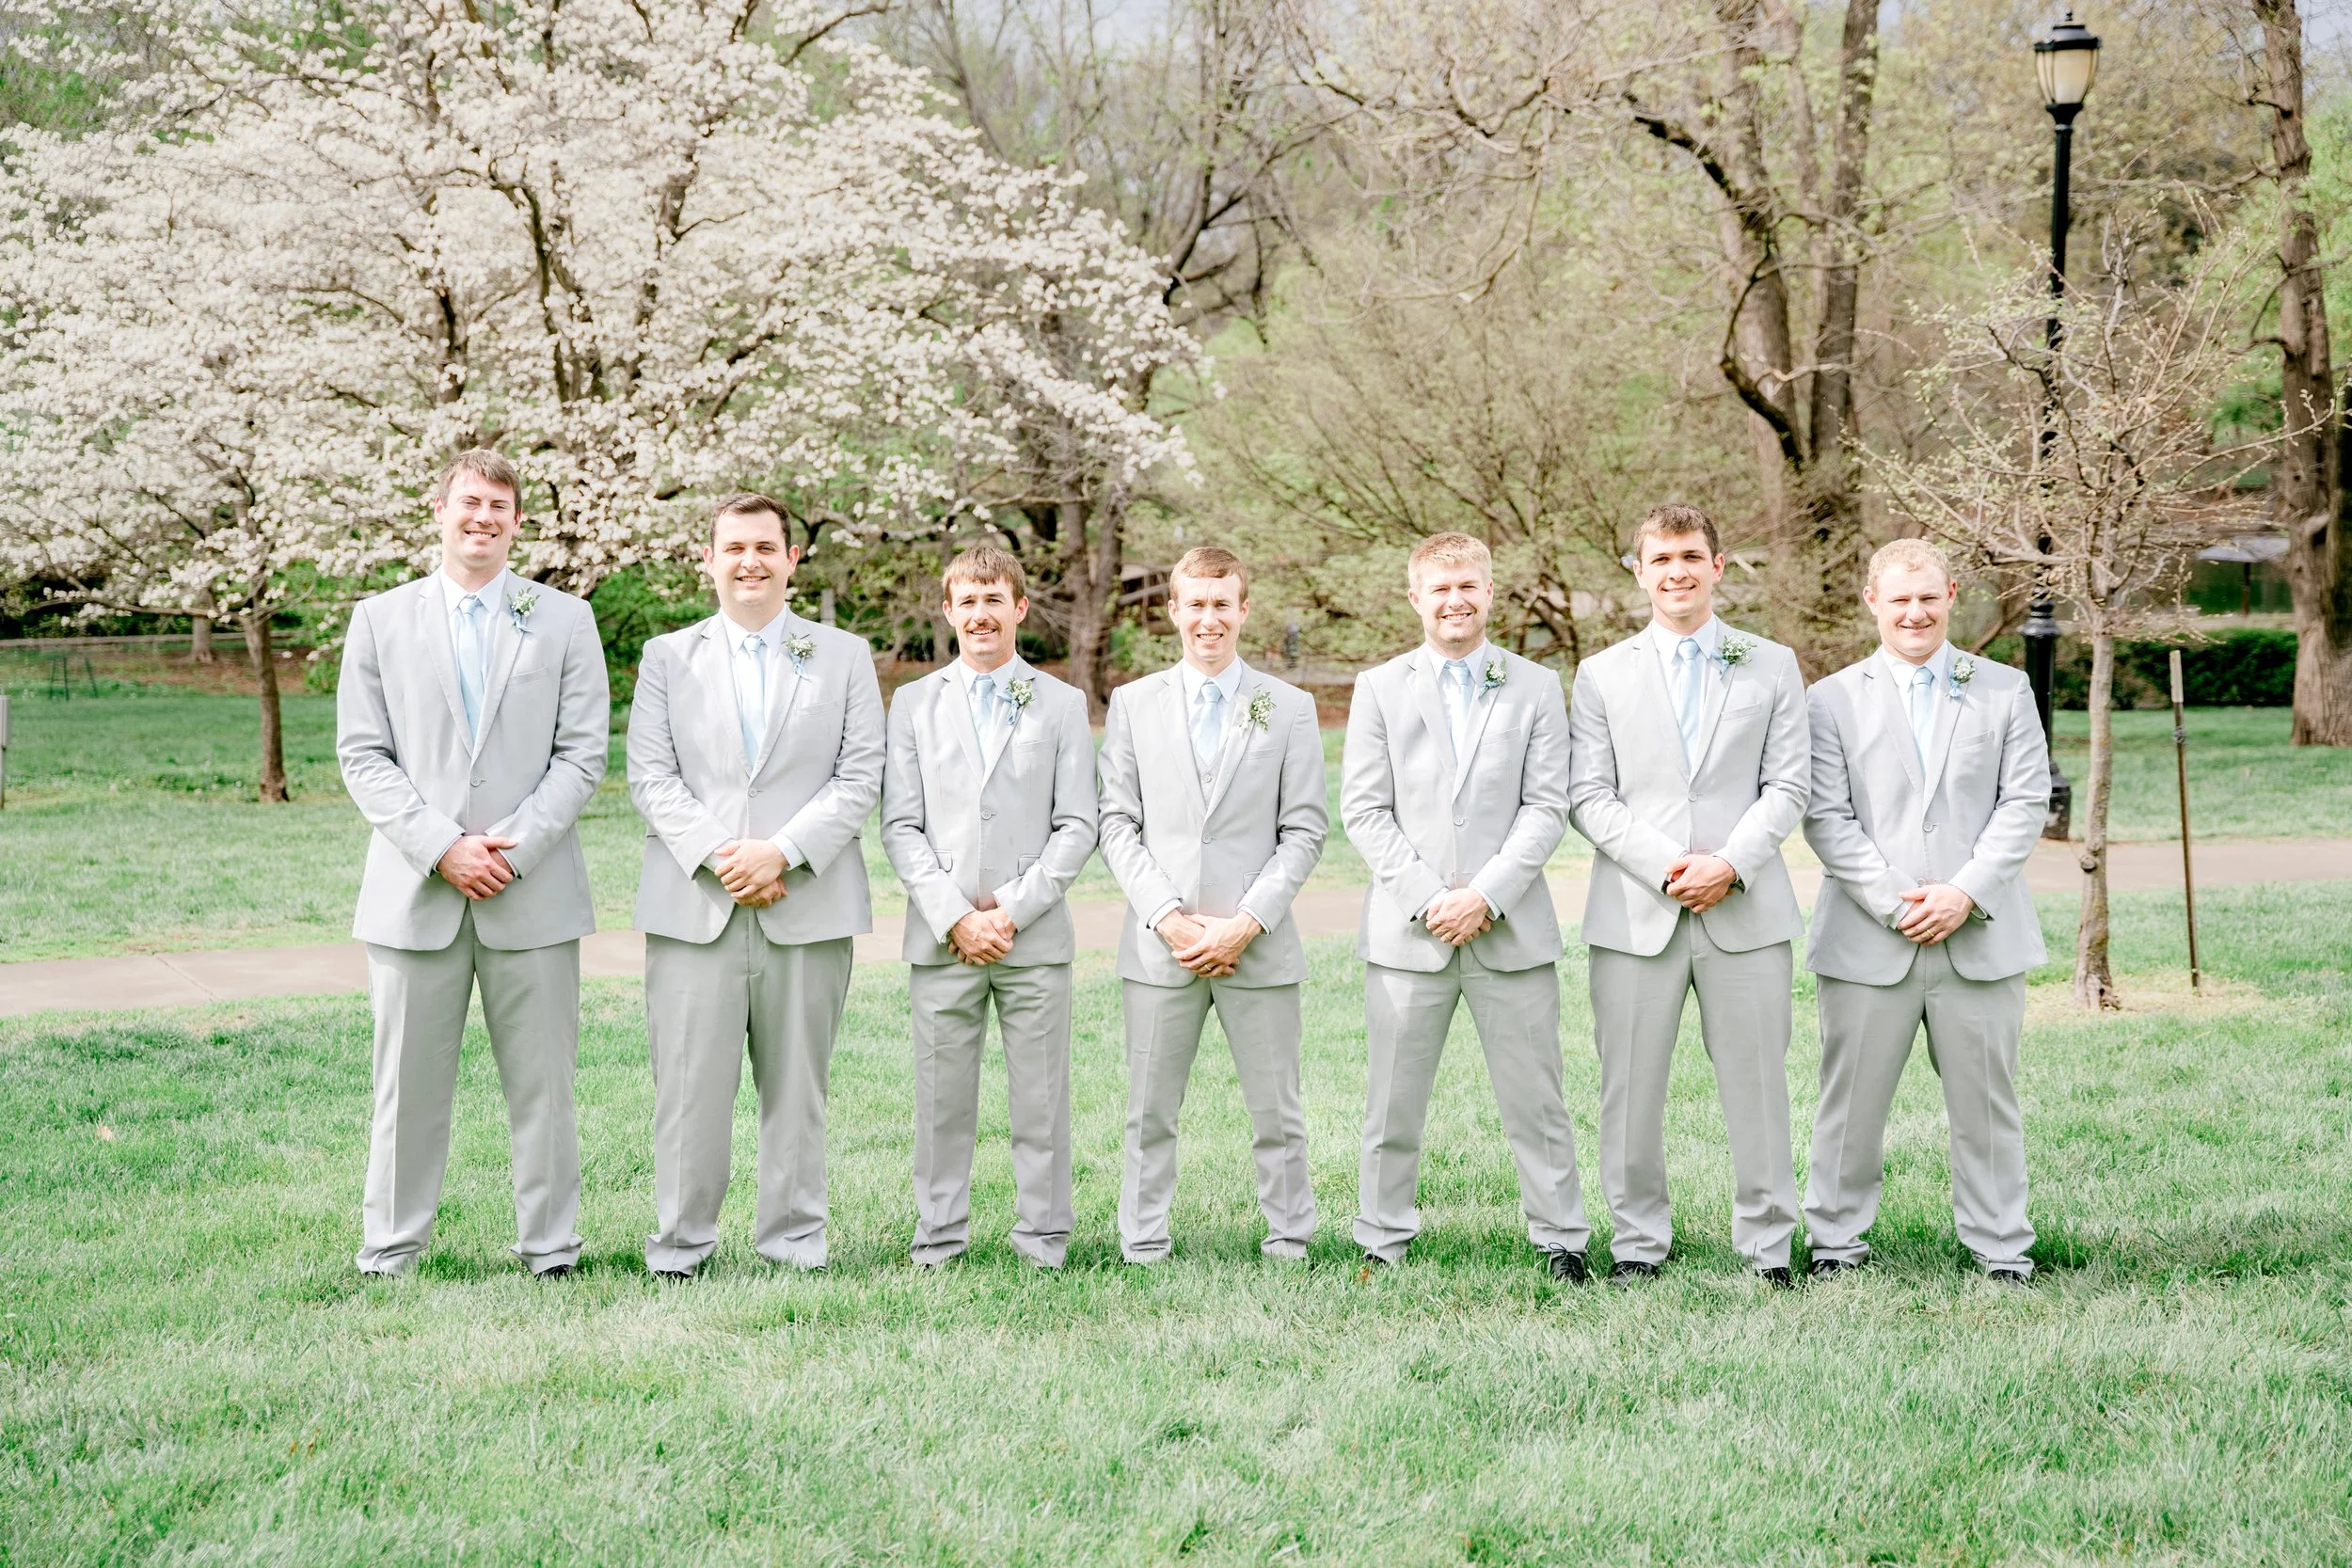
Before you ever press the shutter, take a few seconds to look your subjects over. It is our job as the people behind the camera to notice every little detail. A quick adjustment can make all the difference between an image that looks polished and one that feels sloppy. The middle image of the groomsmen is a perfect example of what NOT to do.
Guys' Jackets
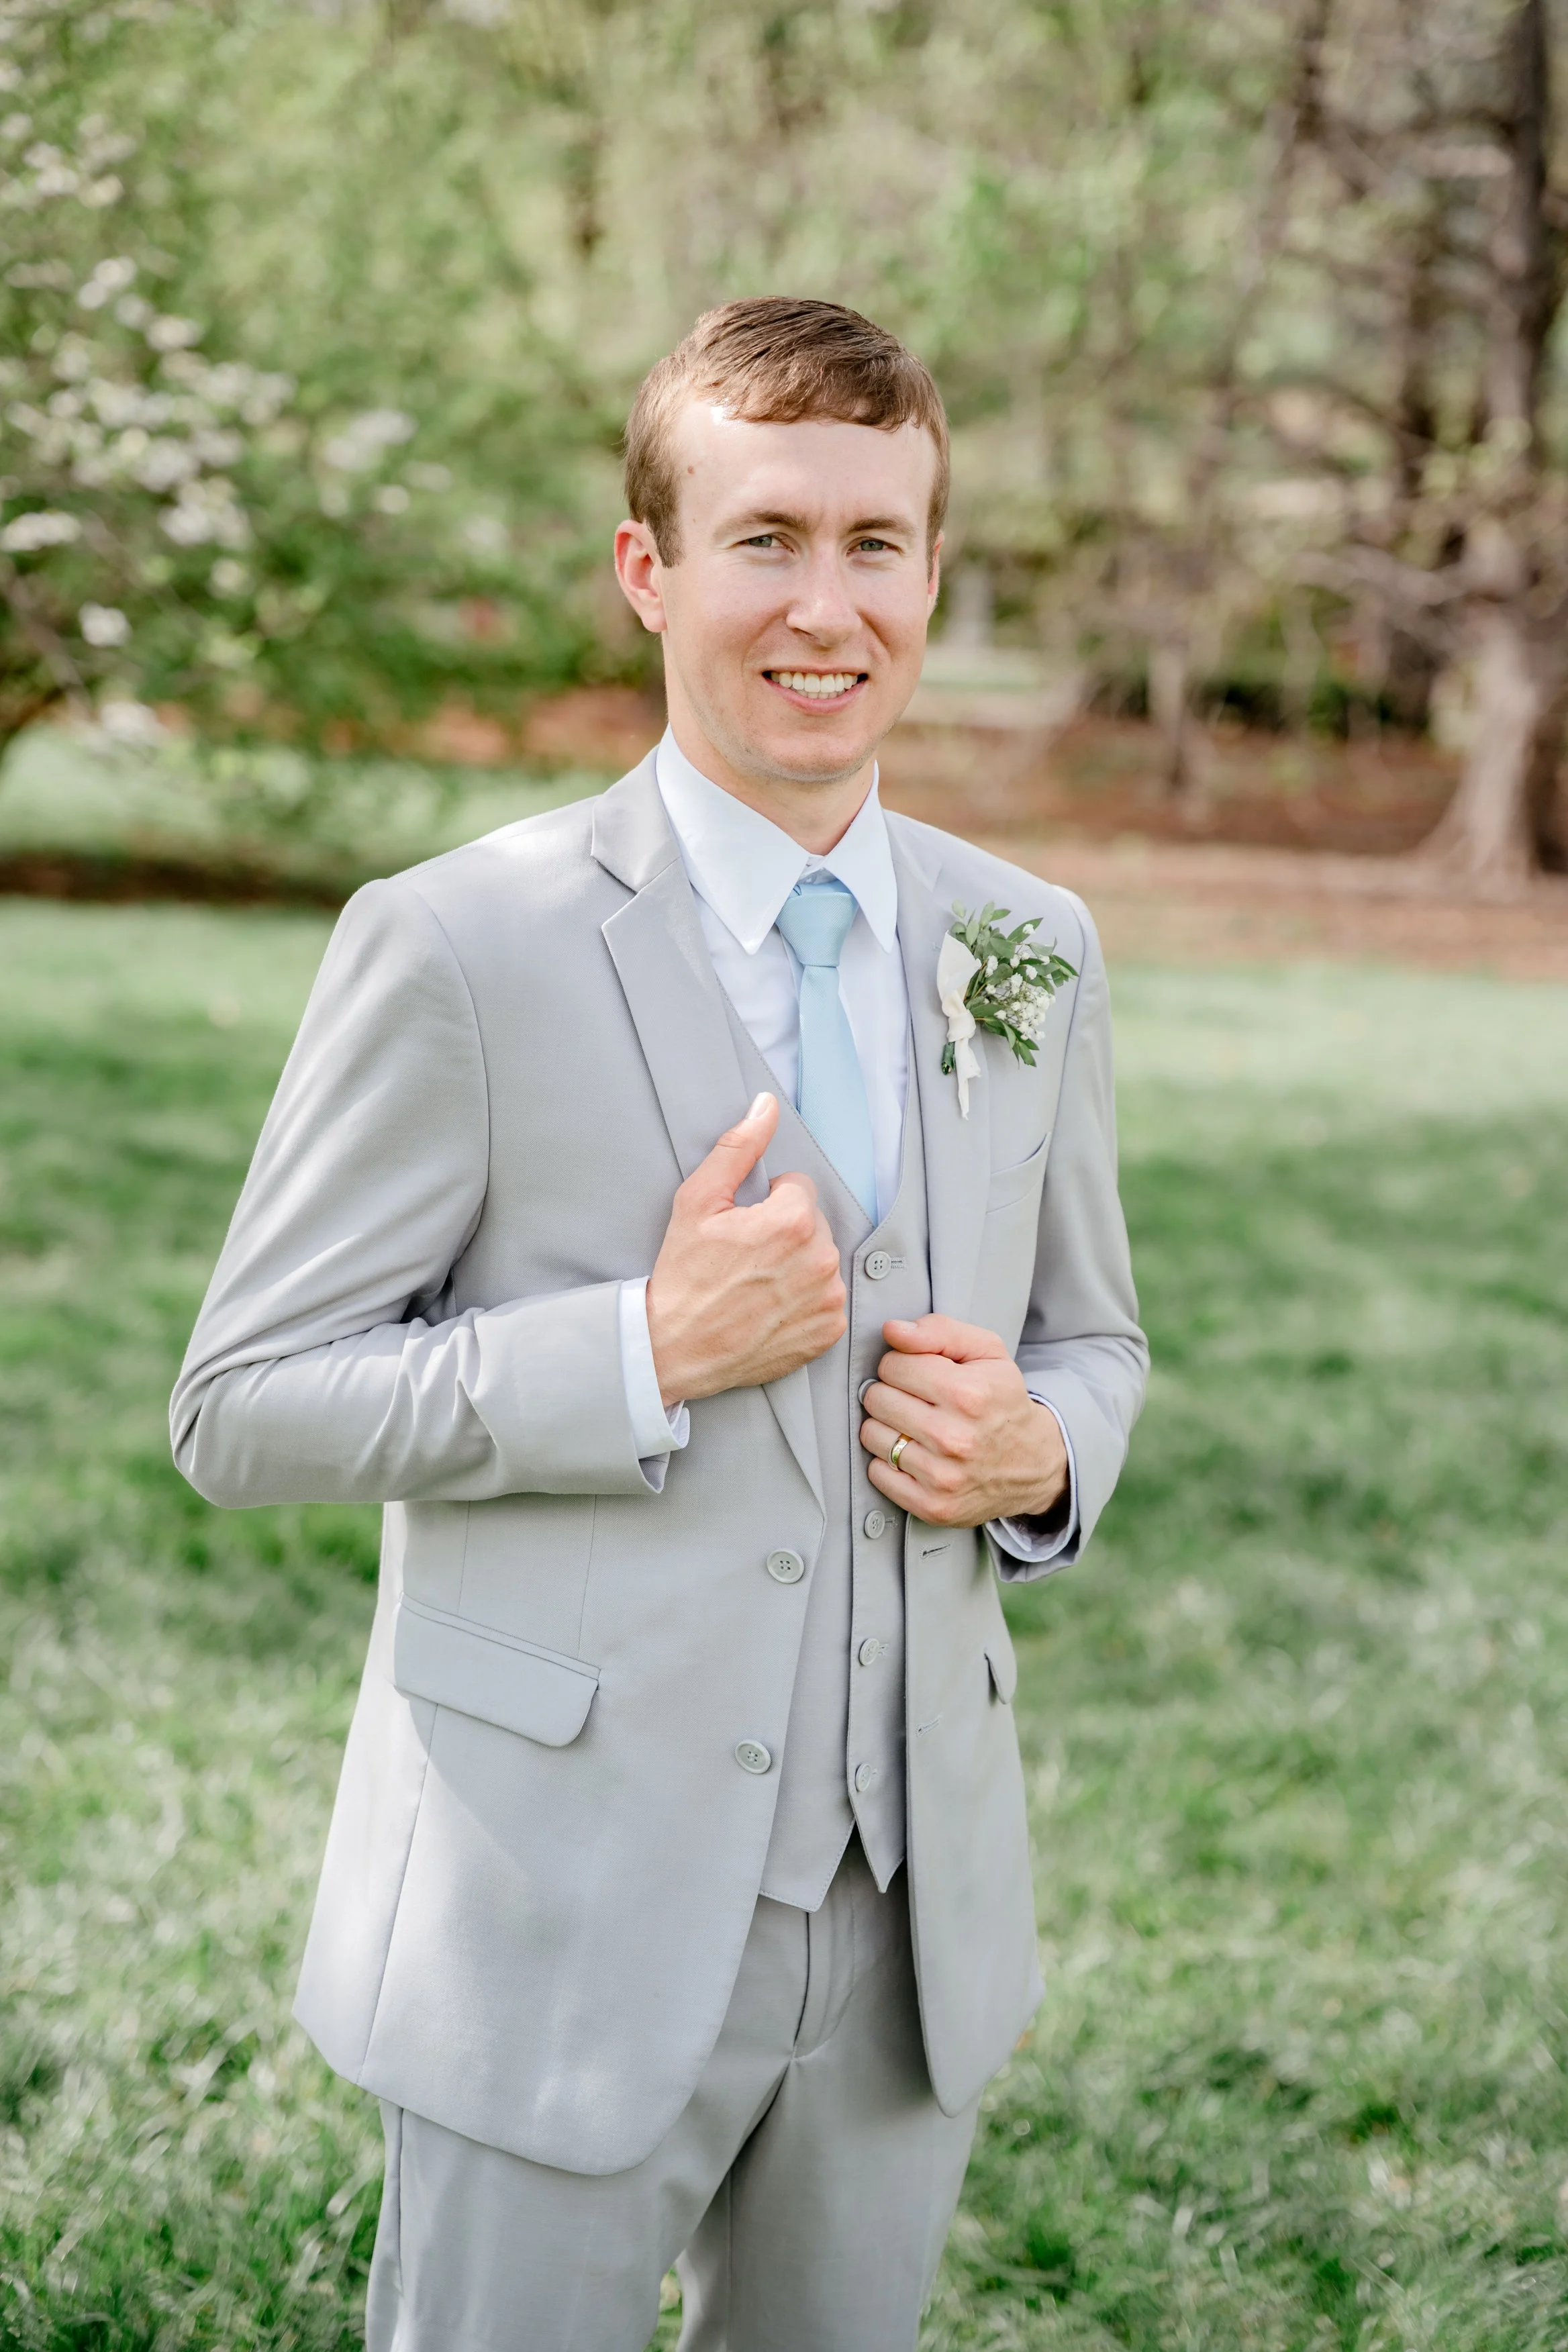
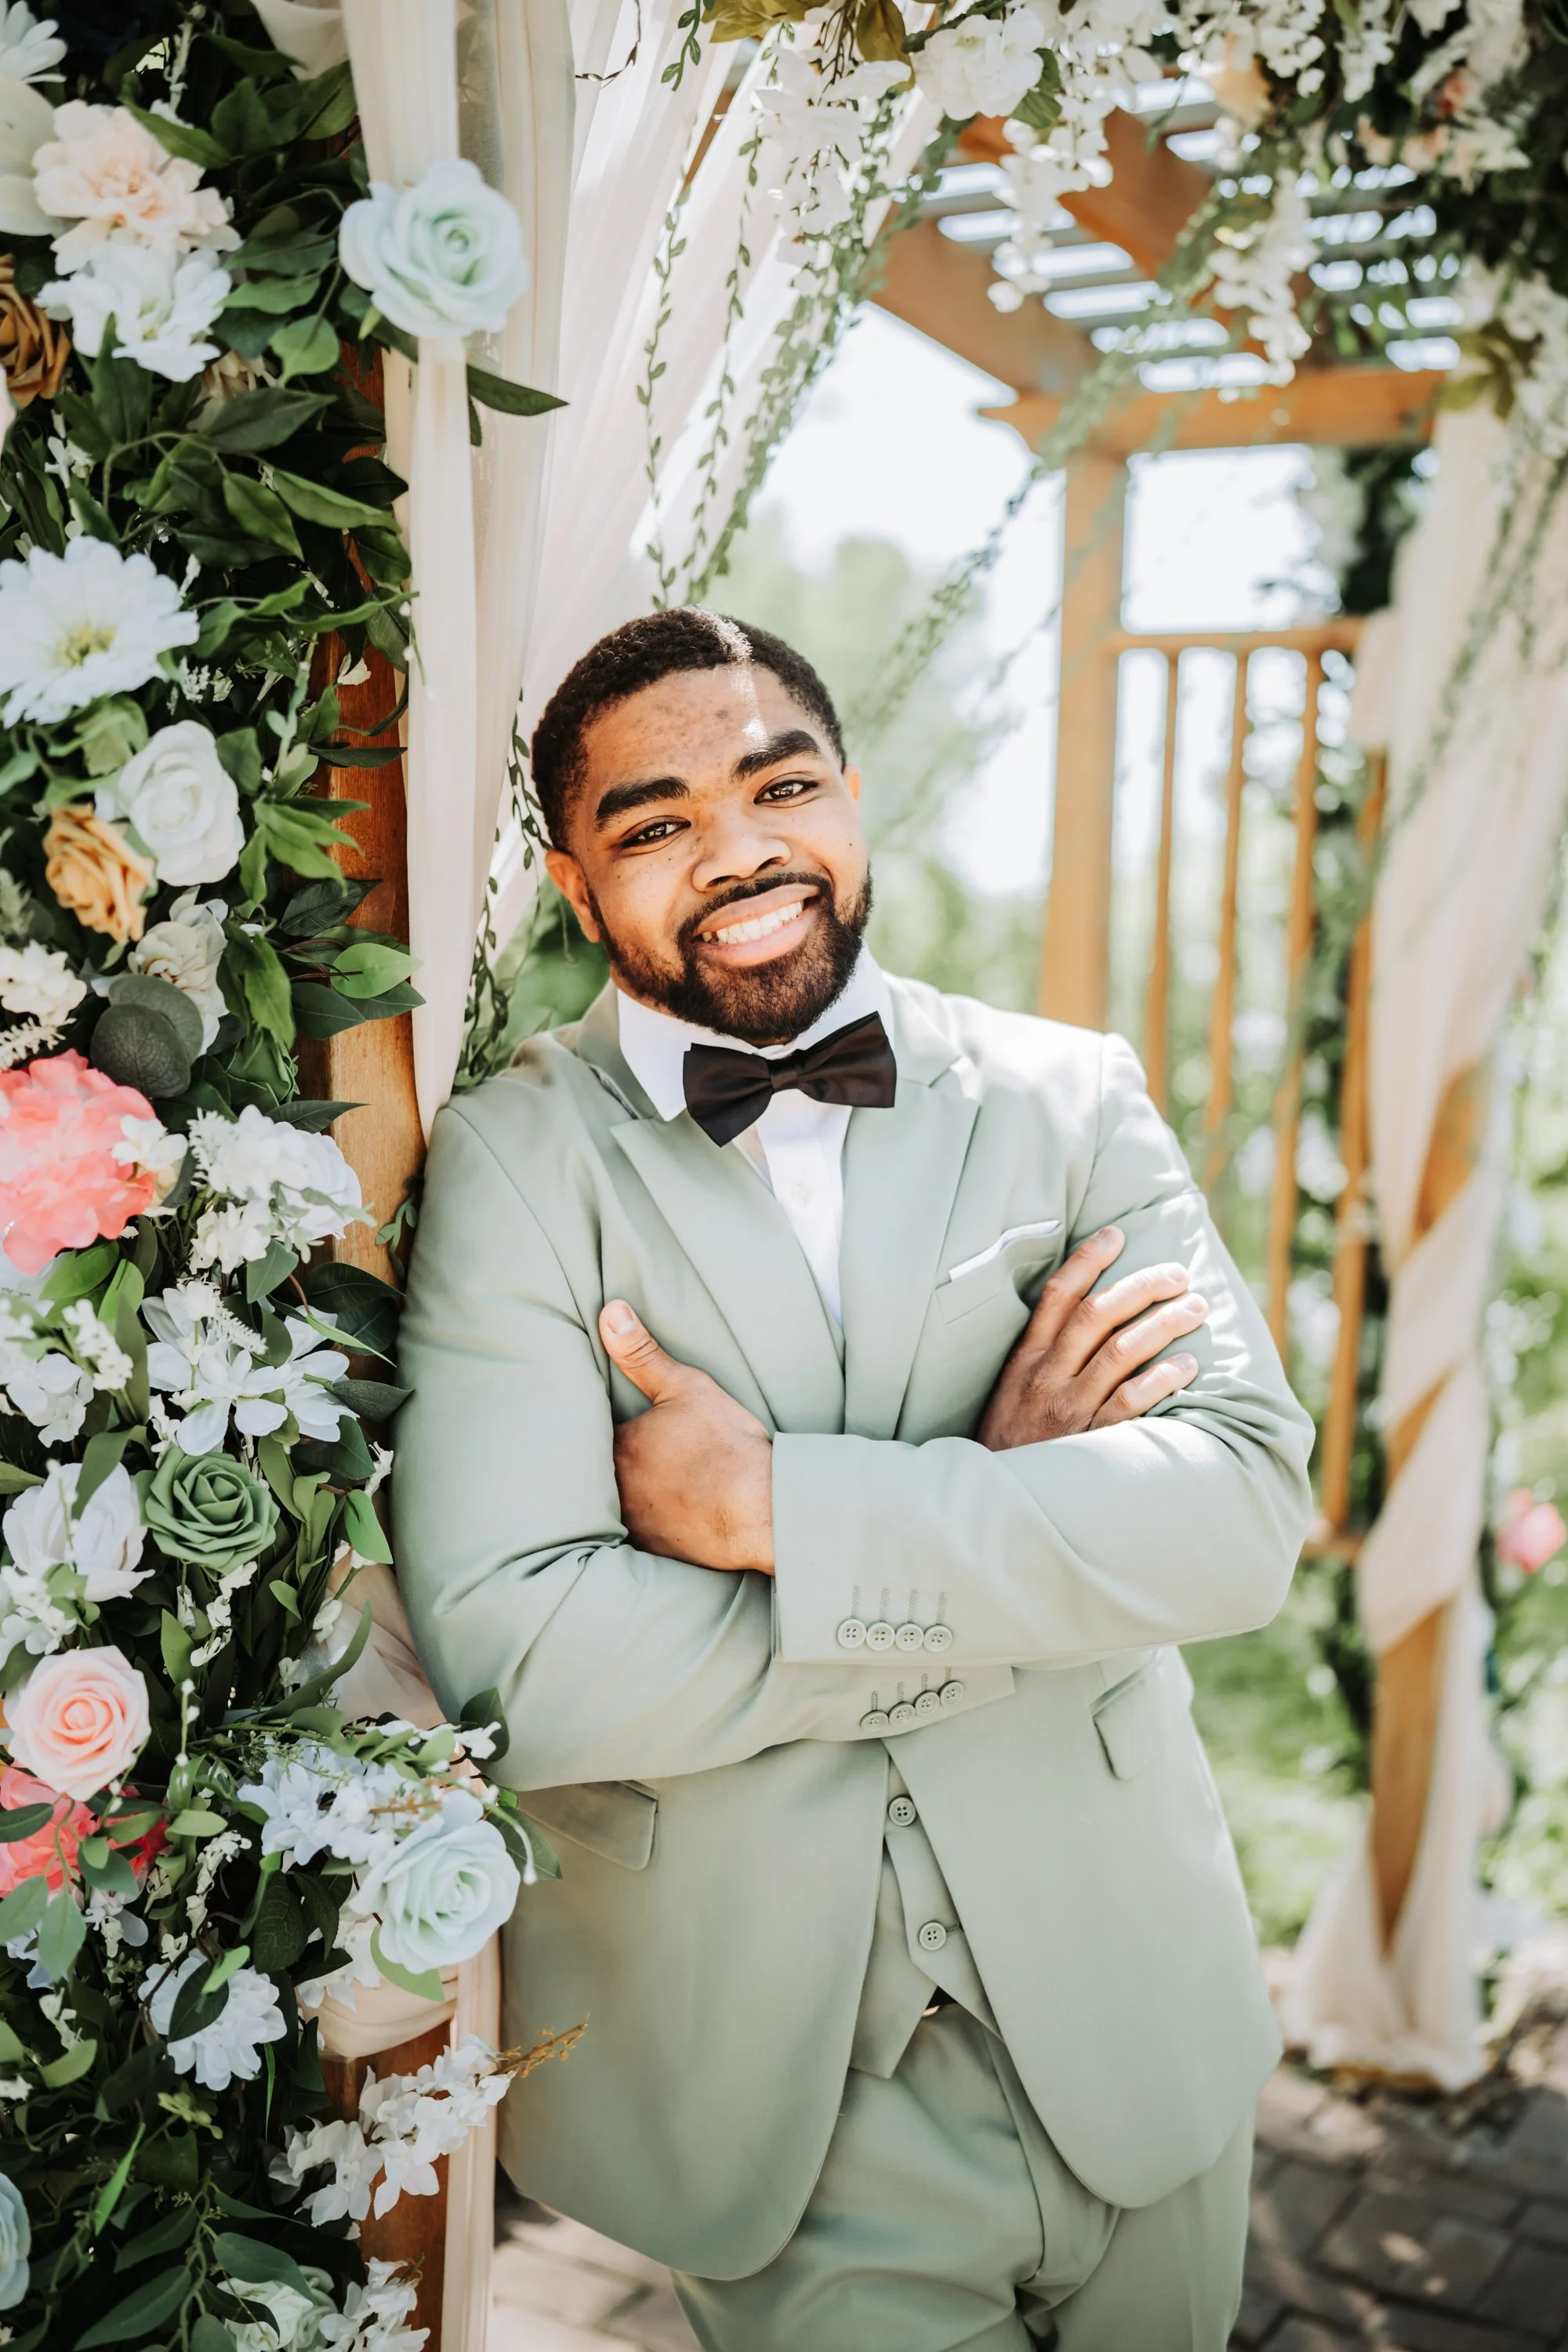
Guys' jackets should never have the bottom button buttoned. If you catch it, fix it before taking the picture.
Standing = Top button only.
Sitting = Jacket unbuttoned.
It's a small detail, but one that immediately stands out when it's wrong.
Boutonnieres
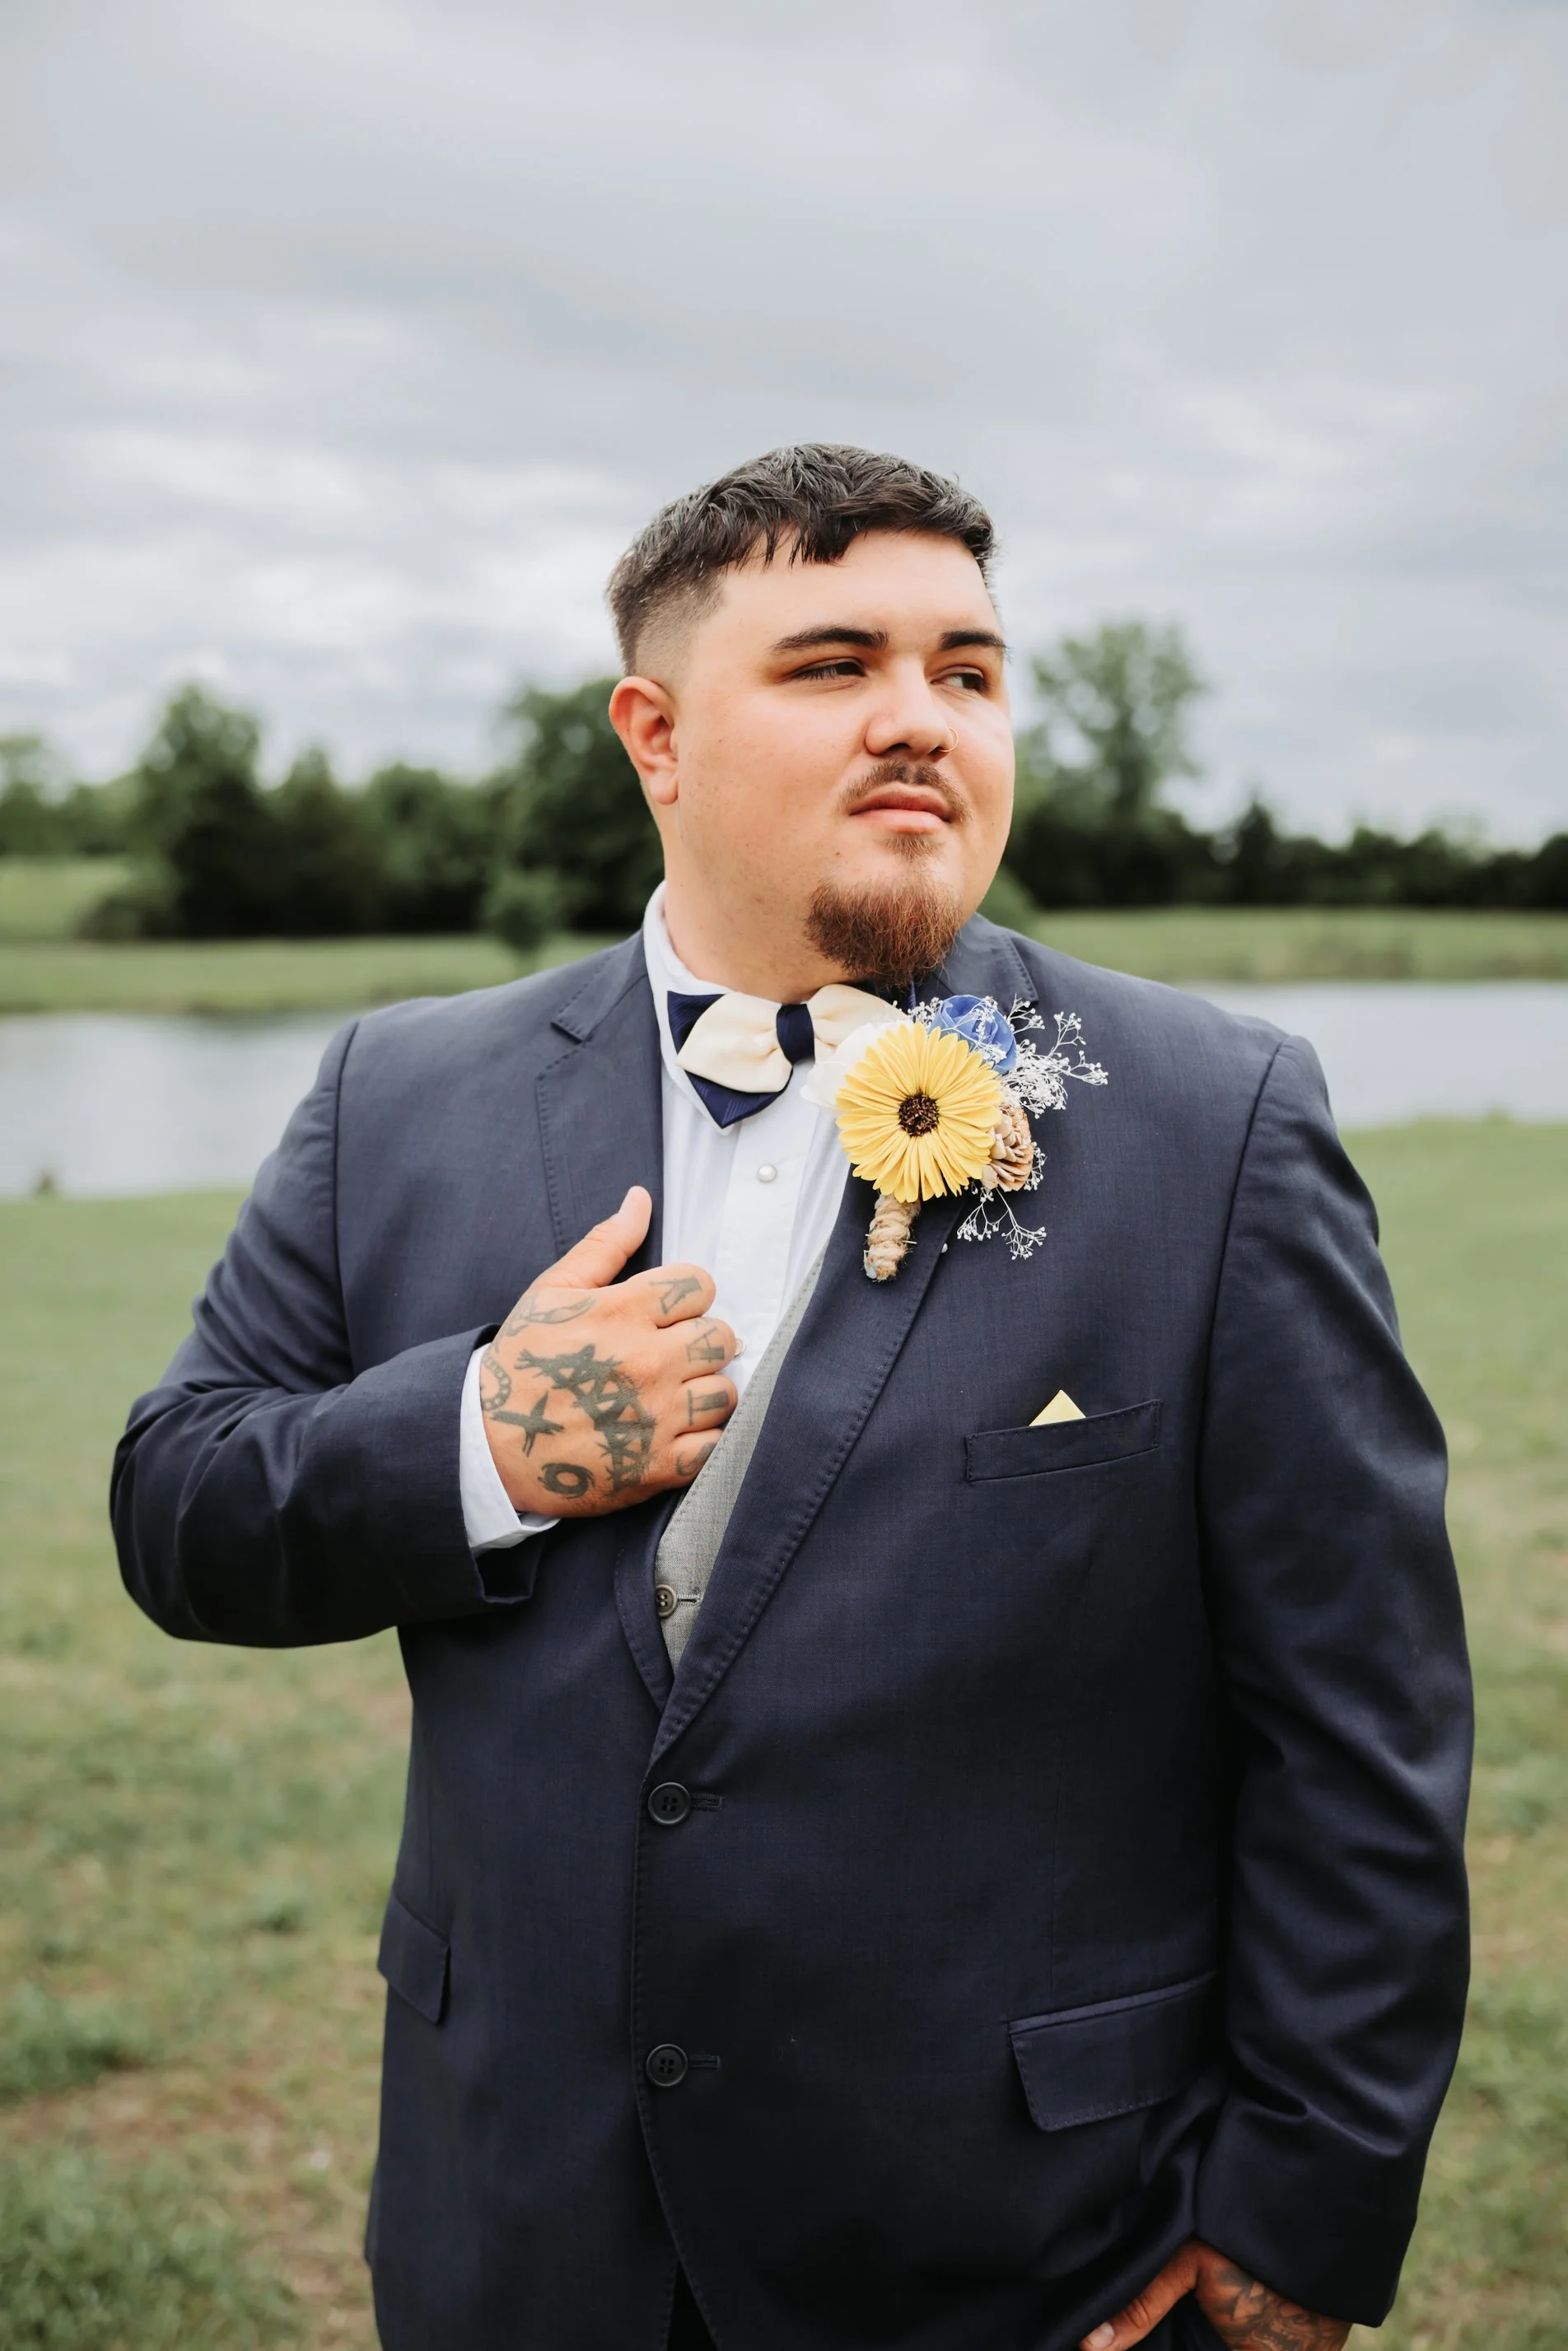
Boutonnieres belong on the left lapel of the jacket, almost even with the collarbone. Make sure they're sitting upright and aren't drooping or twisted before you begin shooting.
The Bride's Veil
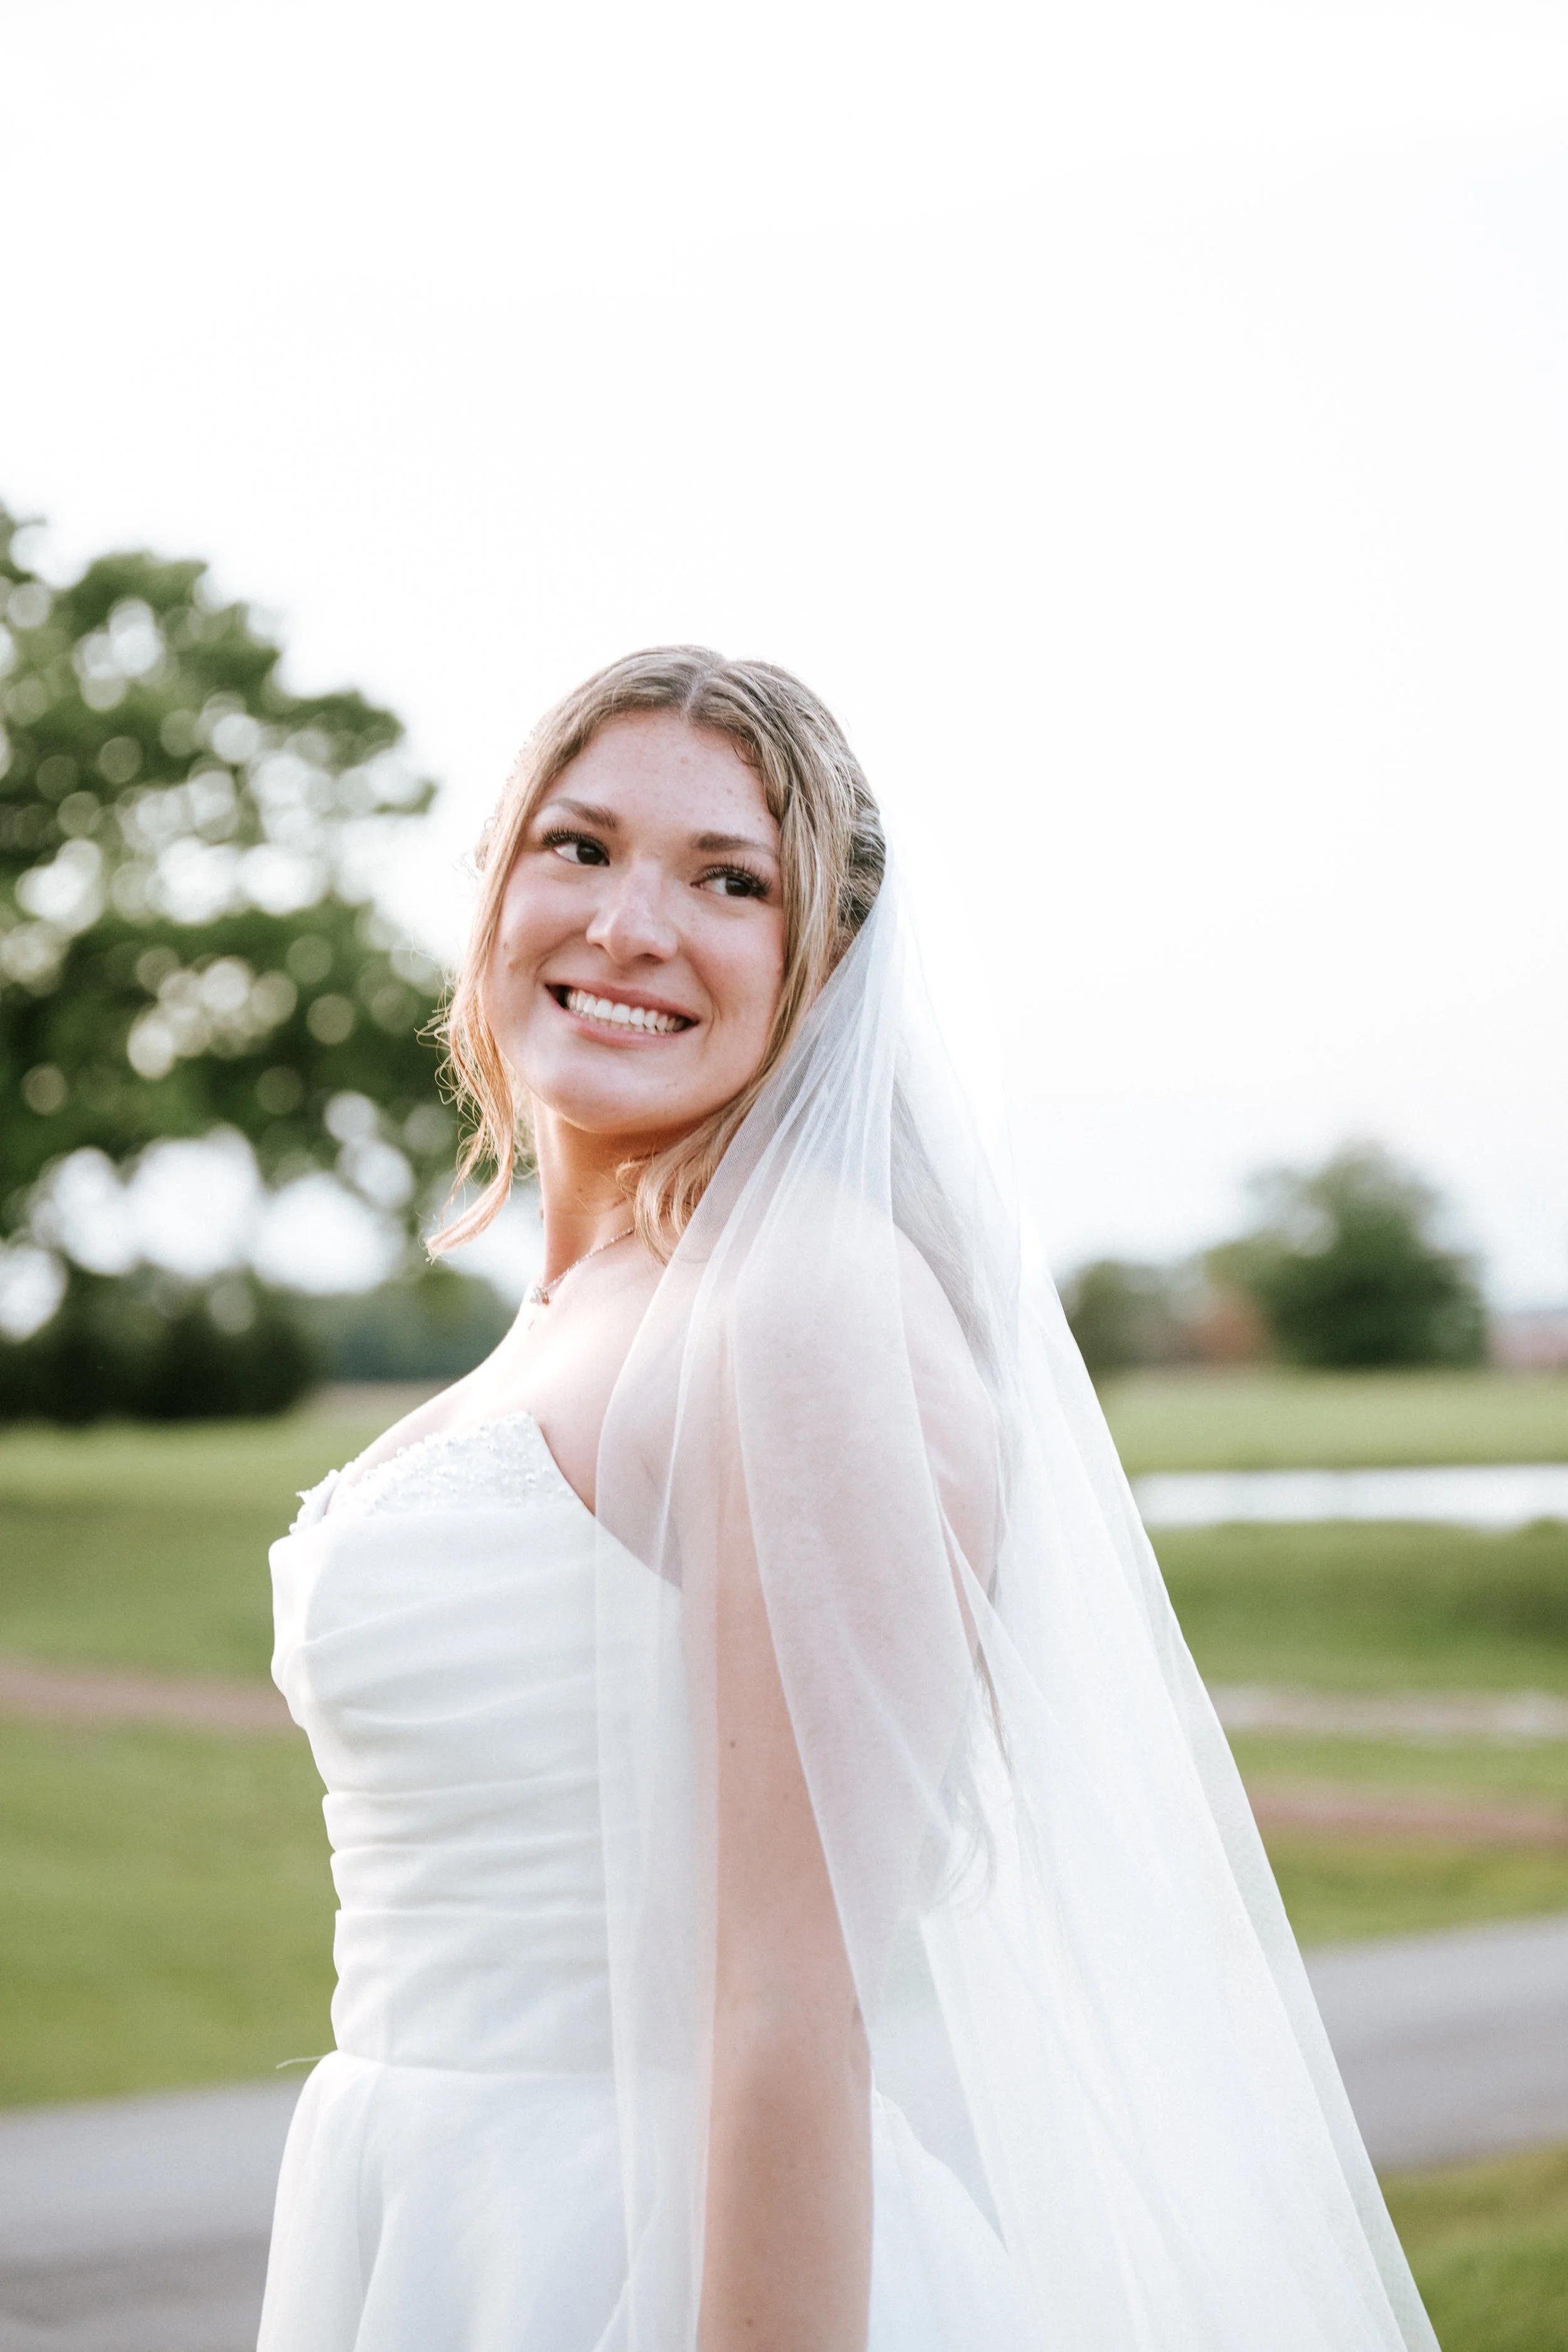
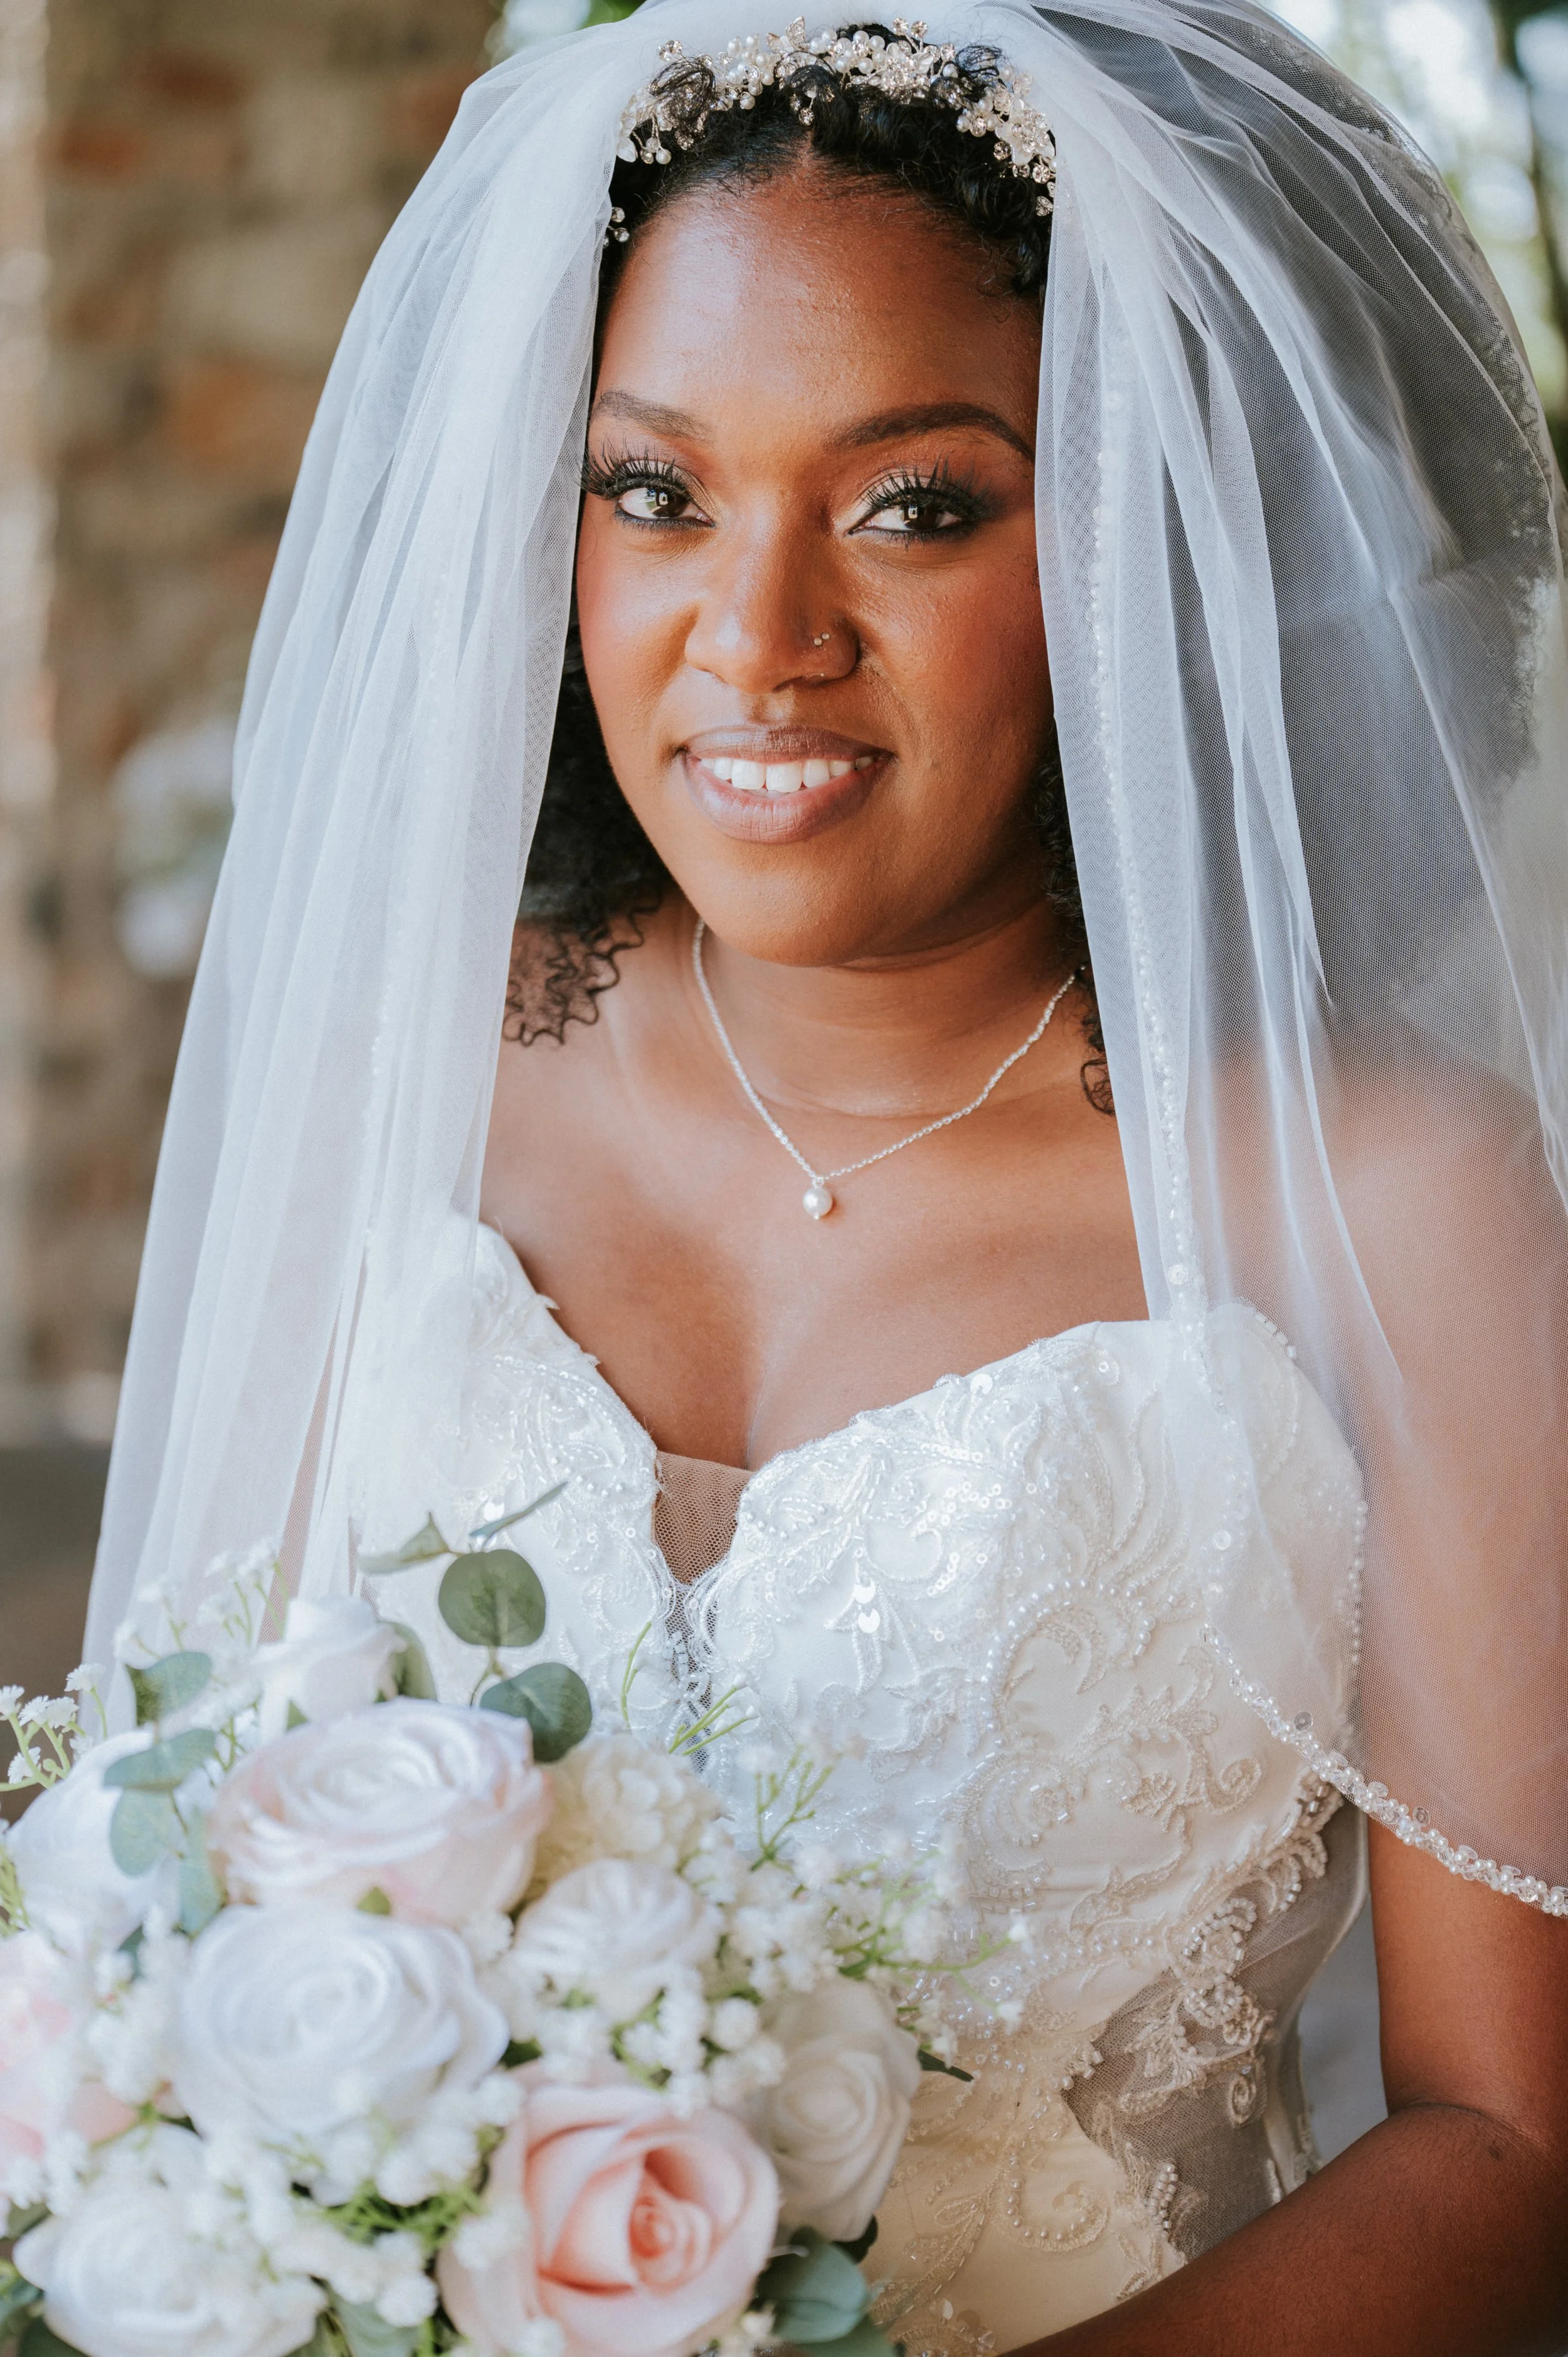
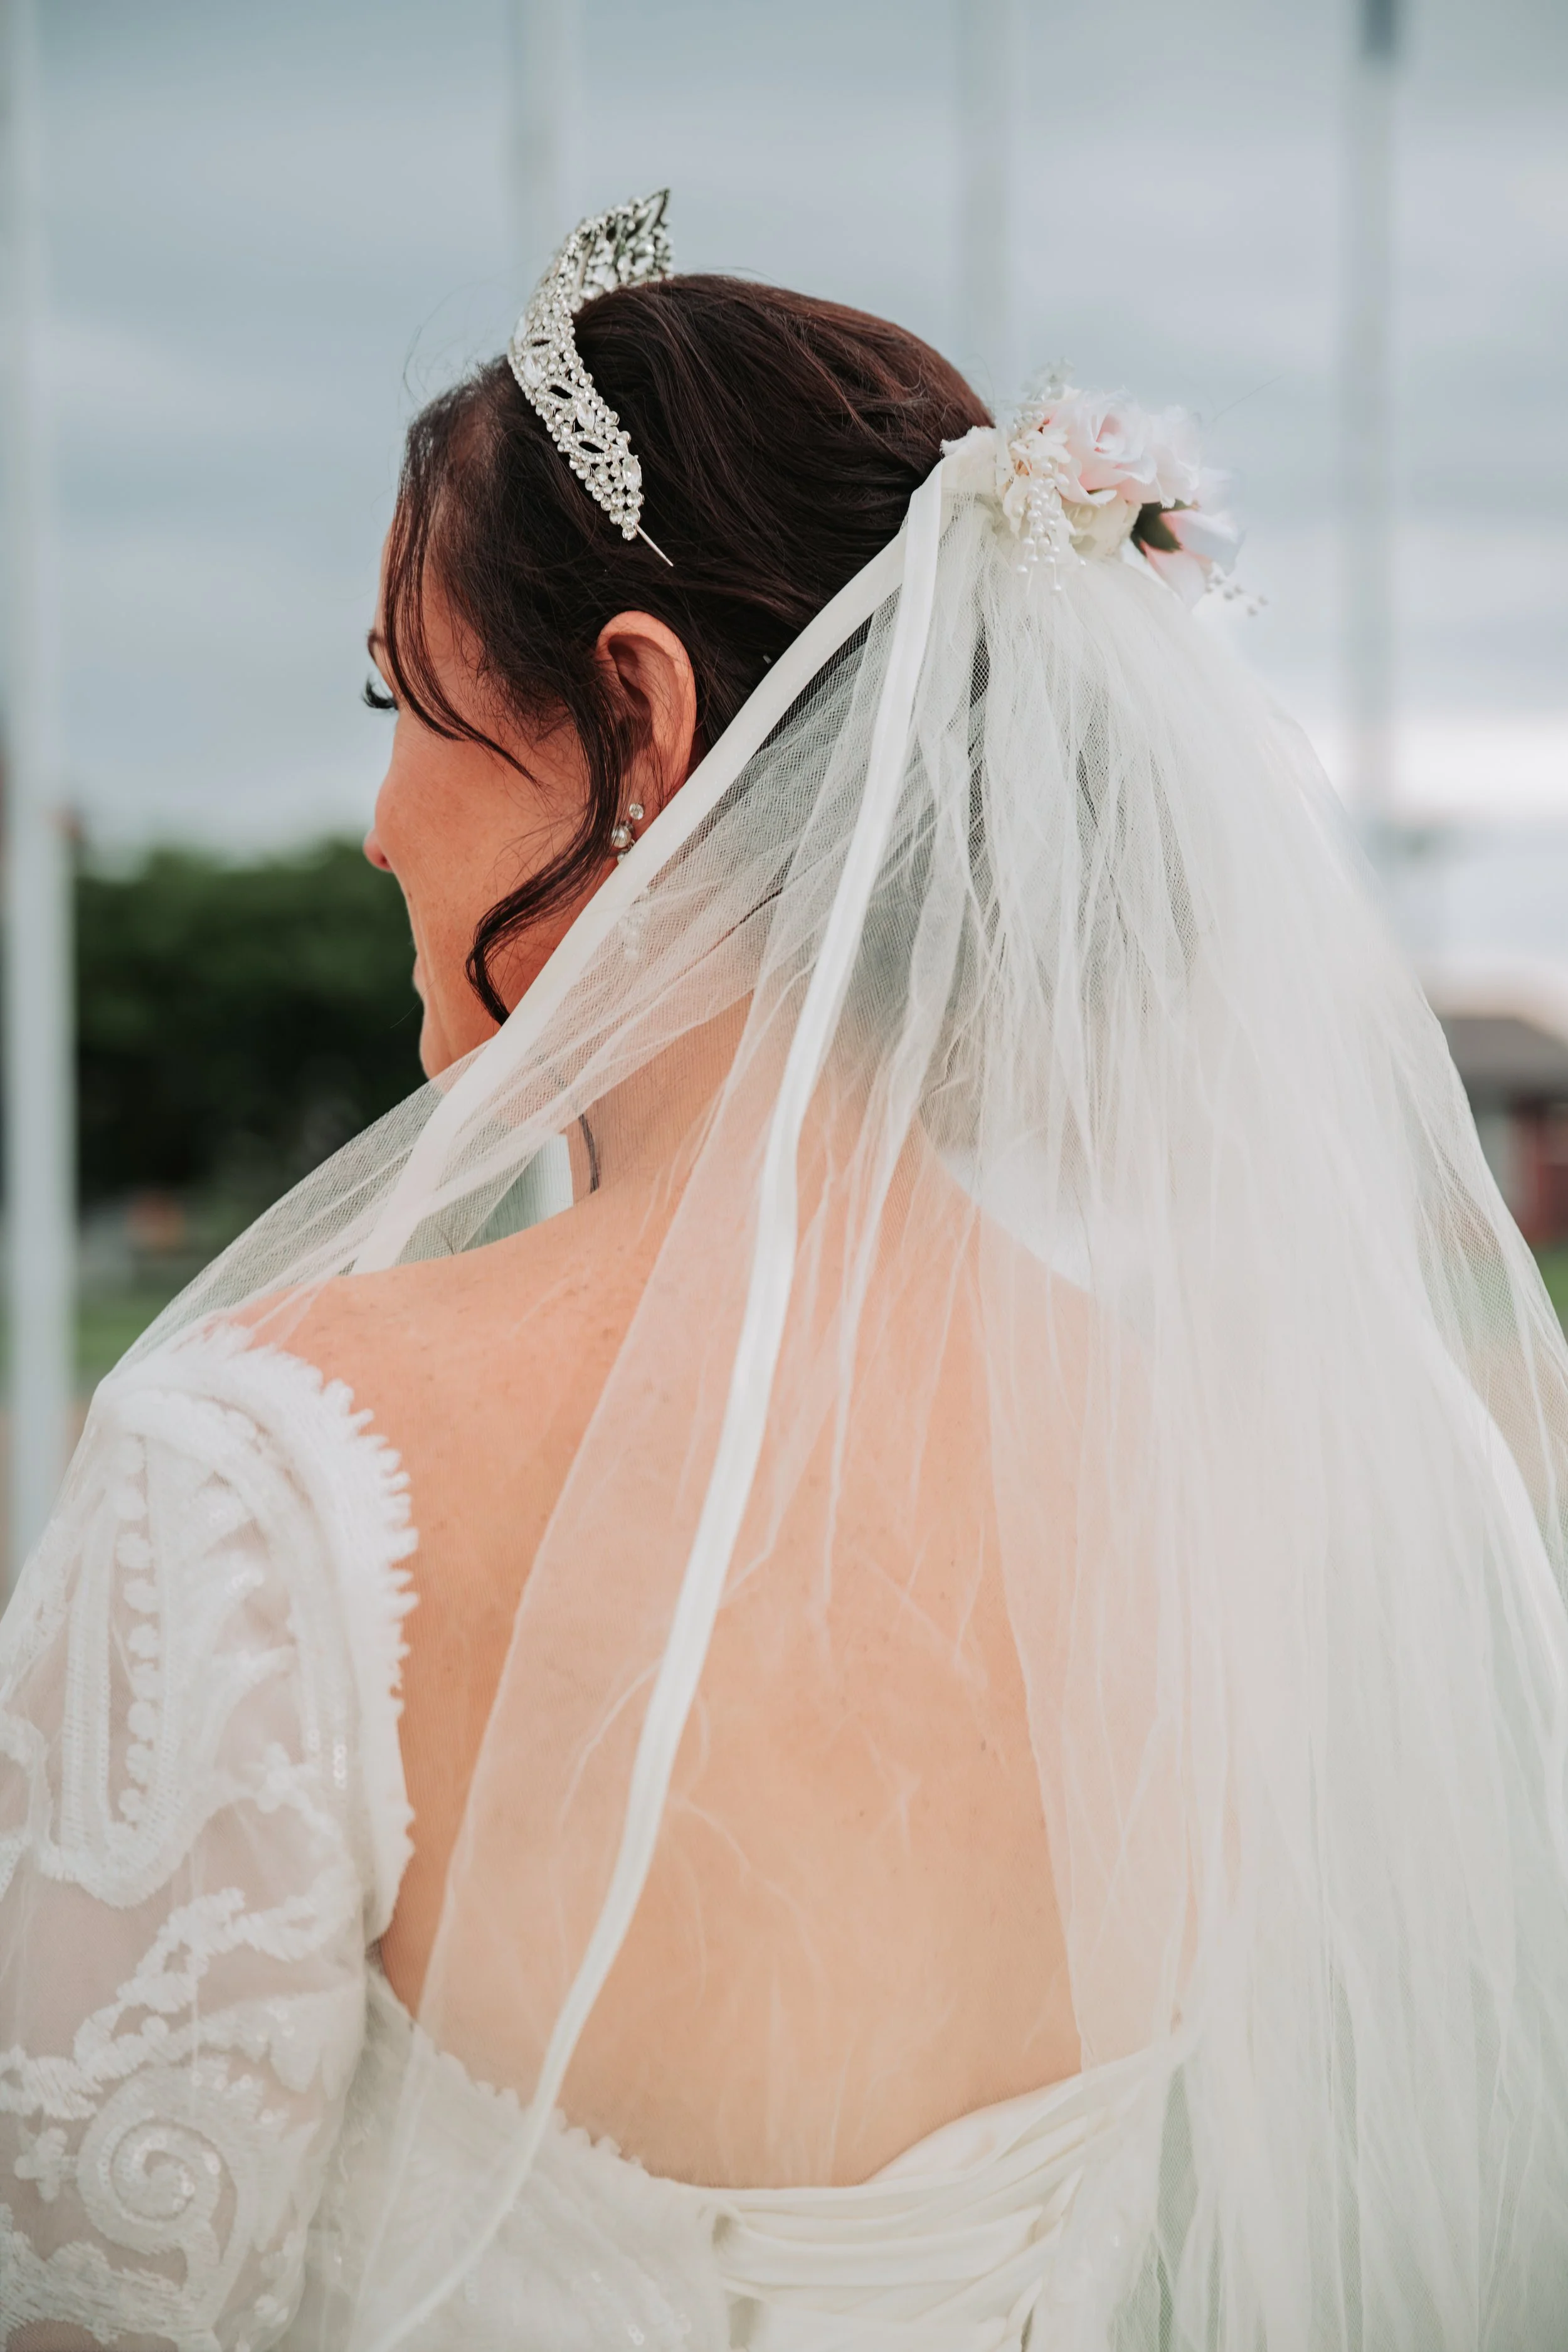
For formal portraits, the bride's veil should almost always go over the shoulder closest to the camera. It frames her face beautifully and keeps the veil from disappearing behind her.
Like every "rule" in this guide, there will always be creative exceptions. Learn the standard first, then intentionally choose when to break it.
2. Wedding Party Formal Pictures
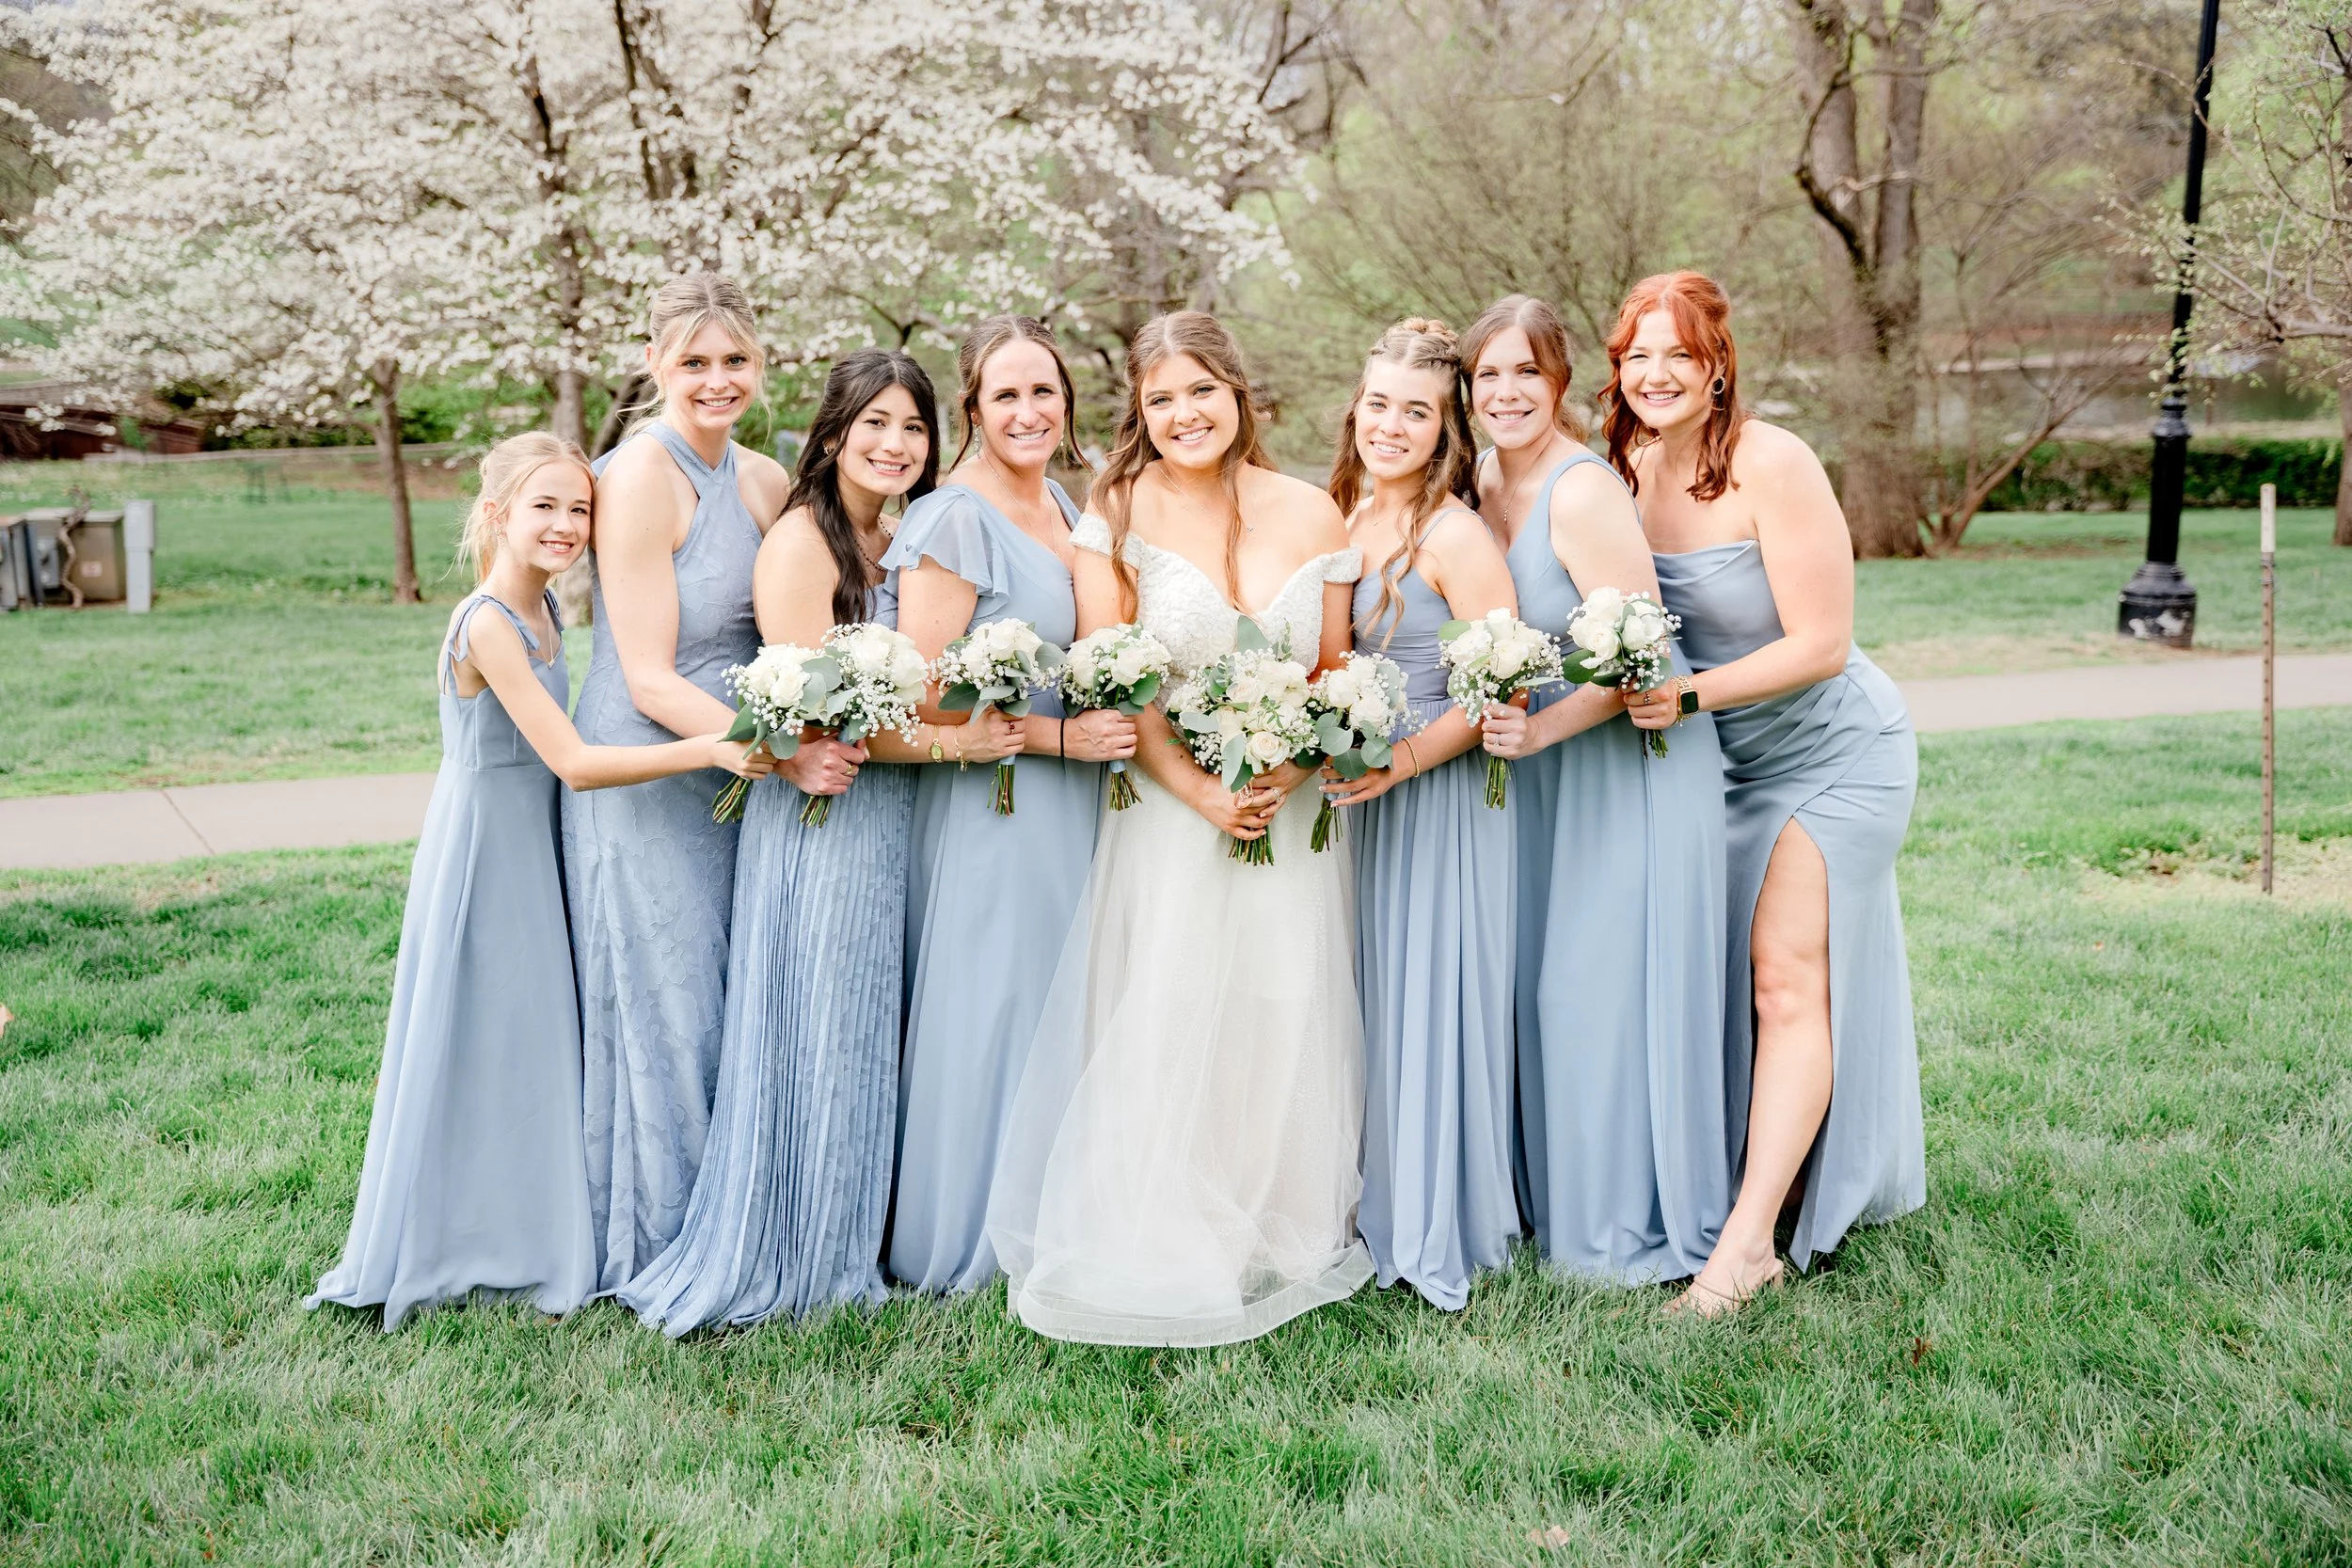
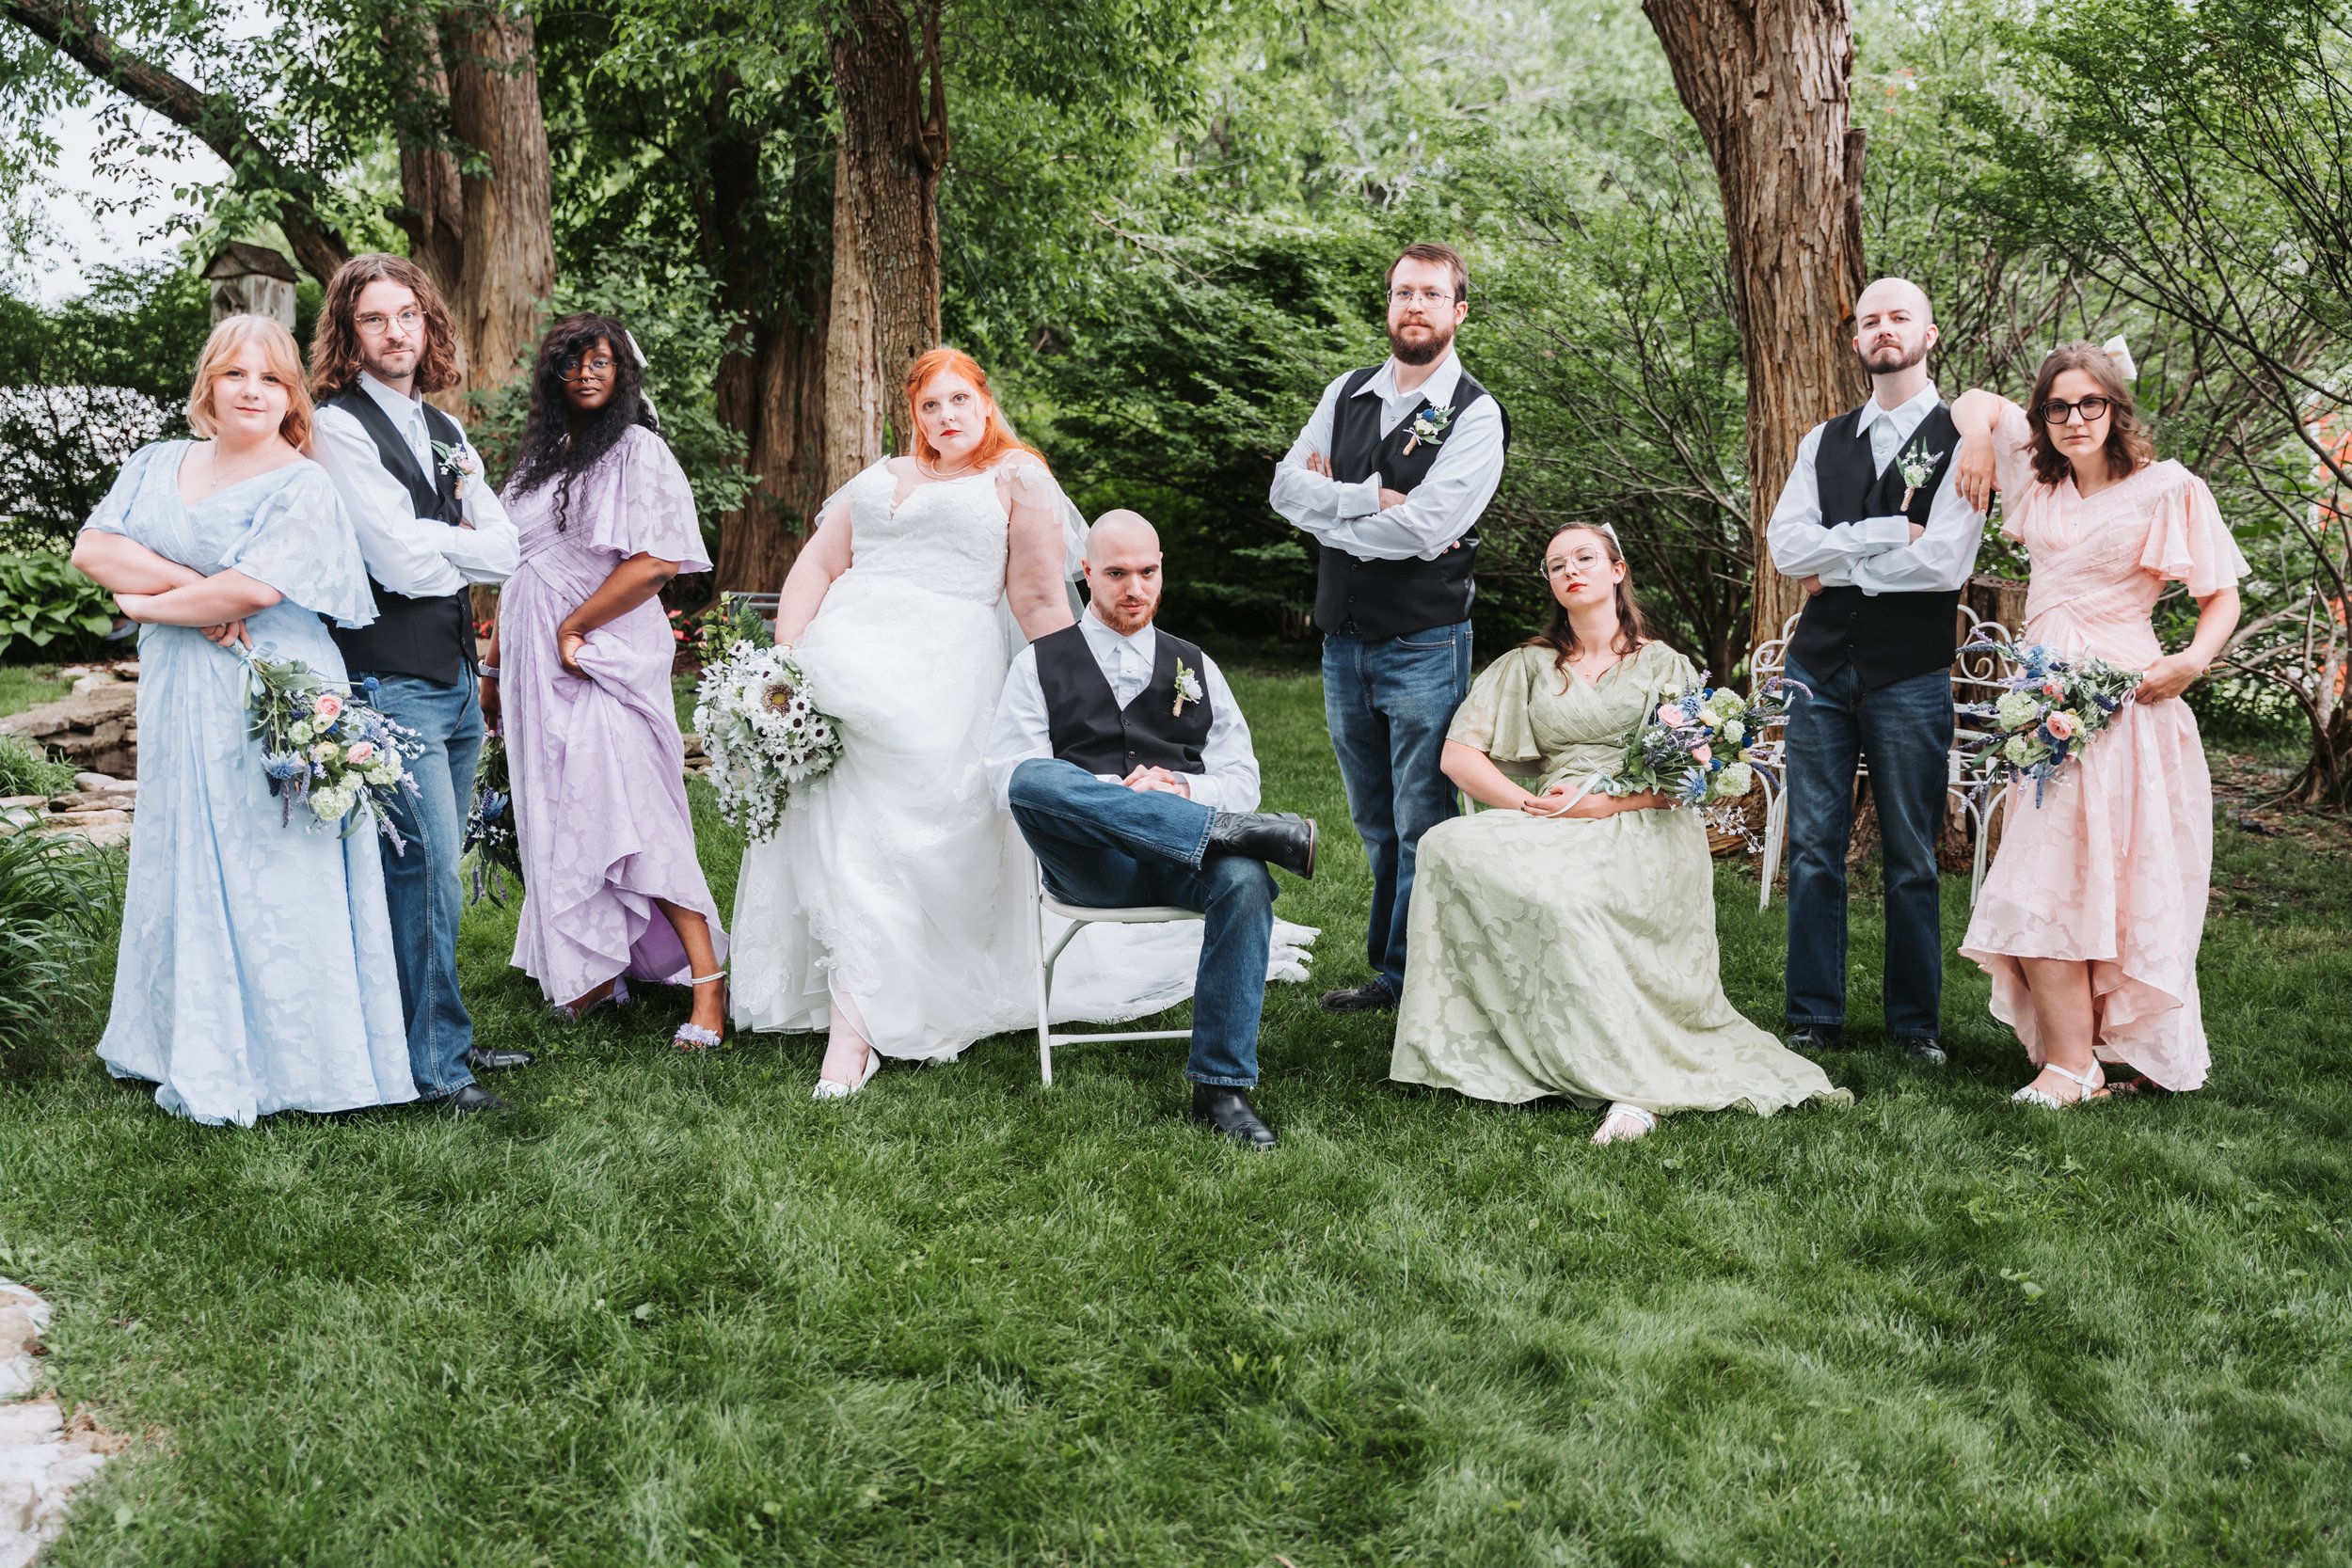
When taking formal pictures with wedding party or family, all people should be standing next to each other and turned slightly toward one another.
Key Tip: People naturally bend towards the center while standing together.
It is your job to push out the sides and make a line instead of a horseshoe.
Guys
HAND PLACEMENT should ONLY be:
One hand over the other with closed fingers ("fists"). It does not matter which hand is over the other except that everyone is the same.
The nearest hand is in a pocket with the thumb out. The further away hand is down.
Position them on the same line. Don't put one slightly in front of the other.
No hugs for formals!! Let me explain further, jackets need to be unbuttoned before a hug. Otherwise you'll get bunching in the jacket, and it doesn't photograph well.
*During formals, Never, NEVER let someone put their hands around another person's shoulders where all you can see are fingertips sticking out behind someone’s neck. It immediately pulls attention away from their faces and doesn't look professional.
For everyone, hugs should stay around the waist during formal poses and should primarily be for the couple only.
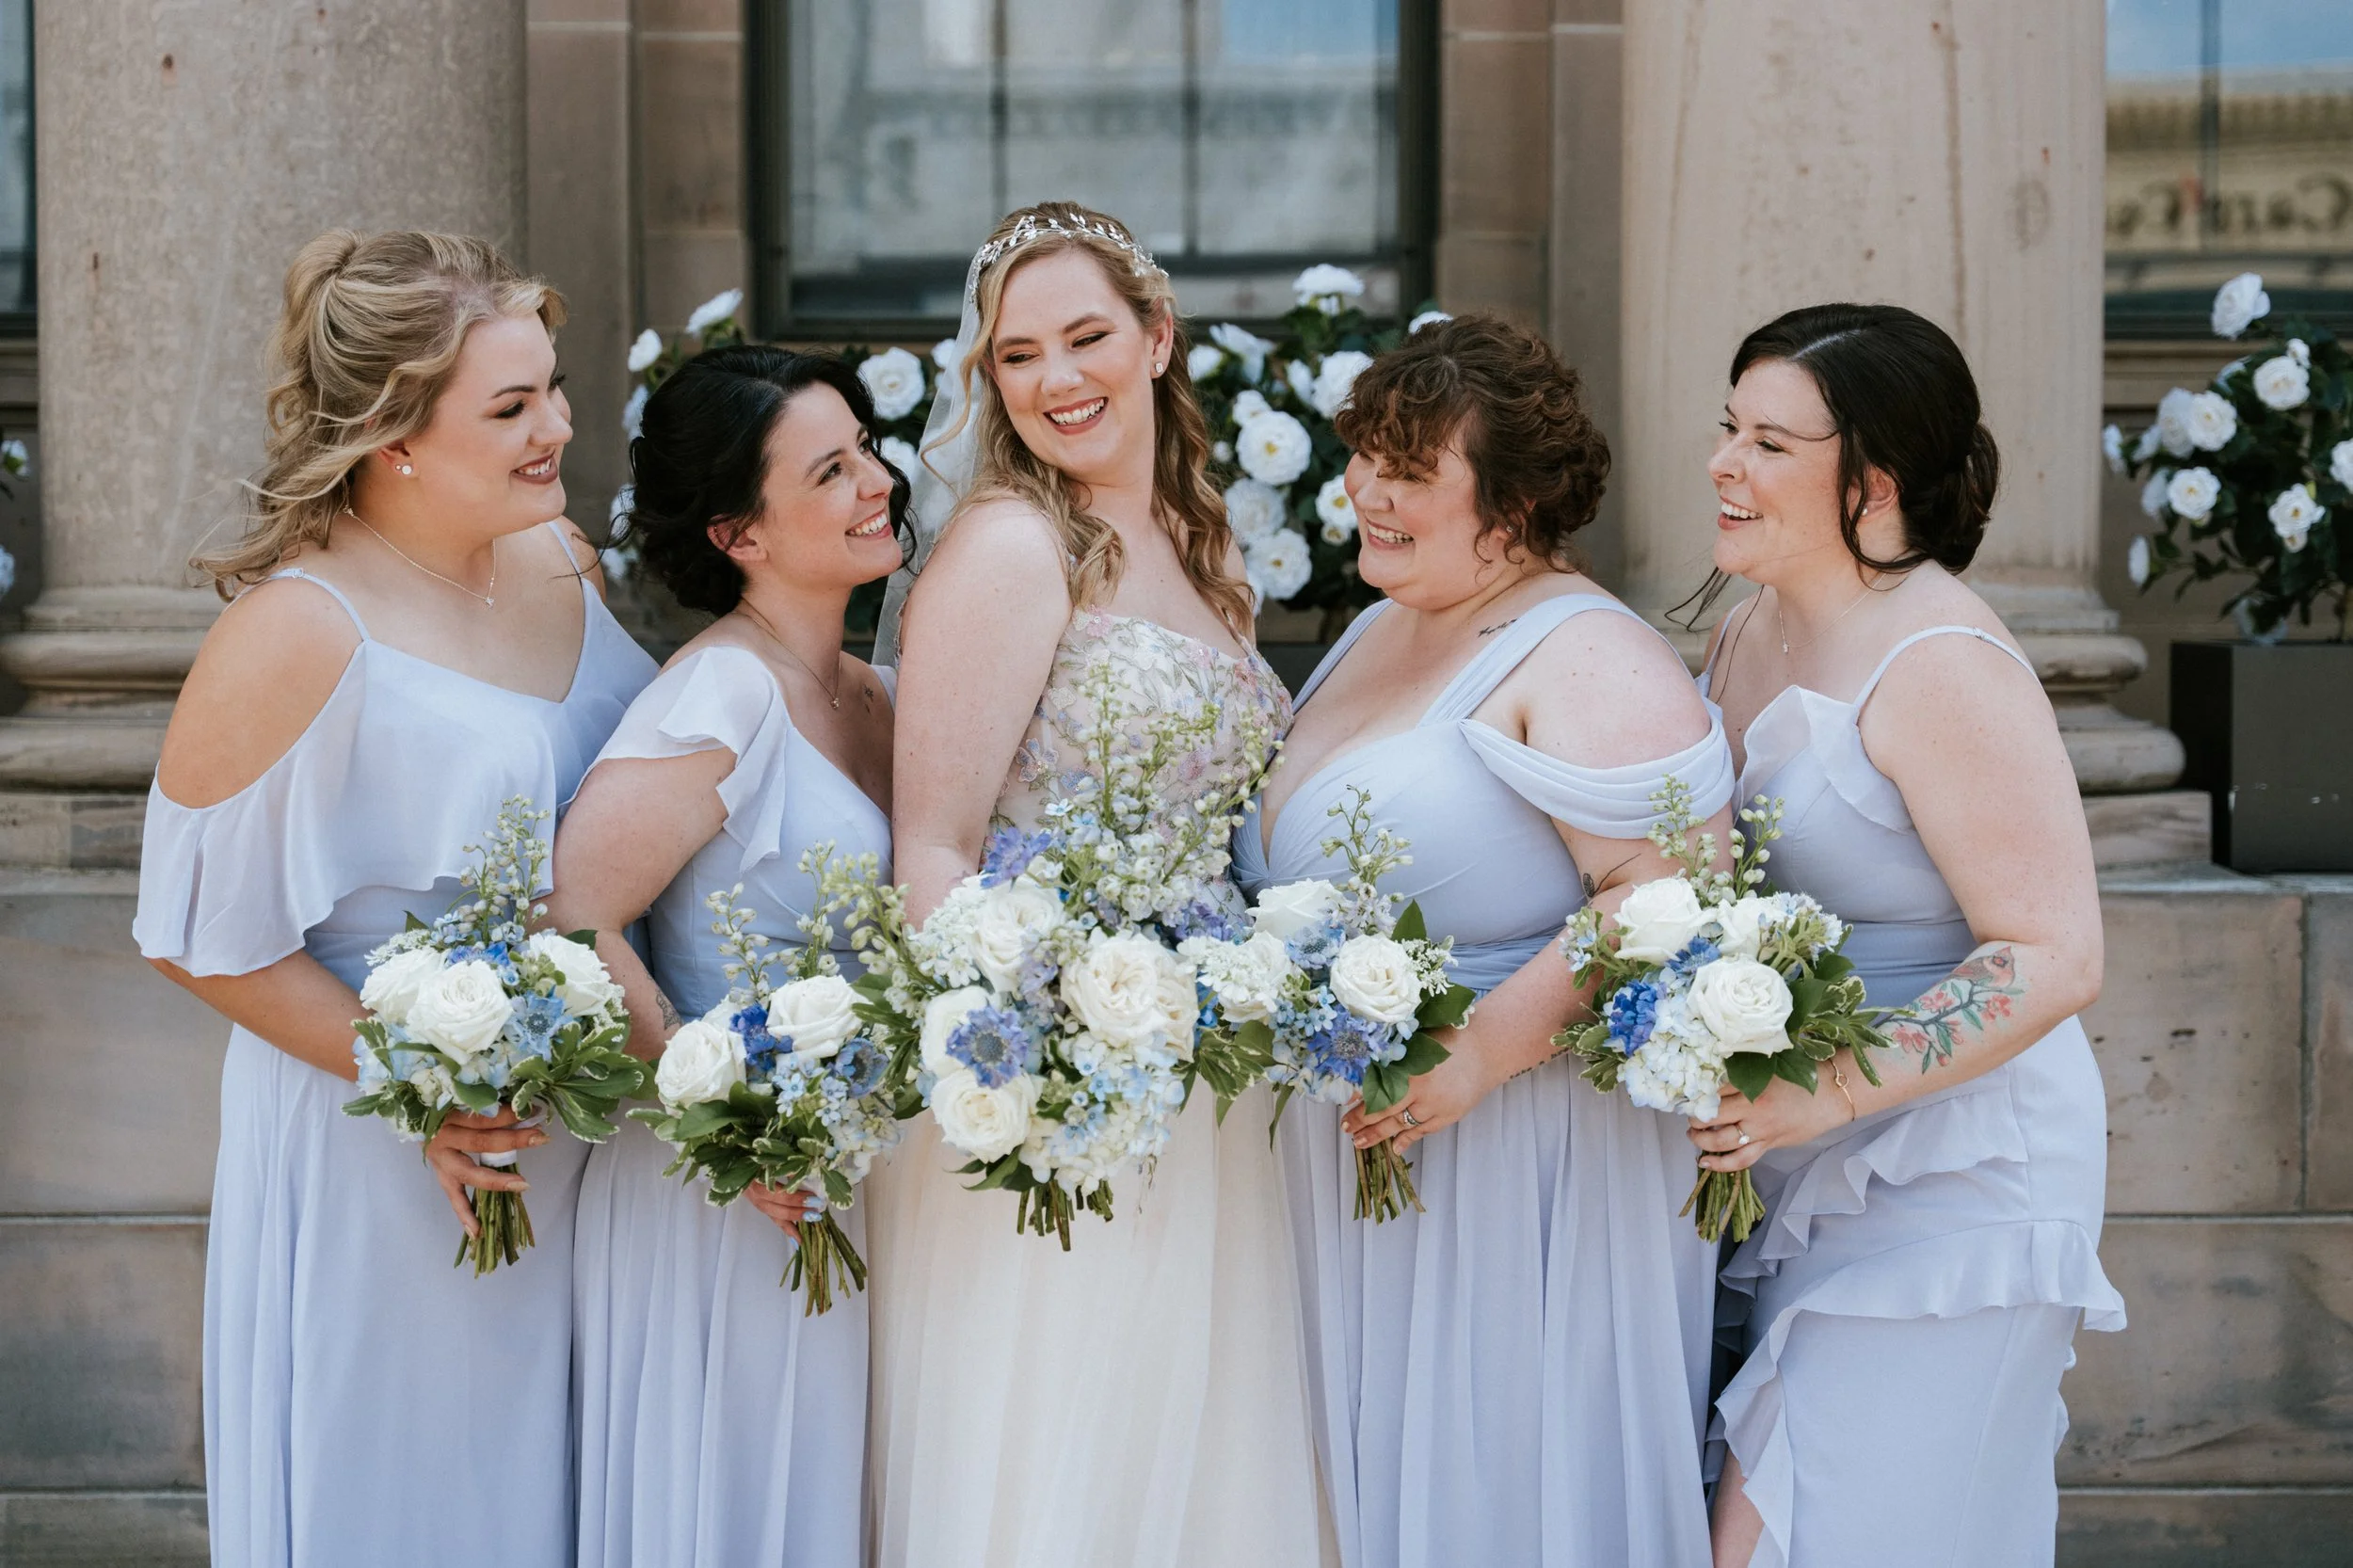
Gals
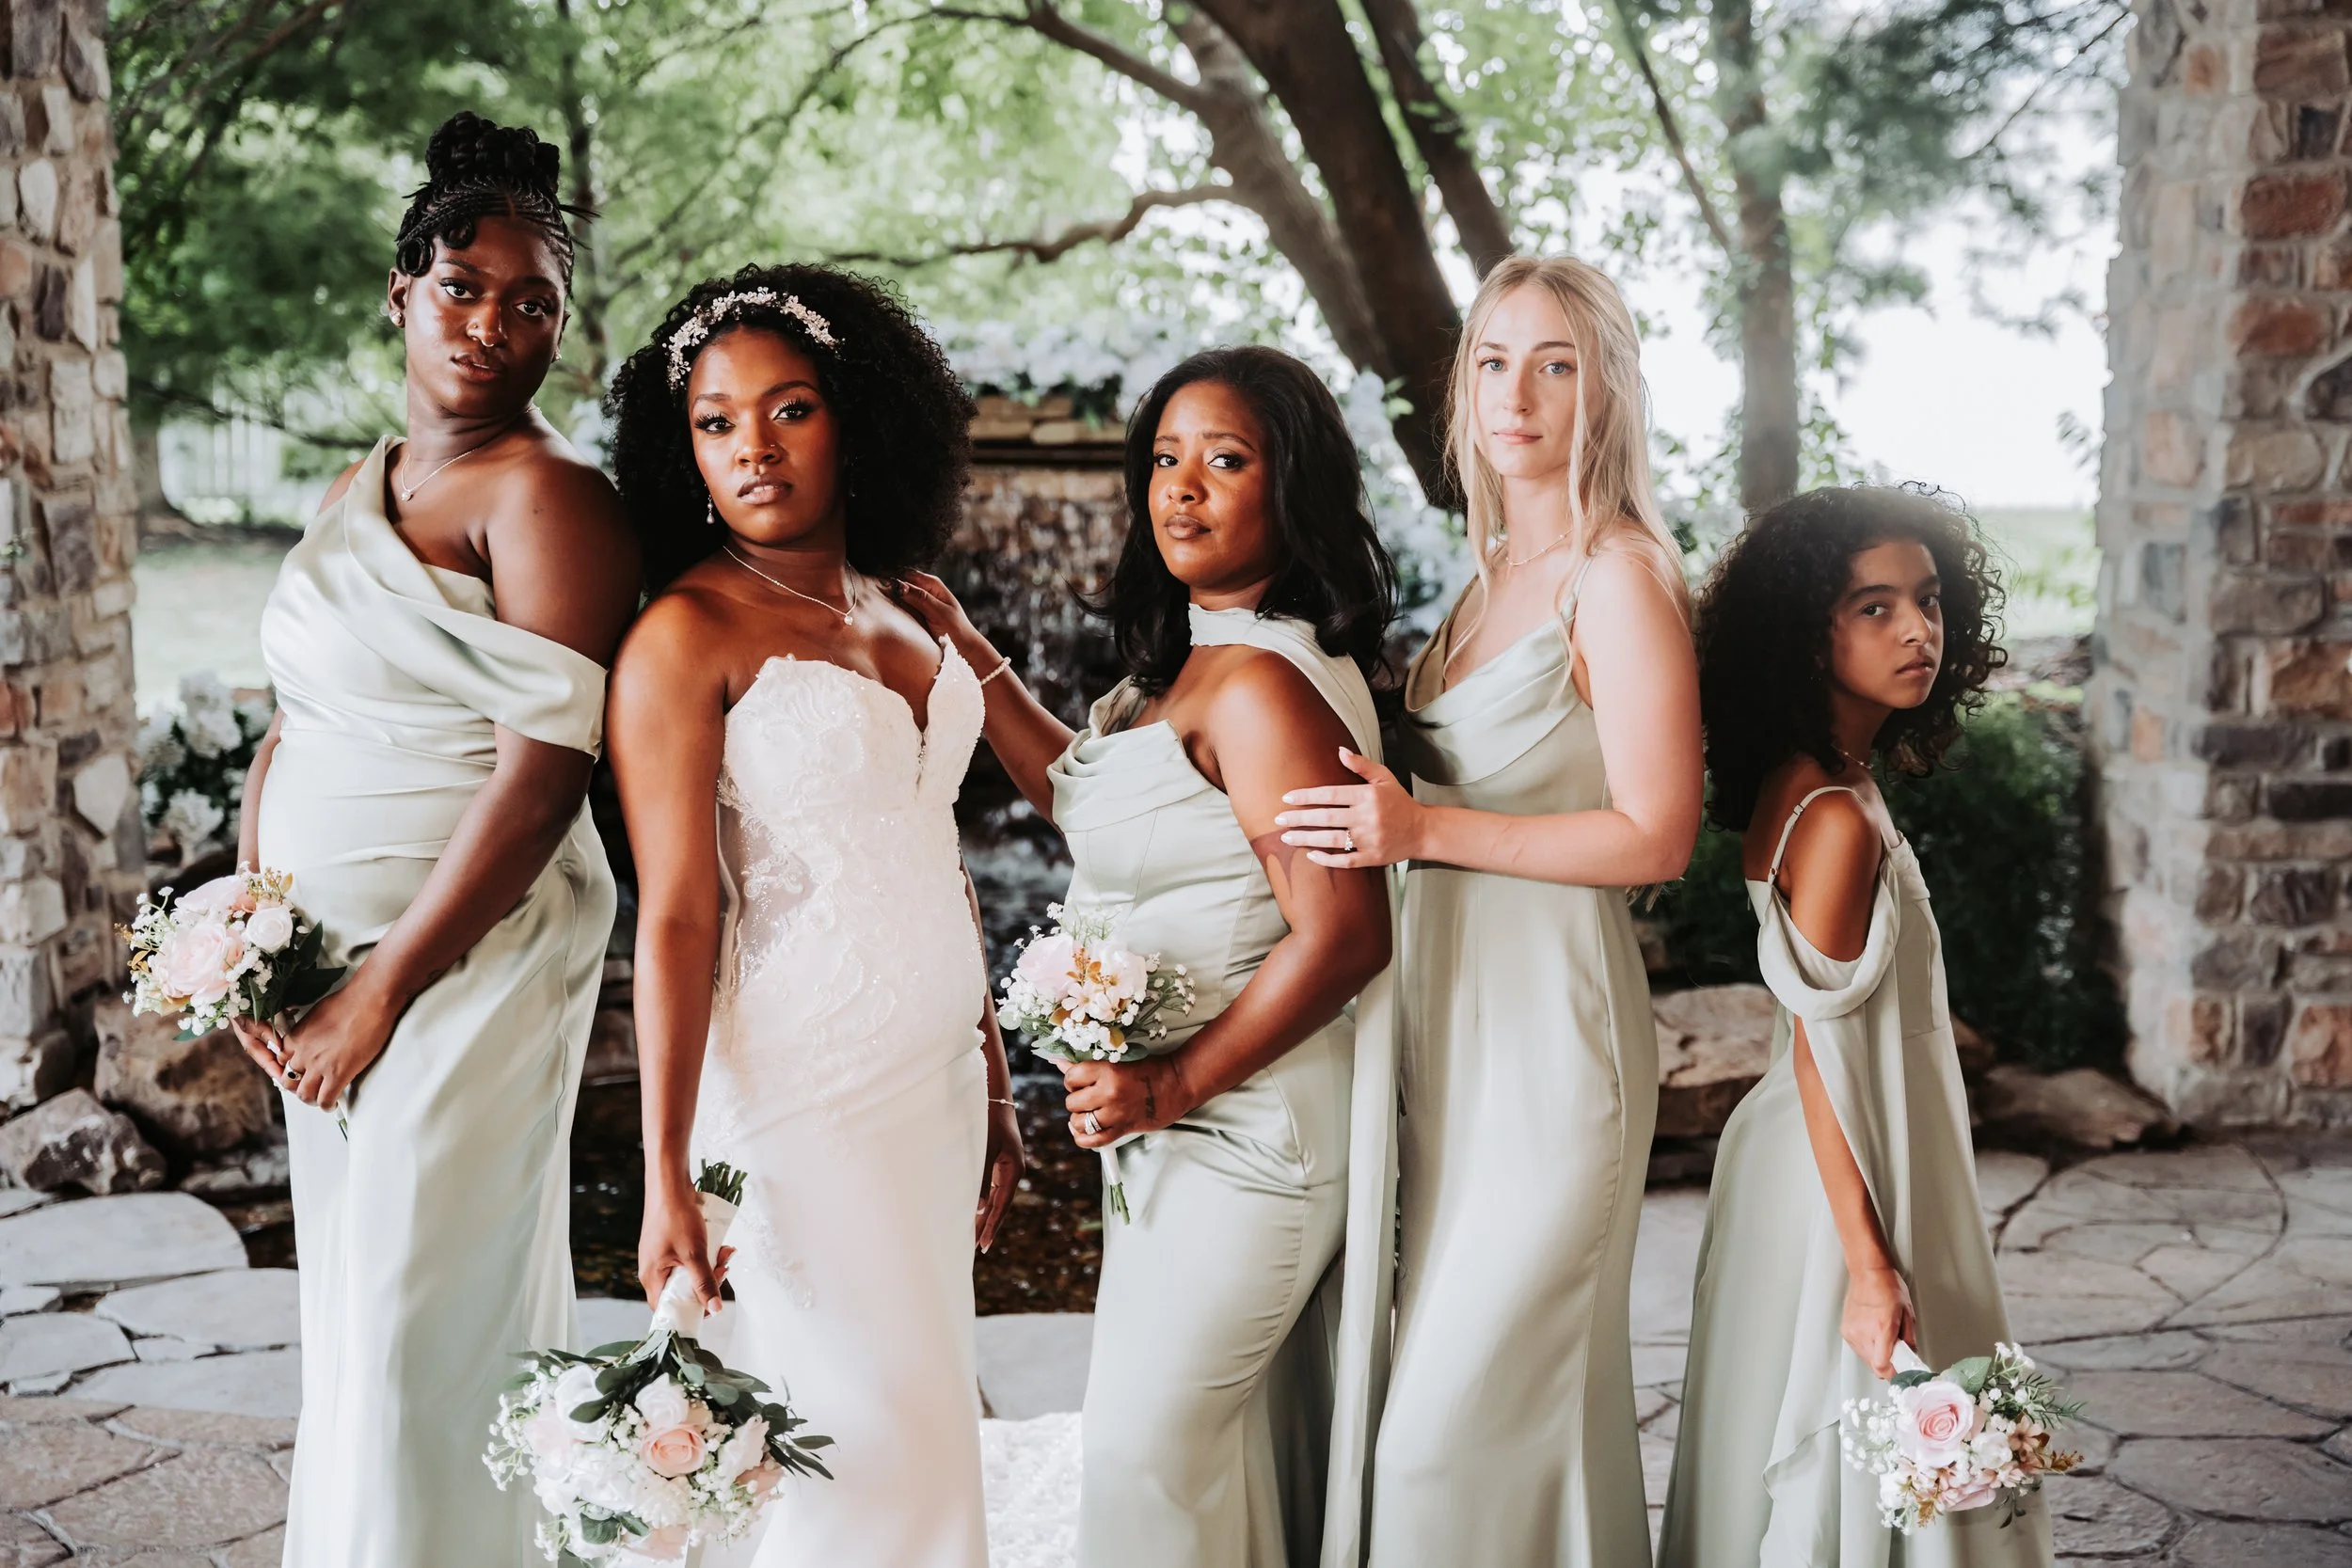
Flower height matters.
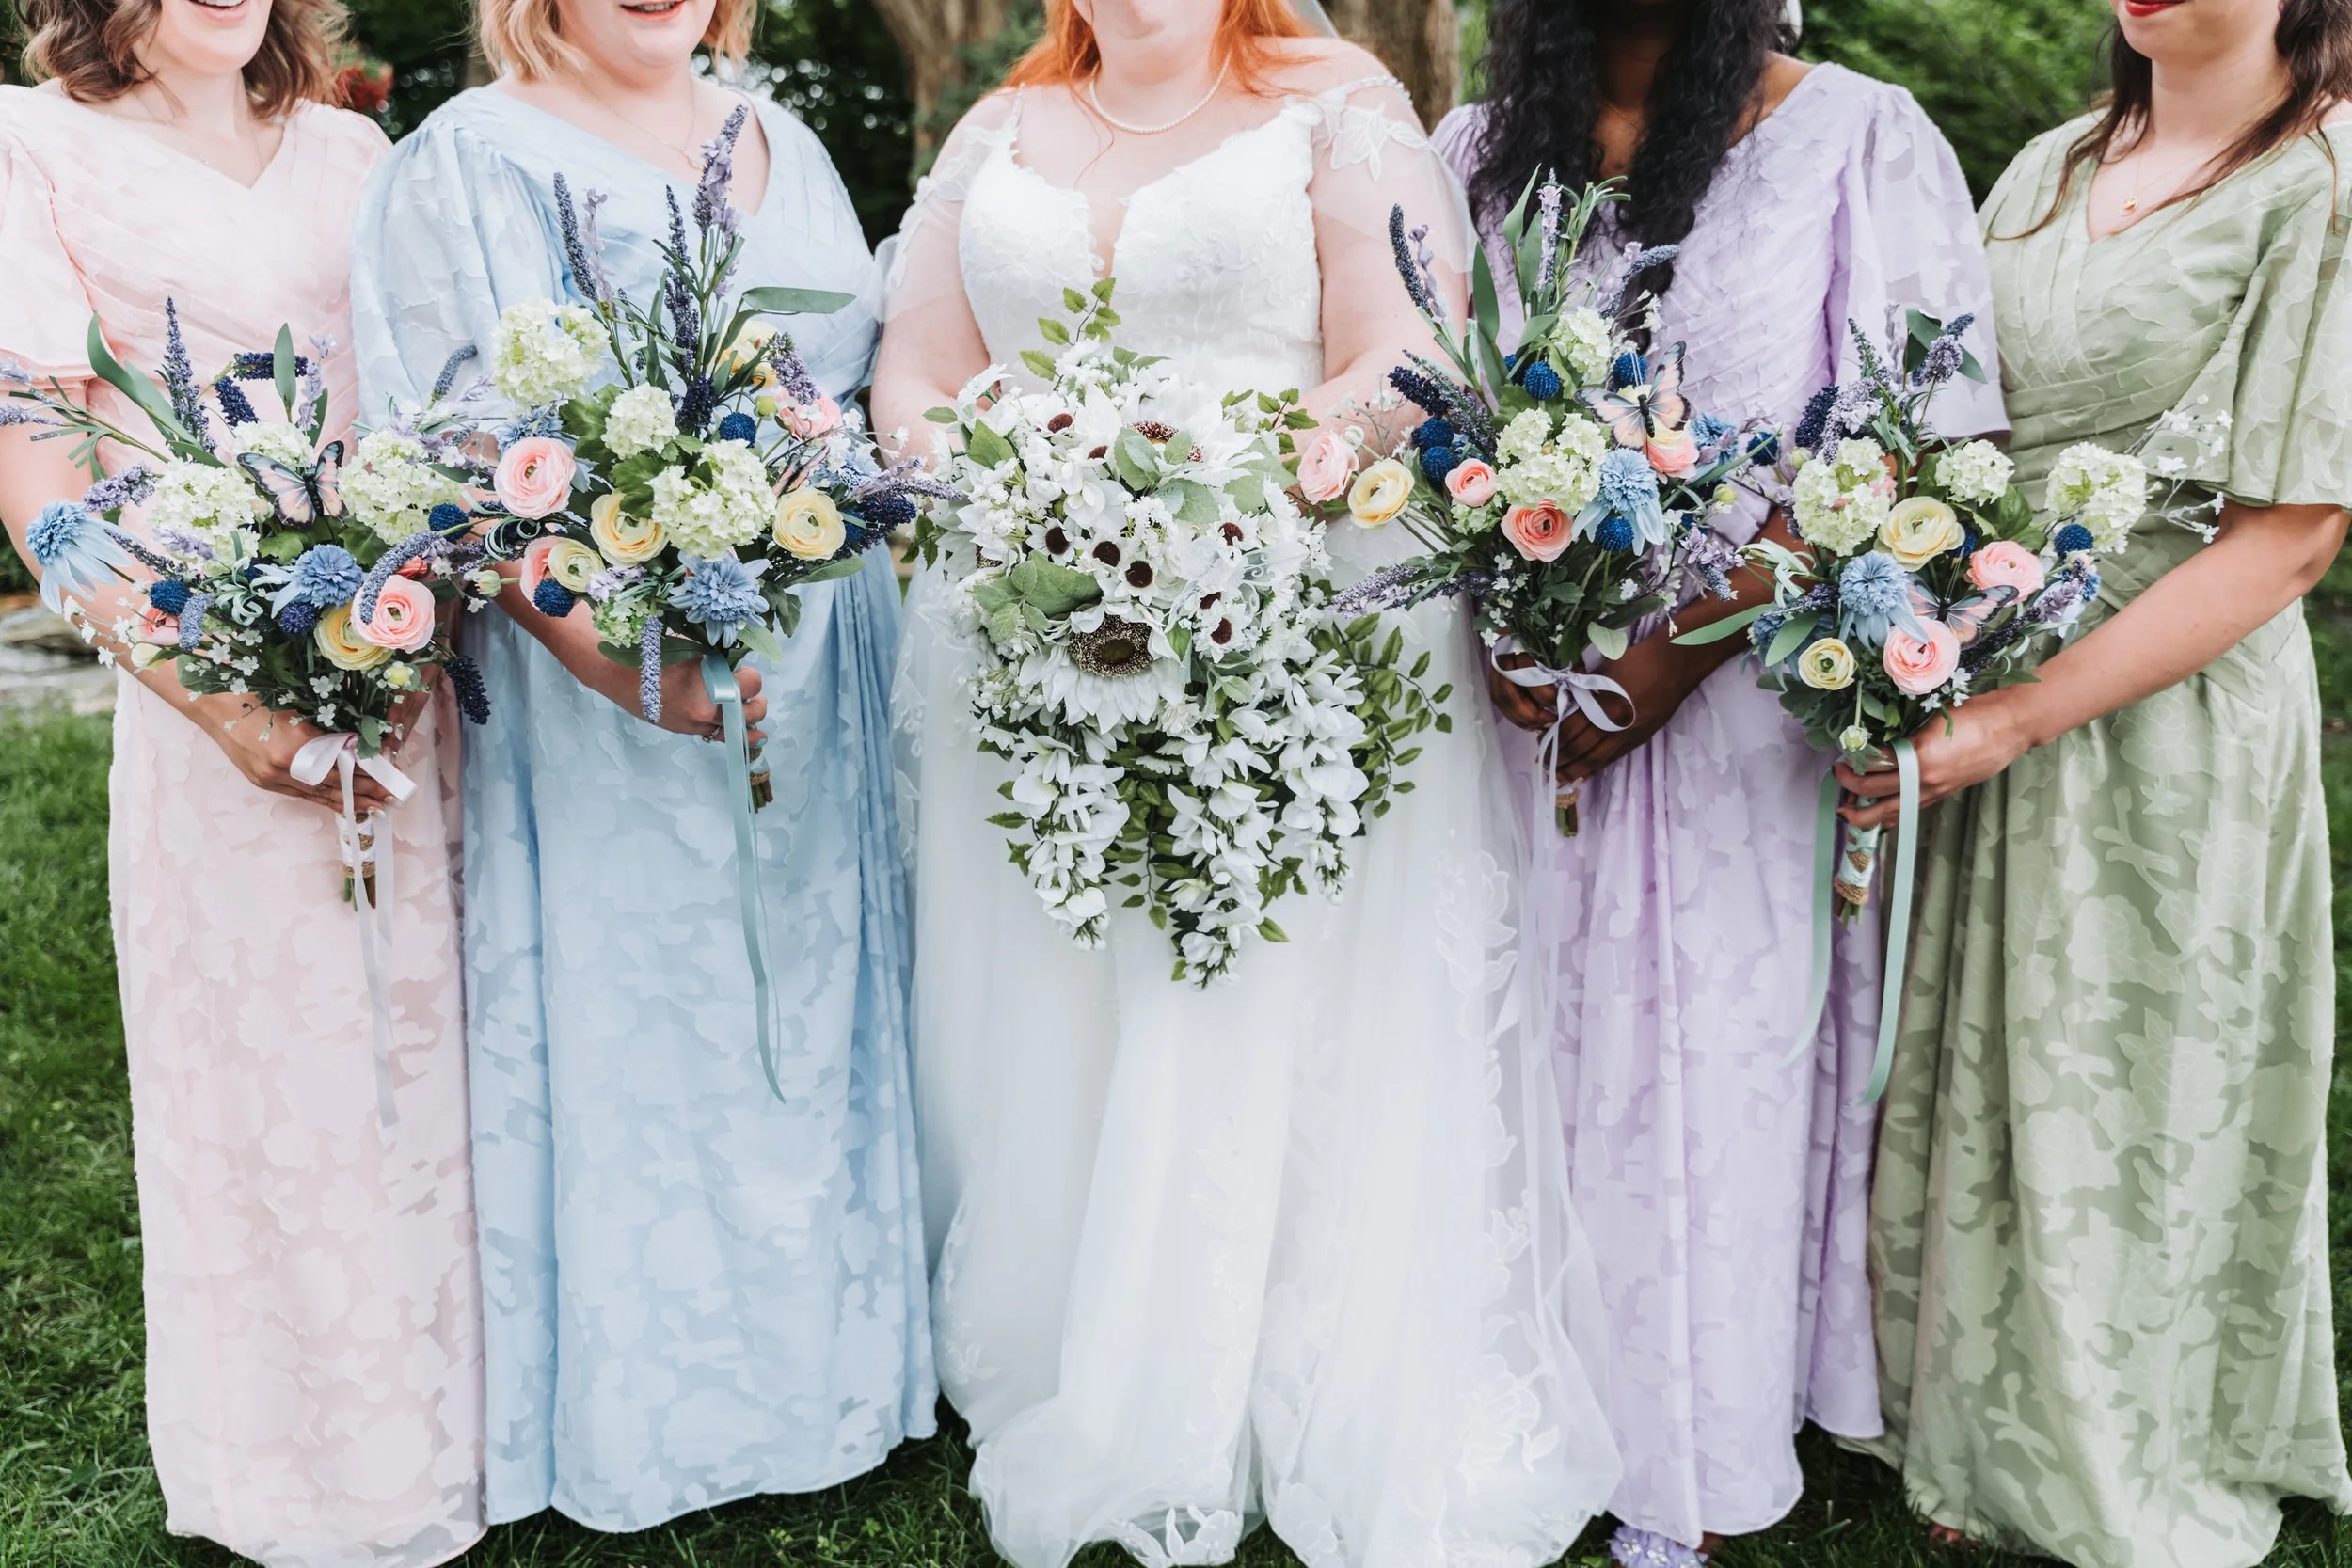
Either match the bride's bouquet height or have all the bridesmaids hold their bouquets at the same height. Nothing looks tackier than flowers floating around at different levels.
Take a few shots then squish them in close. They need to be “boob to butt”!
Turn the bride to one of the bridesmaids. Do not have her facing directly squared/forward.
If you want to take an angled picture of the bride below her head, be VERY STRATIGIC how you place her in the frame. Women want to look flattering and most low angle shots do not give that appeal. Just be careful!
For the gals:
Turn the resting foot slightly forward, but not all the way.
A slight bend in the knee works well.
Stretching the front leg out can also be flattering.
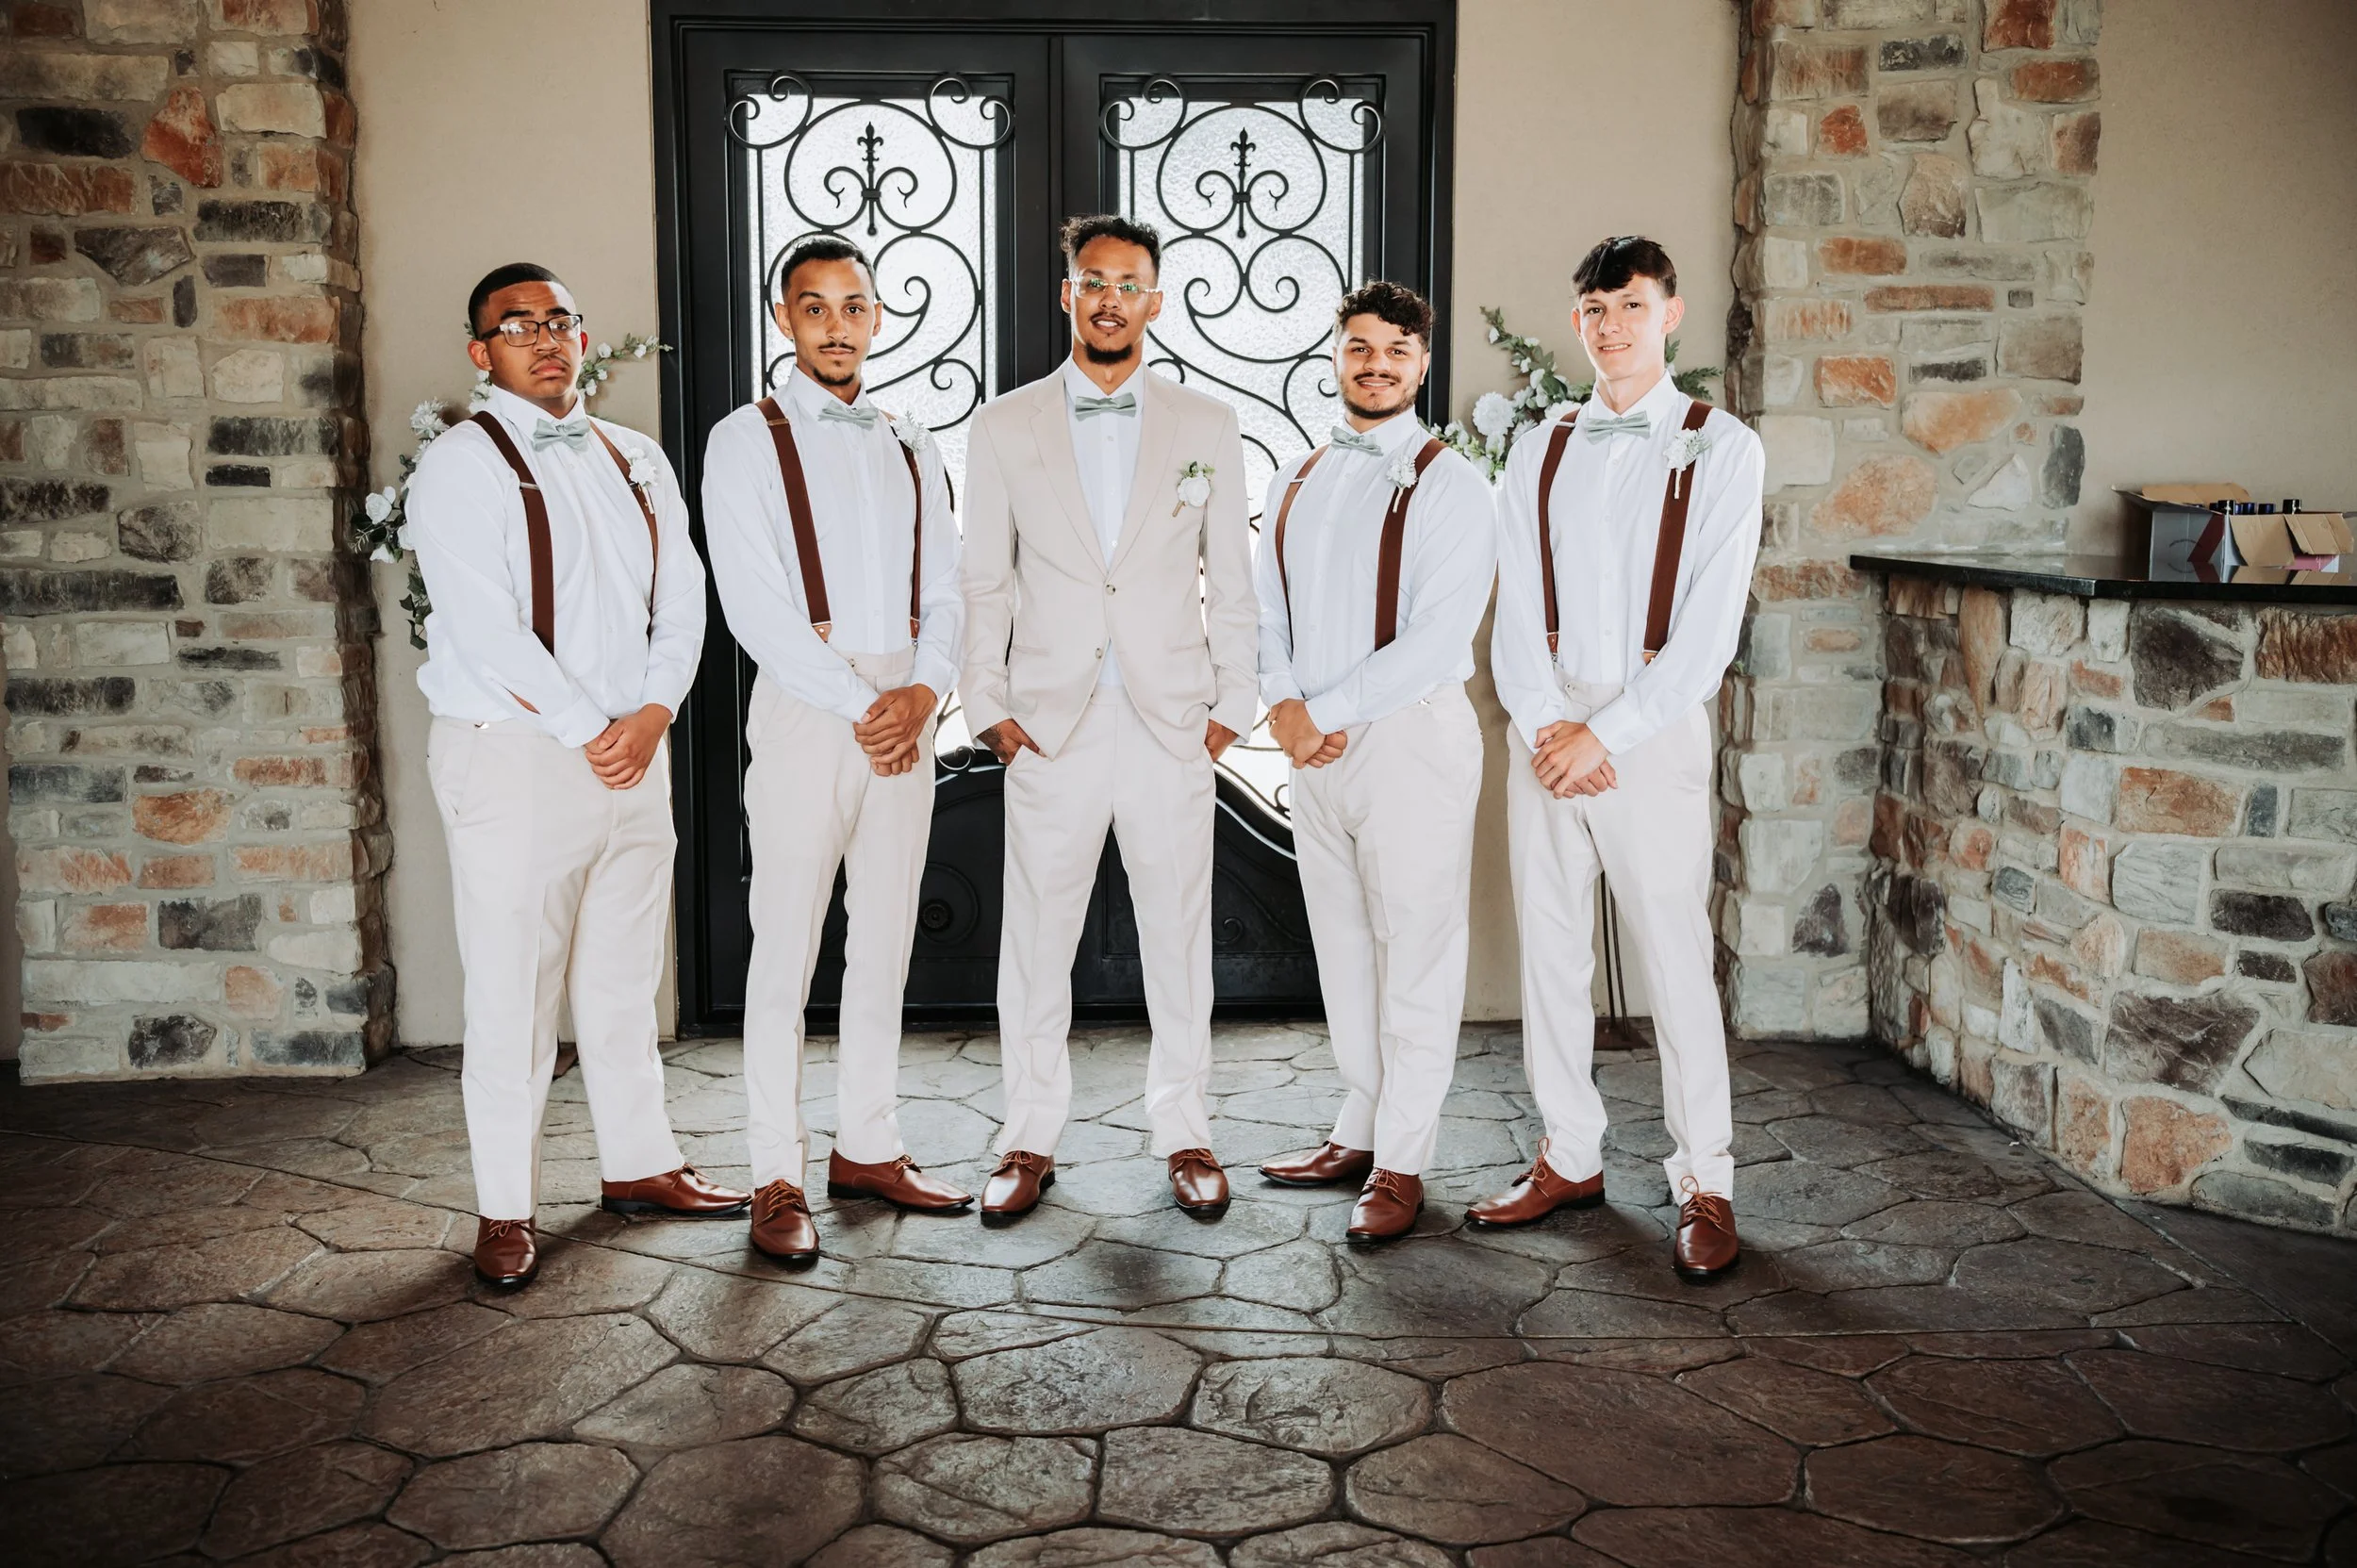
For the guys:
Point the resting foot toward the photographer.
For Everyone: Feet Position Matters
Most people never notice feet until something looks off.
Everyone should stand on their back foot and rest on the front foot. This creates a more relaxed and flattering stance.
For the girls:
Turn the resting foot slightly forward, but not all the way.
A slight bend in the knee works well.
Stretching the front leg out can also be flattering.
Don't be afraid to make small adjustments. A few inches can completely change how natural a pose feels.
Casual pictures are more relaxed with these rules.
During the formal pictures being meticulous matters the most!
3. Posing The Family
This one is more for my associates, but it’s good info regardless.
I can’t be serious enough, hand and foot position can make a polished image look intentional or make it feel awkward.
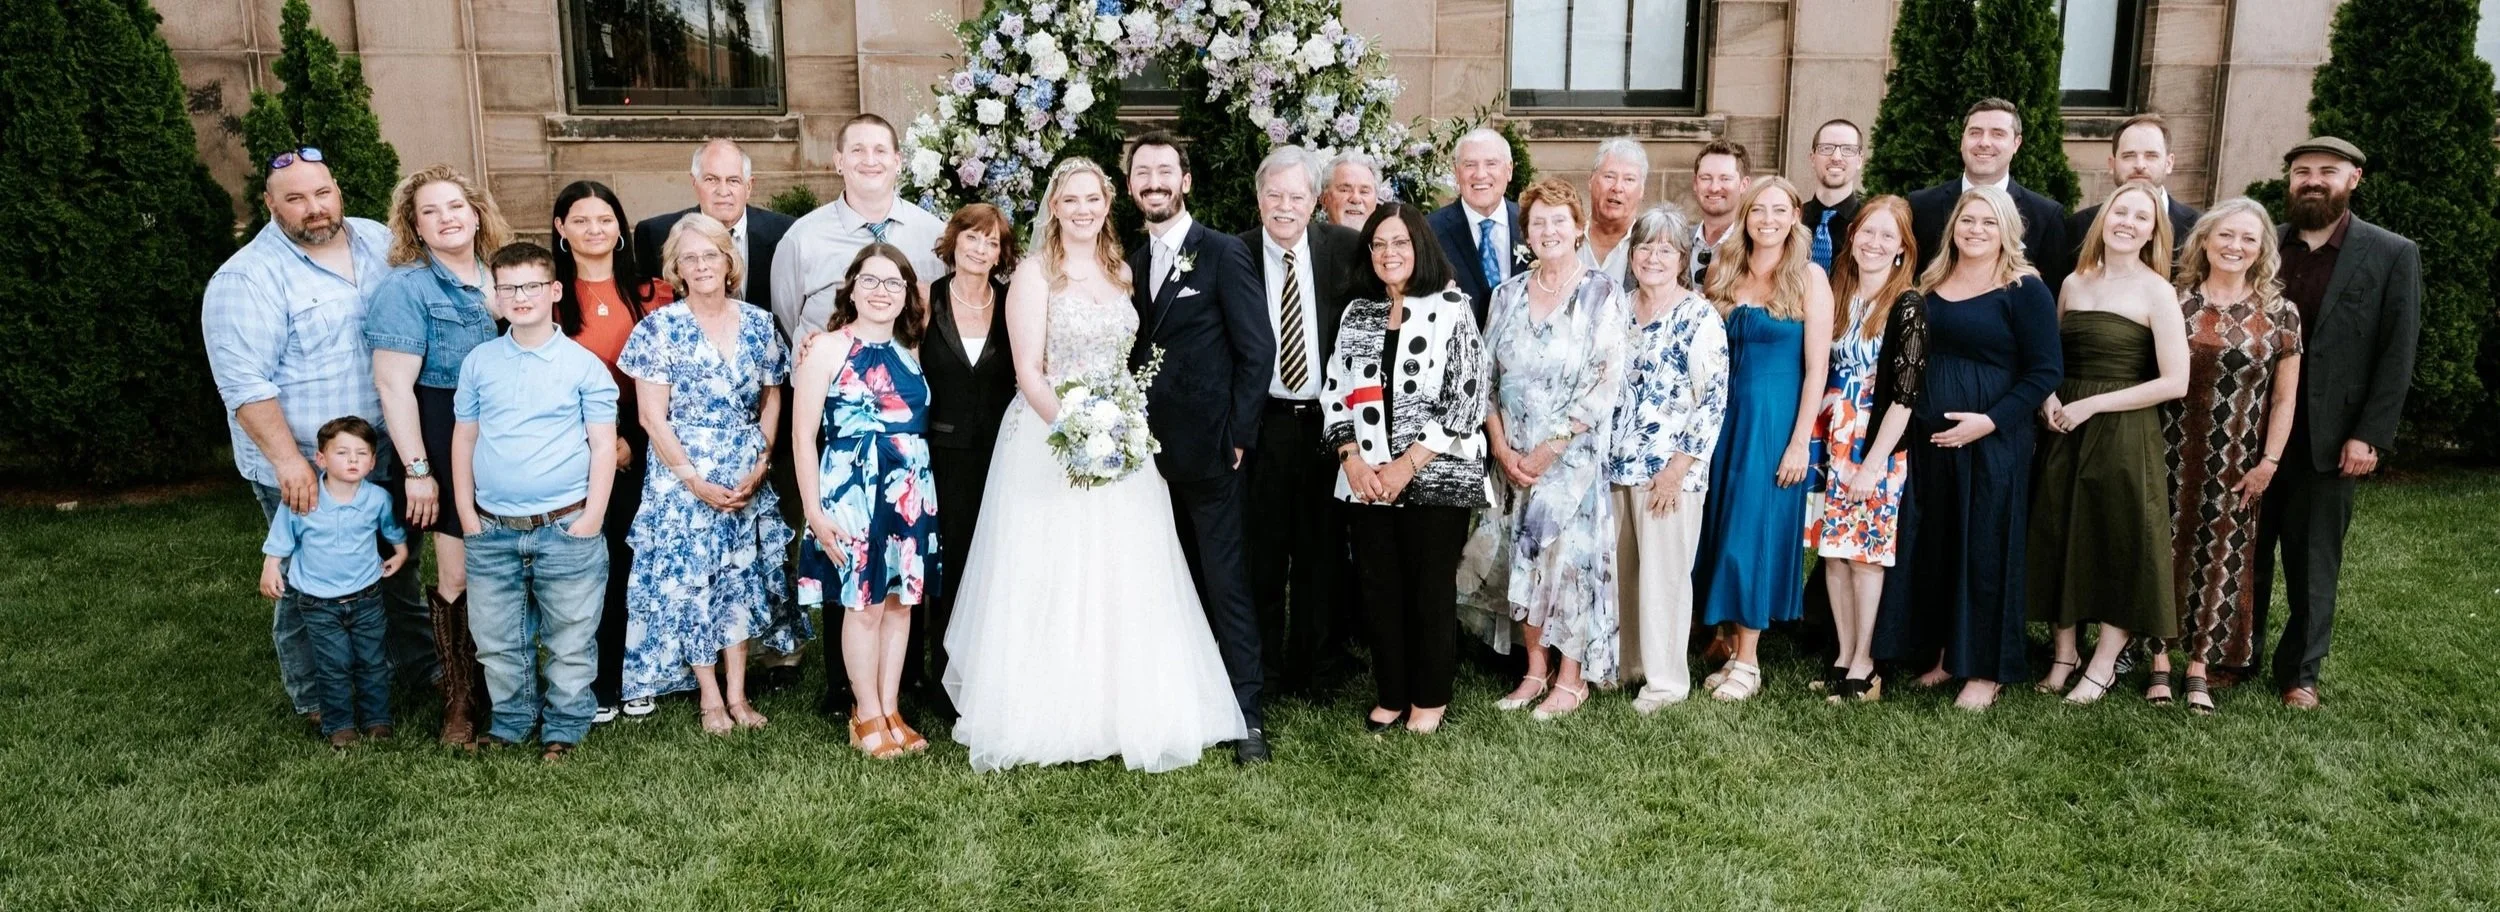
Family pictures: The bride should be on the photographers left and the groom should be on the right for these shots, no matter where they stood for the wedding.
Moms and dads of the couple need direction too!
Brides Mom: Mom hugs bride with one arm behind the bride and the other hand on the brides flowers, arm, or touching the bride somewhere.
Grooms Mom: Holds the grooms arm with both hands. Make sure her wrist corsage is showing. This sets her apart from everyone else in the wedding.
Brides and Grooms dads: Stands at mom’s back. “BELLY TO BACK” in a straight line with his hand (not his thumb) in his pocket
Grandparents should be the next person in line to the parents. Not siblings! Grandparents stand on the side of the family they are with. Grandmothers in front of Grandfathers.
Grandmothers: Front hand touches the arm of the father (or mother) in front of her.
Grandfathers: Stands at grandmother’s back. “BELLY TO BACK” in a straight line with his hand (not his thumb) in his pocket.

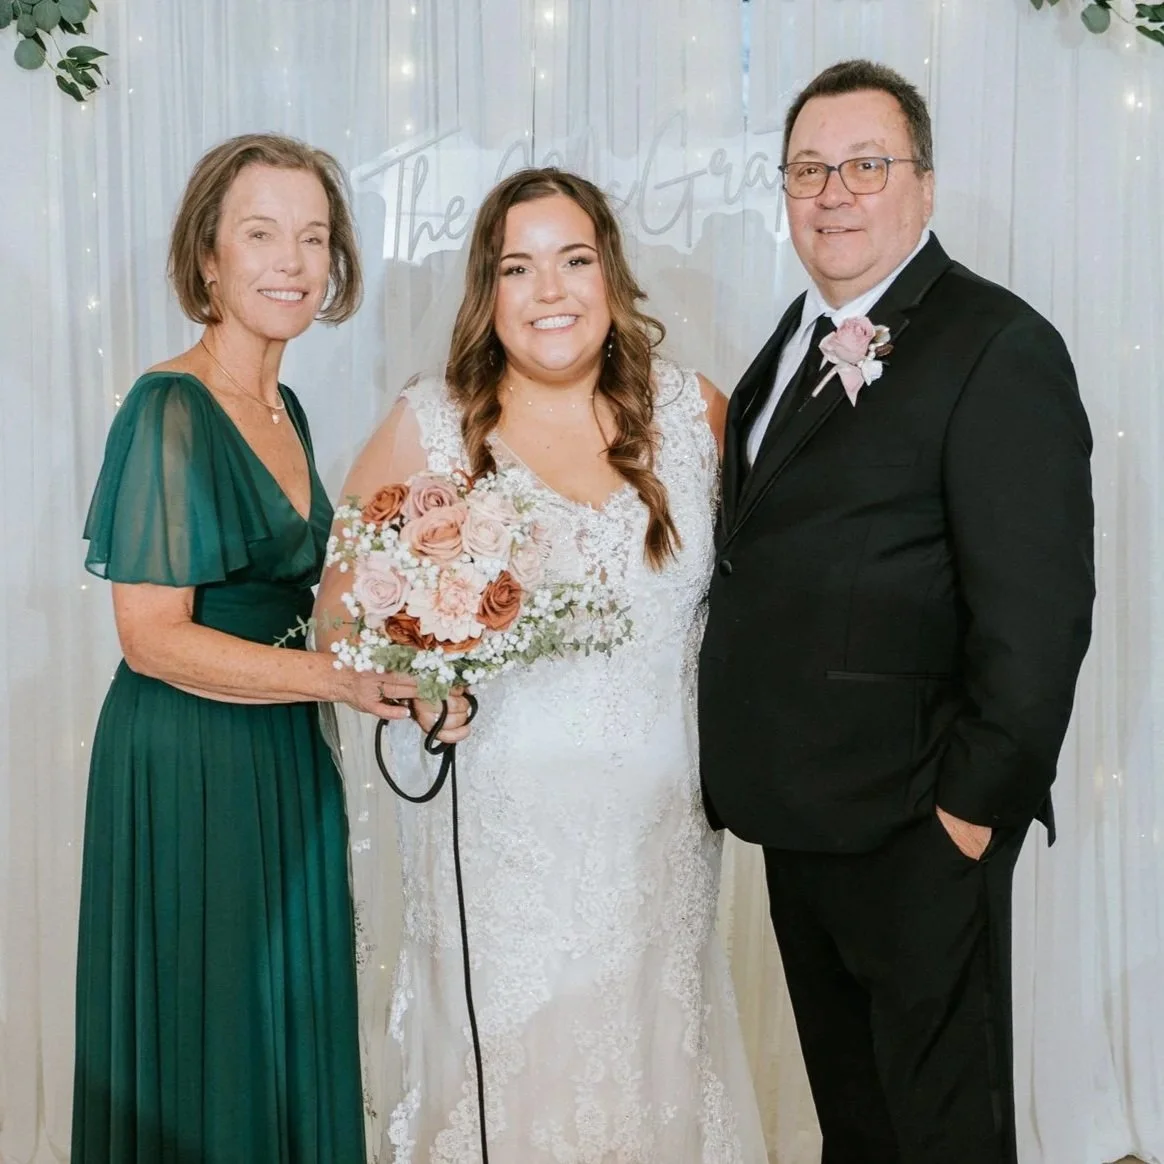
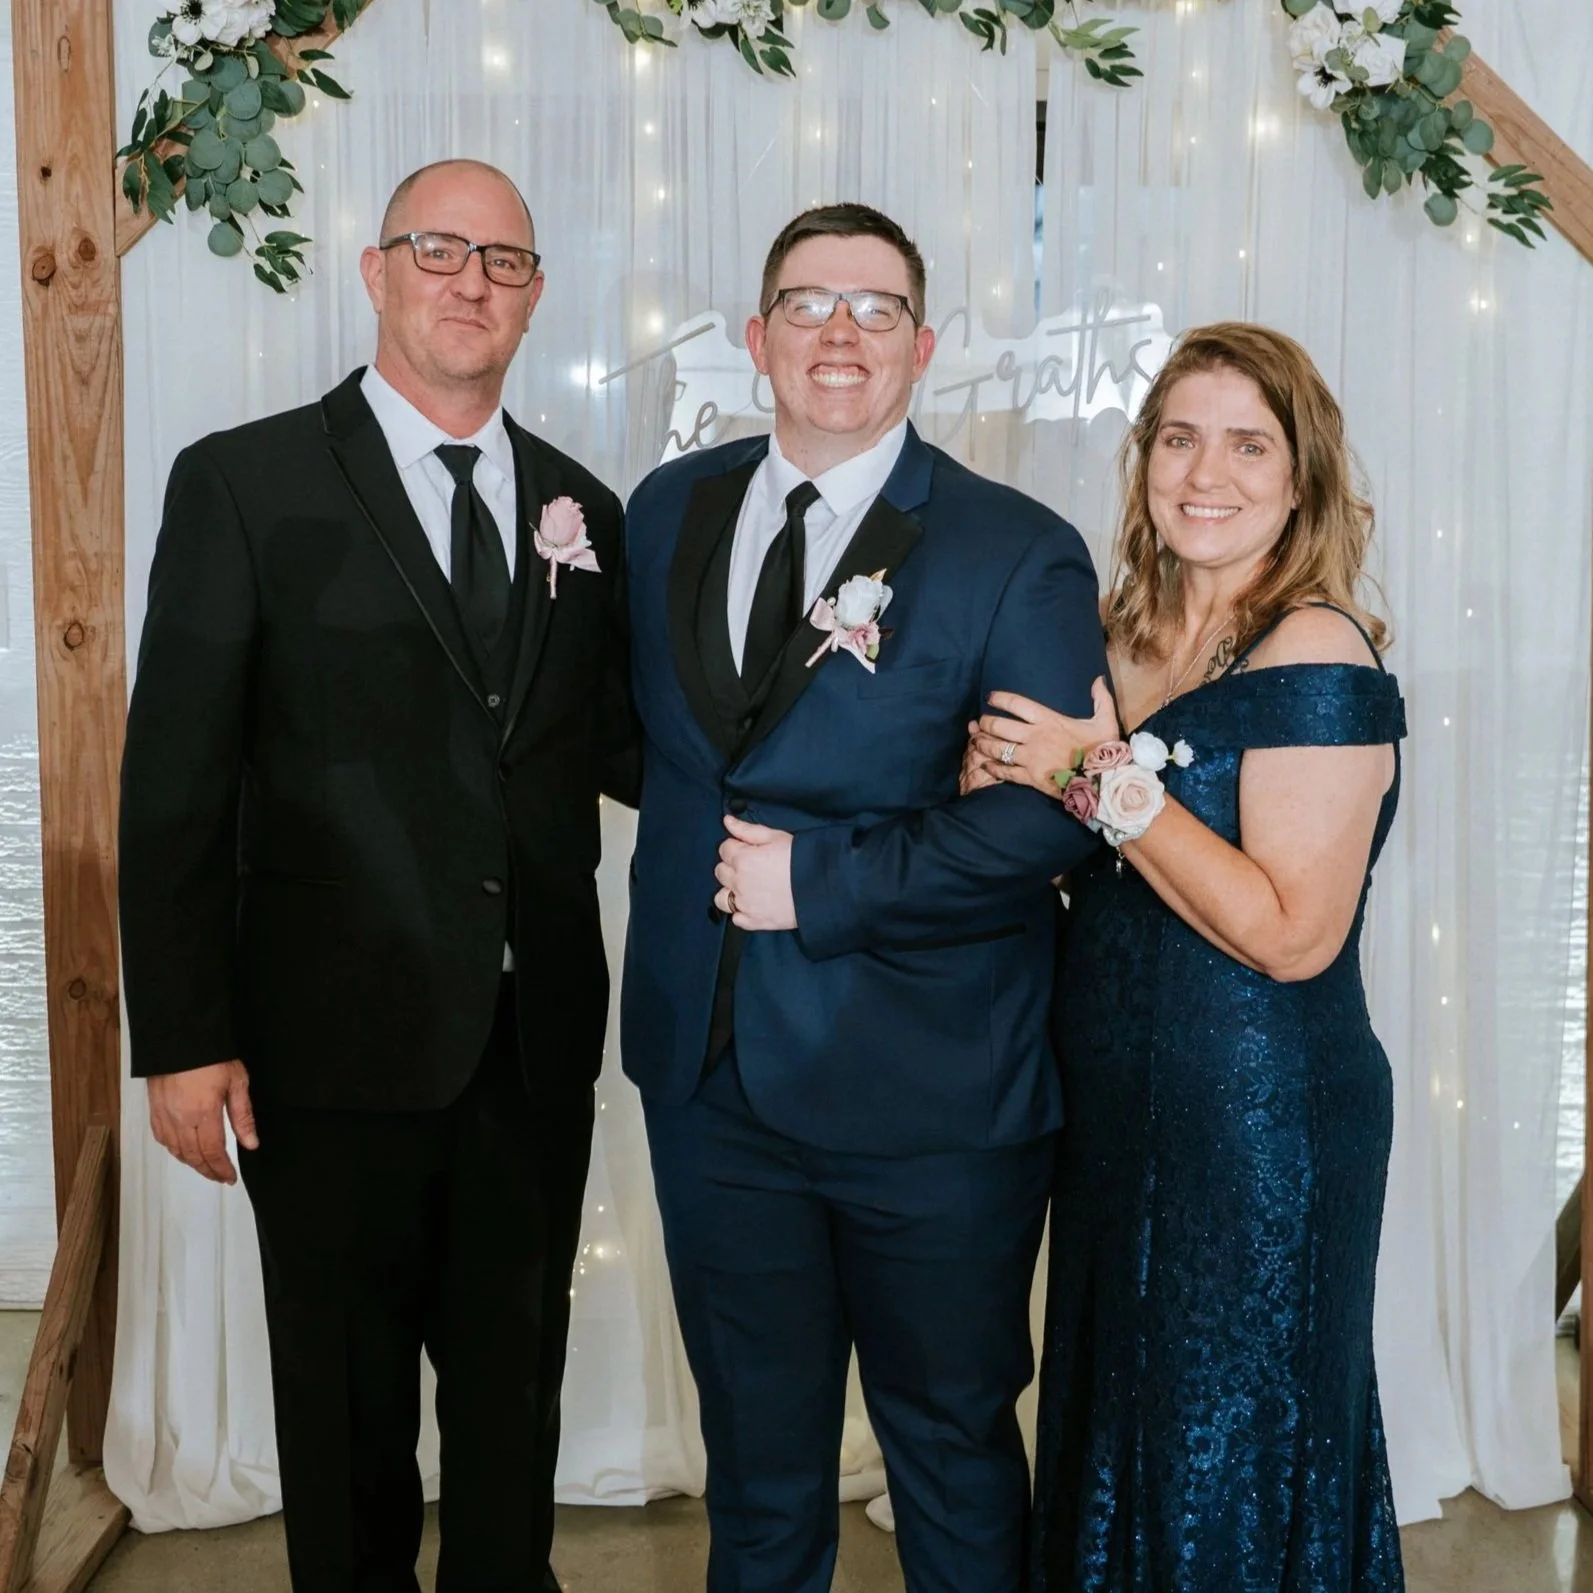
Grandparents should be the next person in line after the parents. Not siblings! The bride and grooms children are the exception to this rule. The Bride and grooms children may stand with their parents.
Grandparents: stand on the side of the family they are with. Grandmothers in front of Grandfathers.
Grandmothers: Front hand touches the arm of the father (or mother) in front of her.
Grandfathers: Stands at grandmother’s back. “BELLY TO BACK” in a straight line with his hand (not his thumb) in his pocket.
Siblings: All siblings should stand around (behind and on the sides of the parents. This depends on siblings ages, their own family sizes, and each persons height.)
Aunts, Uncles, Cousins, other family, and friends: These people stand on the outside of the group.
Key Tip: No one stands directly behind the bride and groom at any point during these pictures. If the brides train is placed behind the bride and groom this helps with the flow of people as most people will not attempt to stand on the train.
The Art Behind the Moments
4. Details & Backgrounds
The big moments are important, but it's often the little details that help tell the complete story of a wedding day.
Train yourself to slow down and look beyond the obvious.
Groom Details
Don't just photograph the groom standing there.
Look for the little things.
Capture:
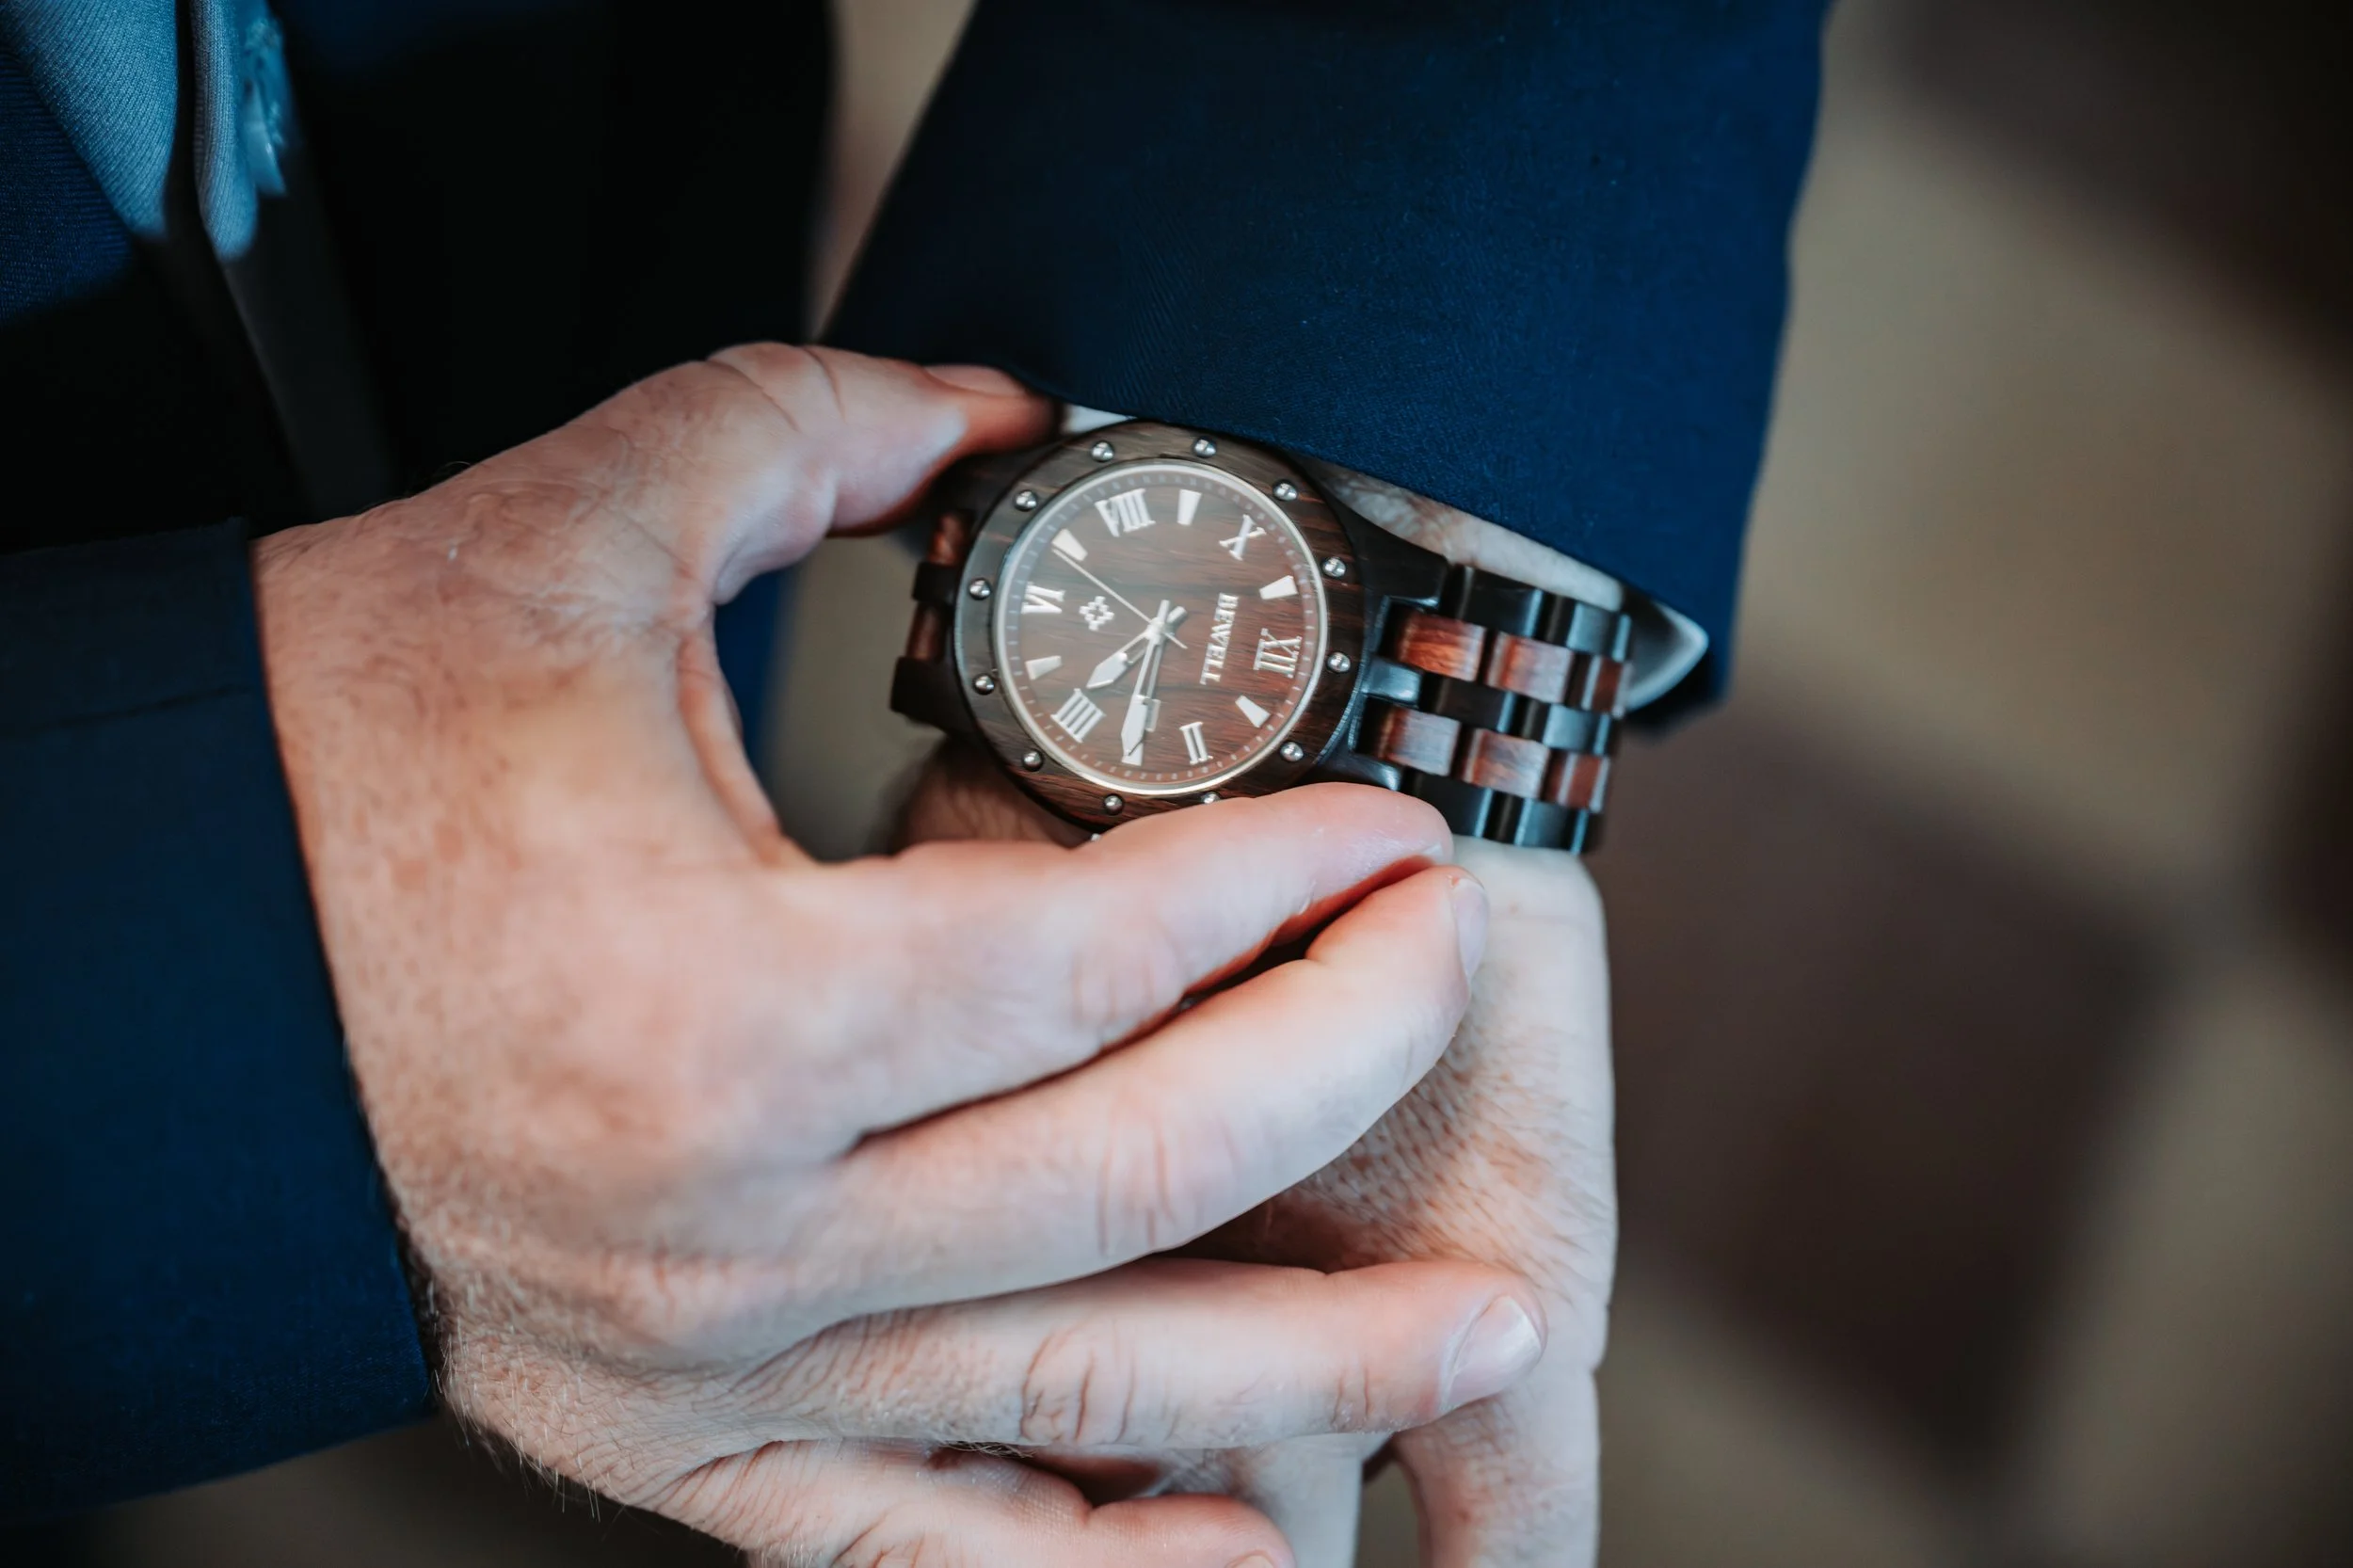
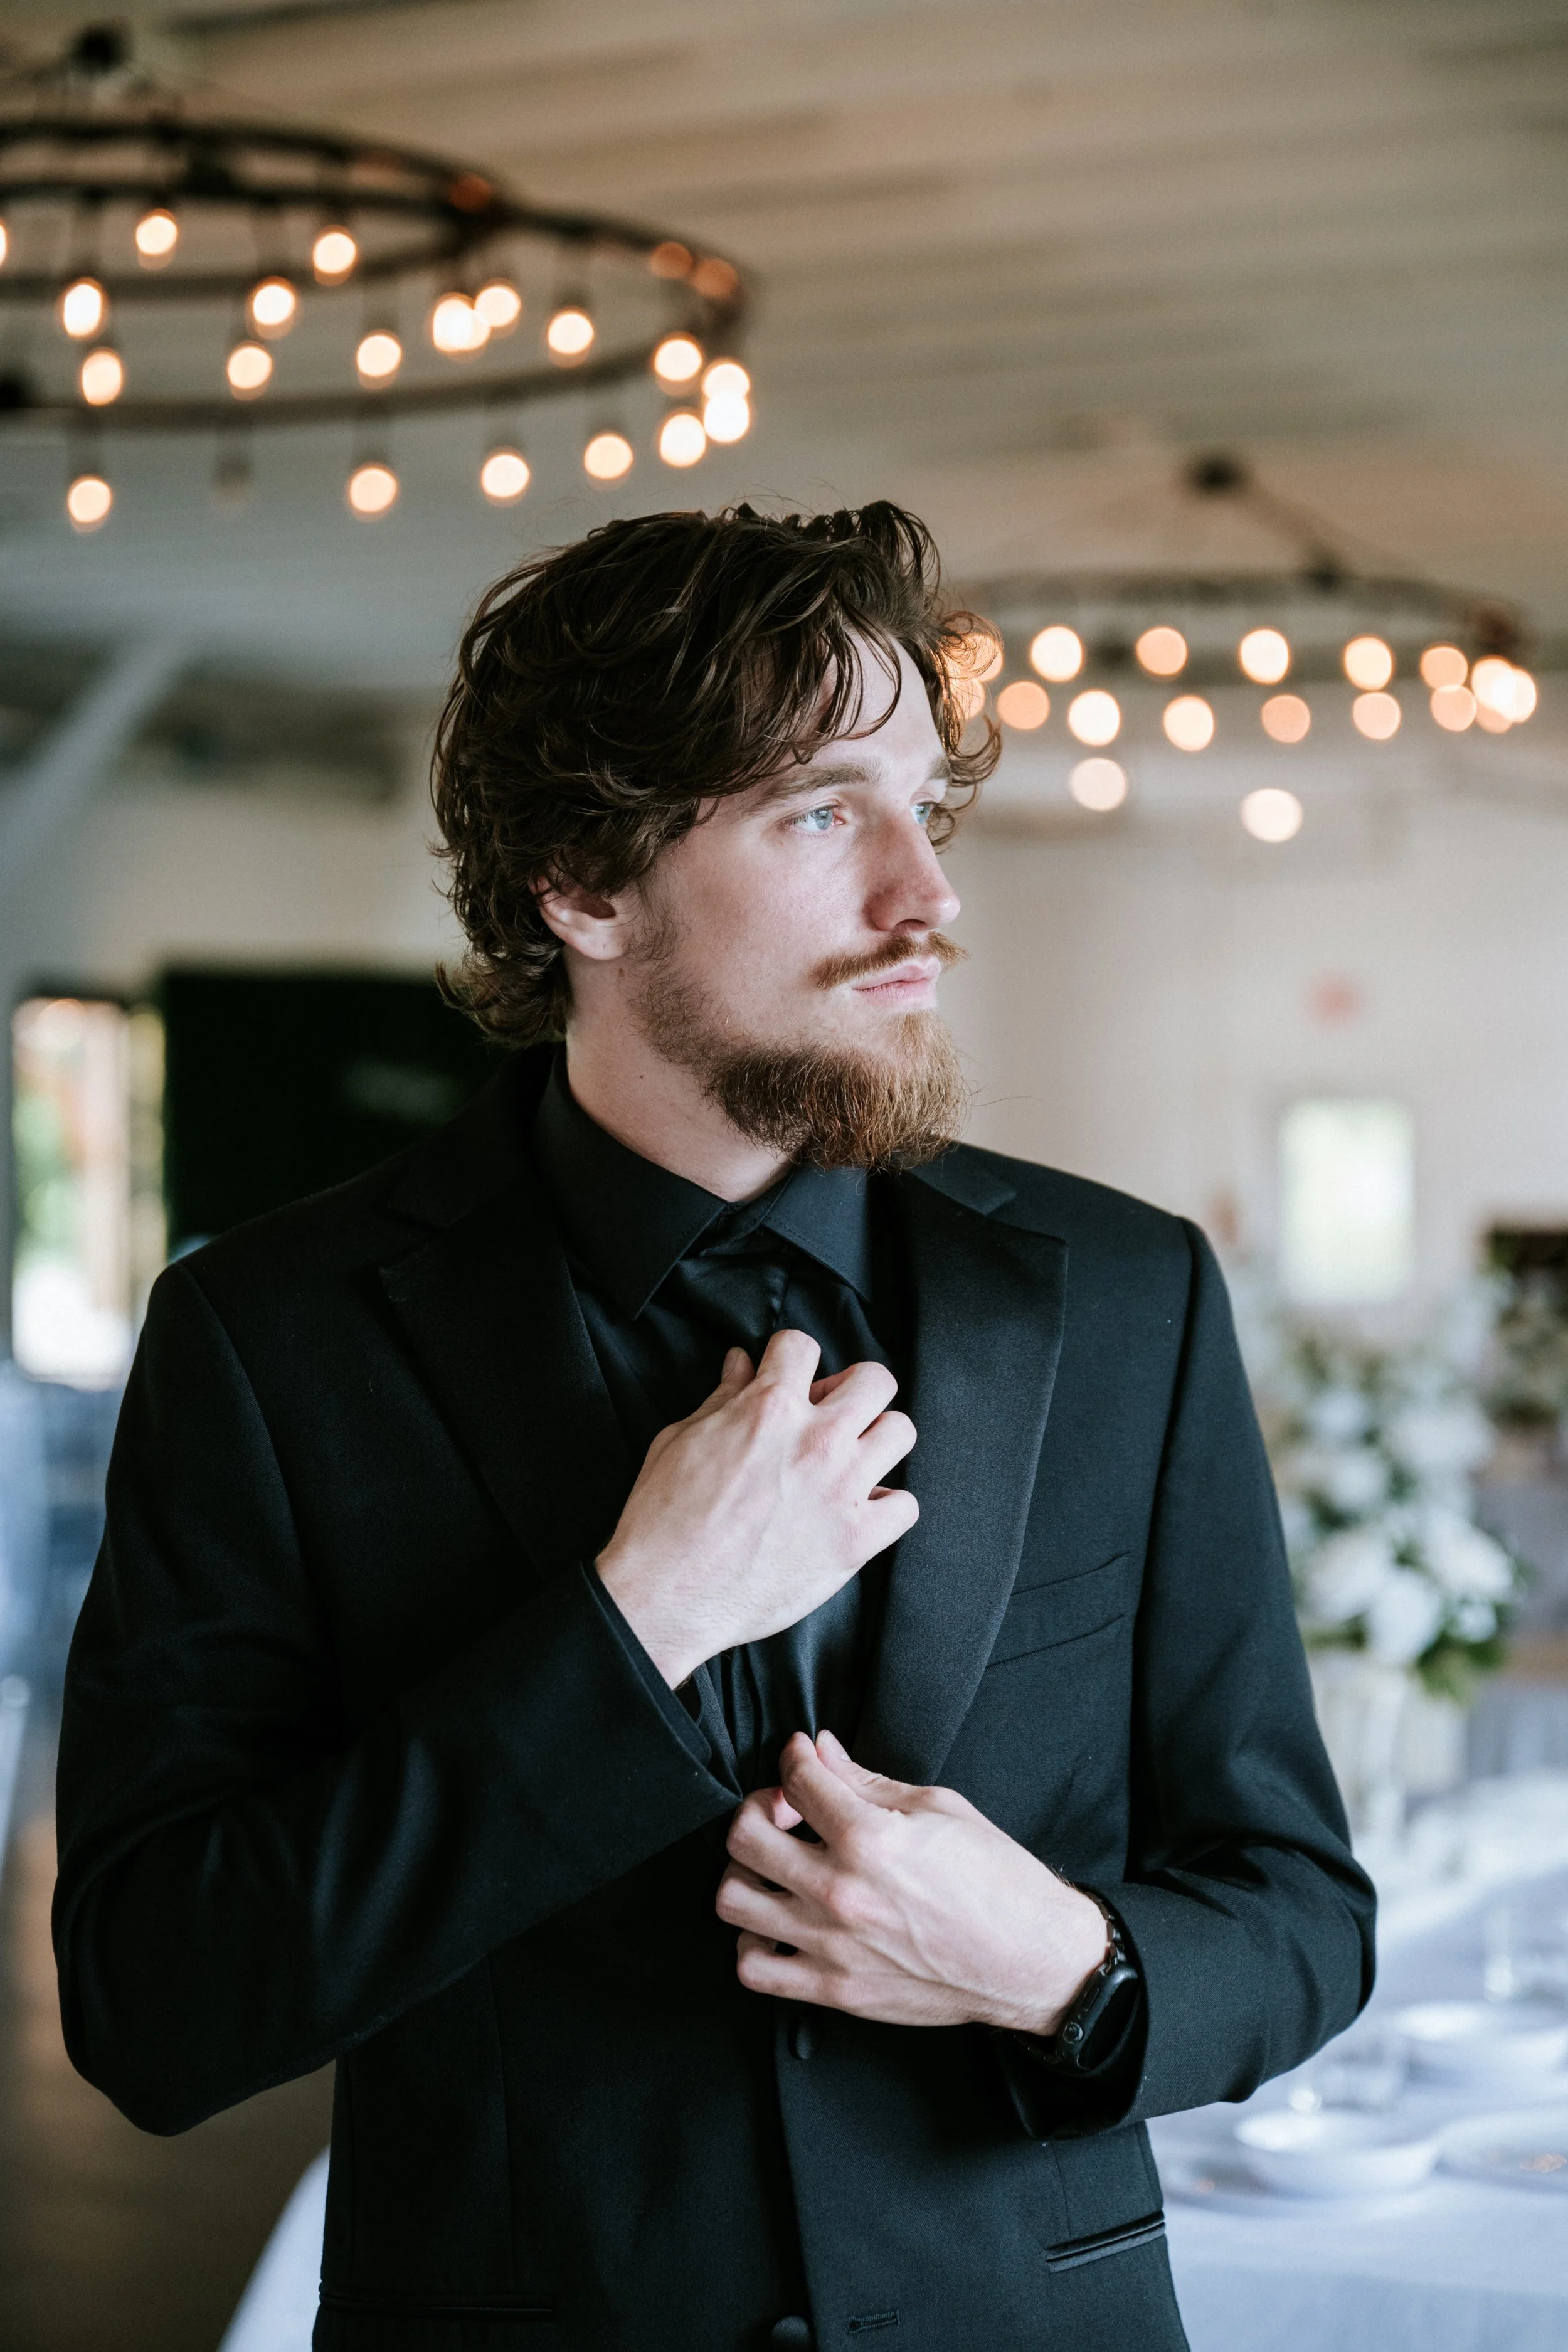
Hands adjusting the tie
Just the hands and watch
Shoes
Shoe tying from the side (hands and feet only)
Most of these don't need the full face. It's perfectly okay if all you see are his hands, tie, watch, or even just his lips. These images help tell the story.
Have him smile for a few, then give you a serious expression. Both are worth capturing.
Don't Forget the Small Details
Before moving on to the next location or pose, ask yourself, "What details would the couple want to remember?"
Sometimes those images become their favorites.
Bride Details
Pay attention to the little things.
Does she have:
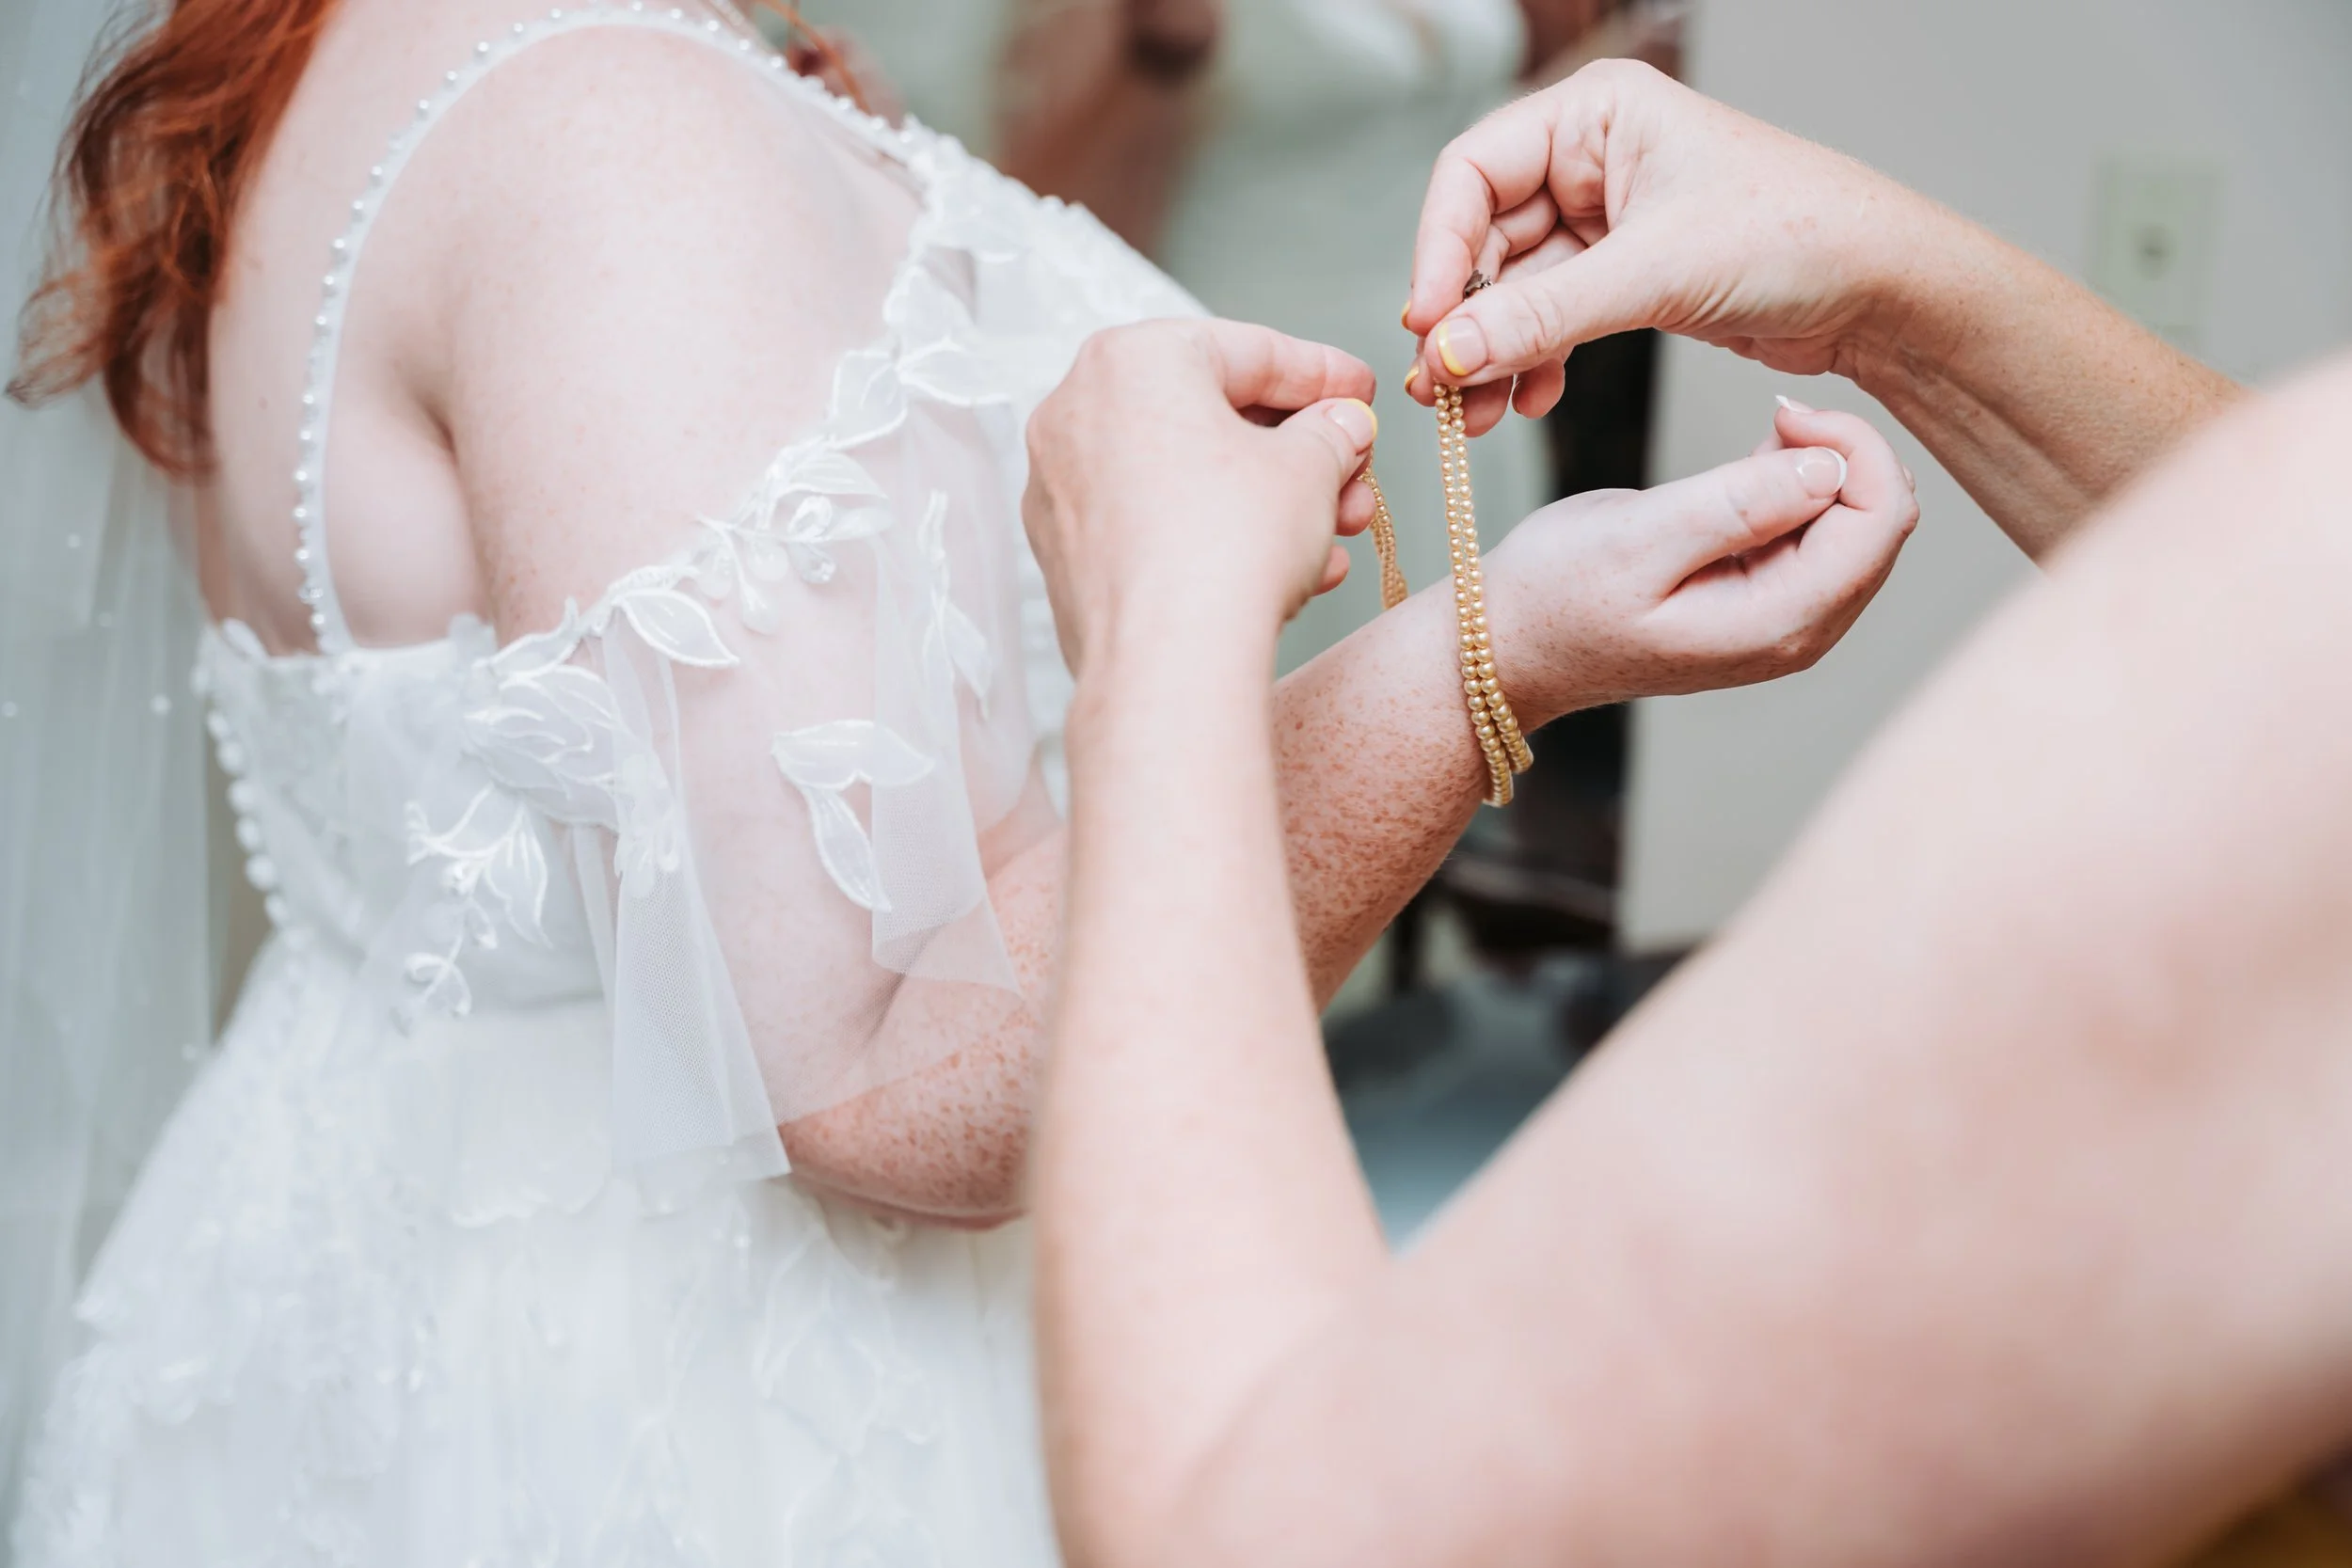
A special bracelet?
A meaningful necklace?
A family heirloom?
A charm attached to her bouquet?
A custom ring?
Beautiful nails she just had done?
Don't just photograph the whole person. Move in close and capture the details that mean something to her.
5 . Composition
Great posing can still produce a poor image if the composition isn't strong. Before you press the shutter, slow down and look at the entire frame. Pay attention to what's in the background, where you're cropping, and what might distract from your subject.
Watch Your Crop
One of the easiest mistakes to make is cropping at a joint.
Avoid cutting at:
Ankles
Knees
Wrists
Elbows
If you're going to crop, do it intentionally between joints instead. It creates a much more natural-looking image.
Watch Your Horizon
This is one of those little details that can quietly ruin an otherwise great image.
People's heads should either be above the horizon line or below it. Don't split someone's head with the horizon. It creates unnecessary distractions and makes the image feel less polished.
Keep Your Camera Level
Don't take tilted pictures. Period. A crooked horizon usually looks like a mistake, not a creative decision.
If you're going to tilt your camera, do it because it adds something meaningful to the image, not because you weren't paying attention. Ninety-nine percent of the time, keeping your camera level will produce a stronger photograph.
Three Shots to Always Get
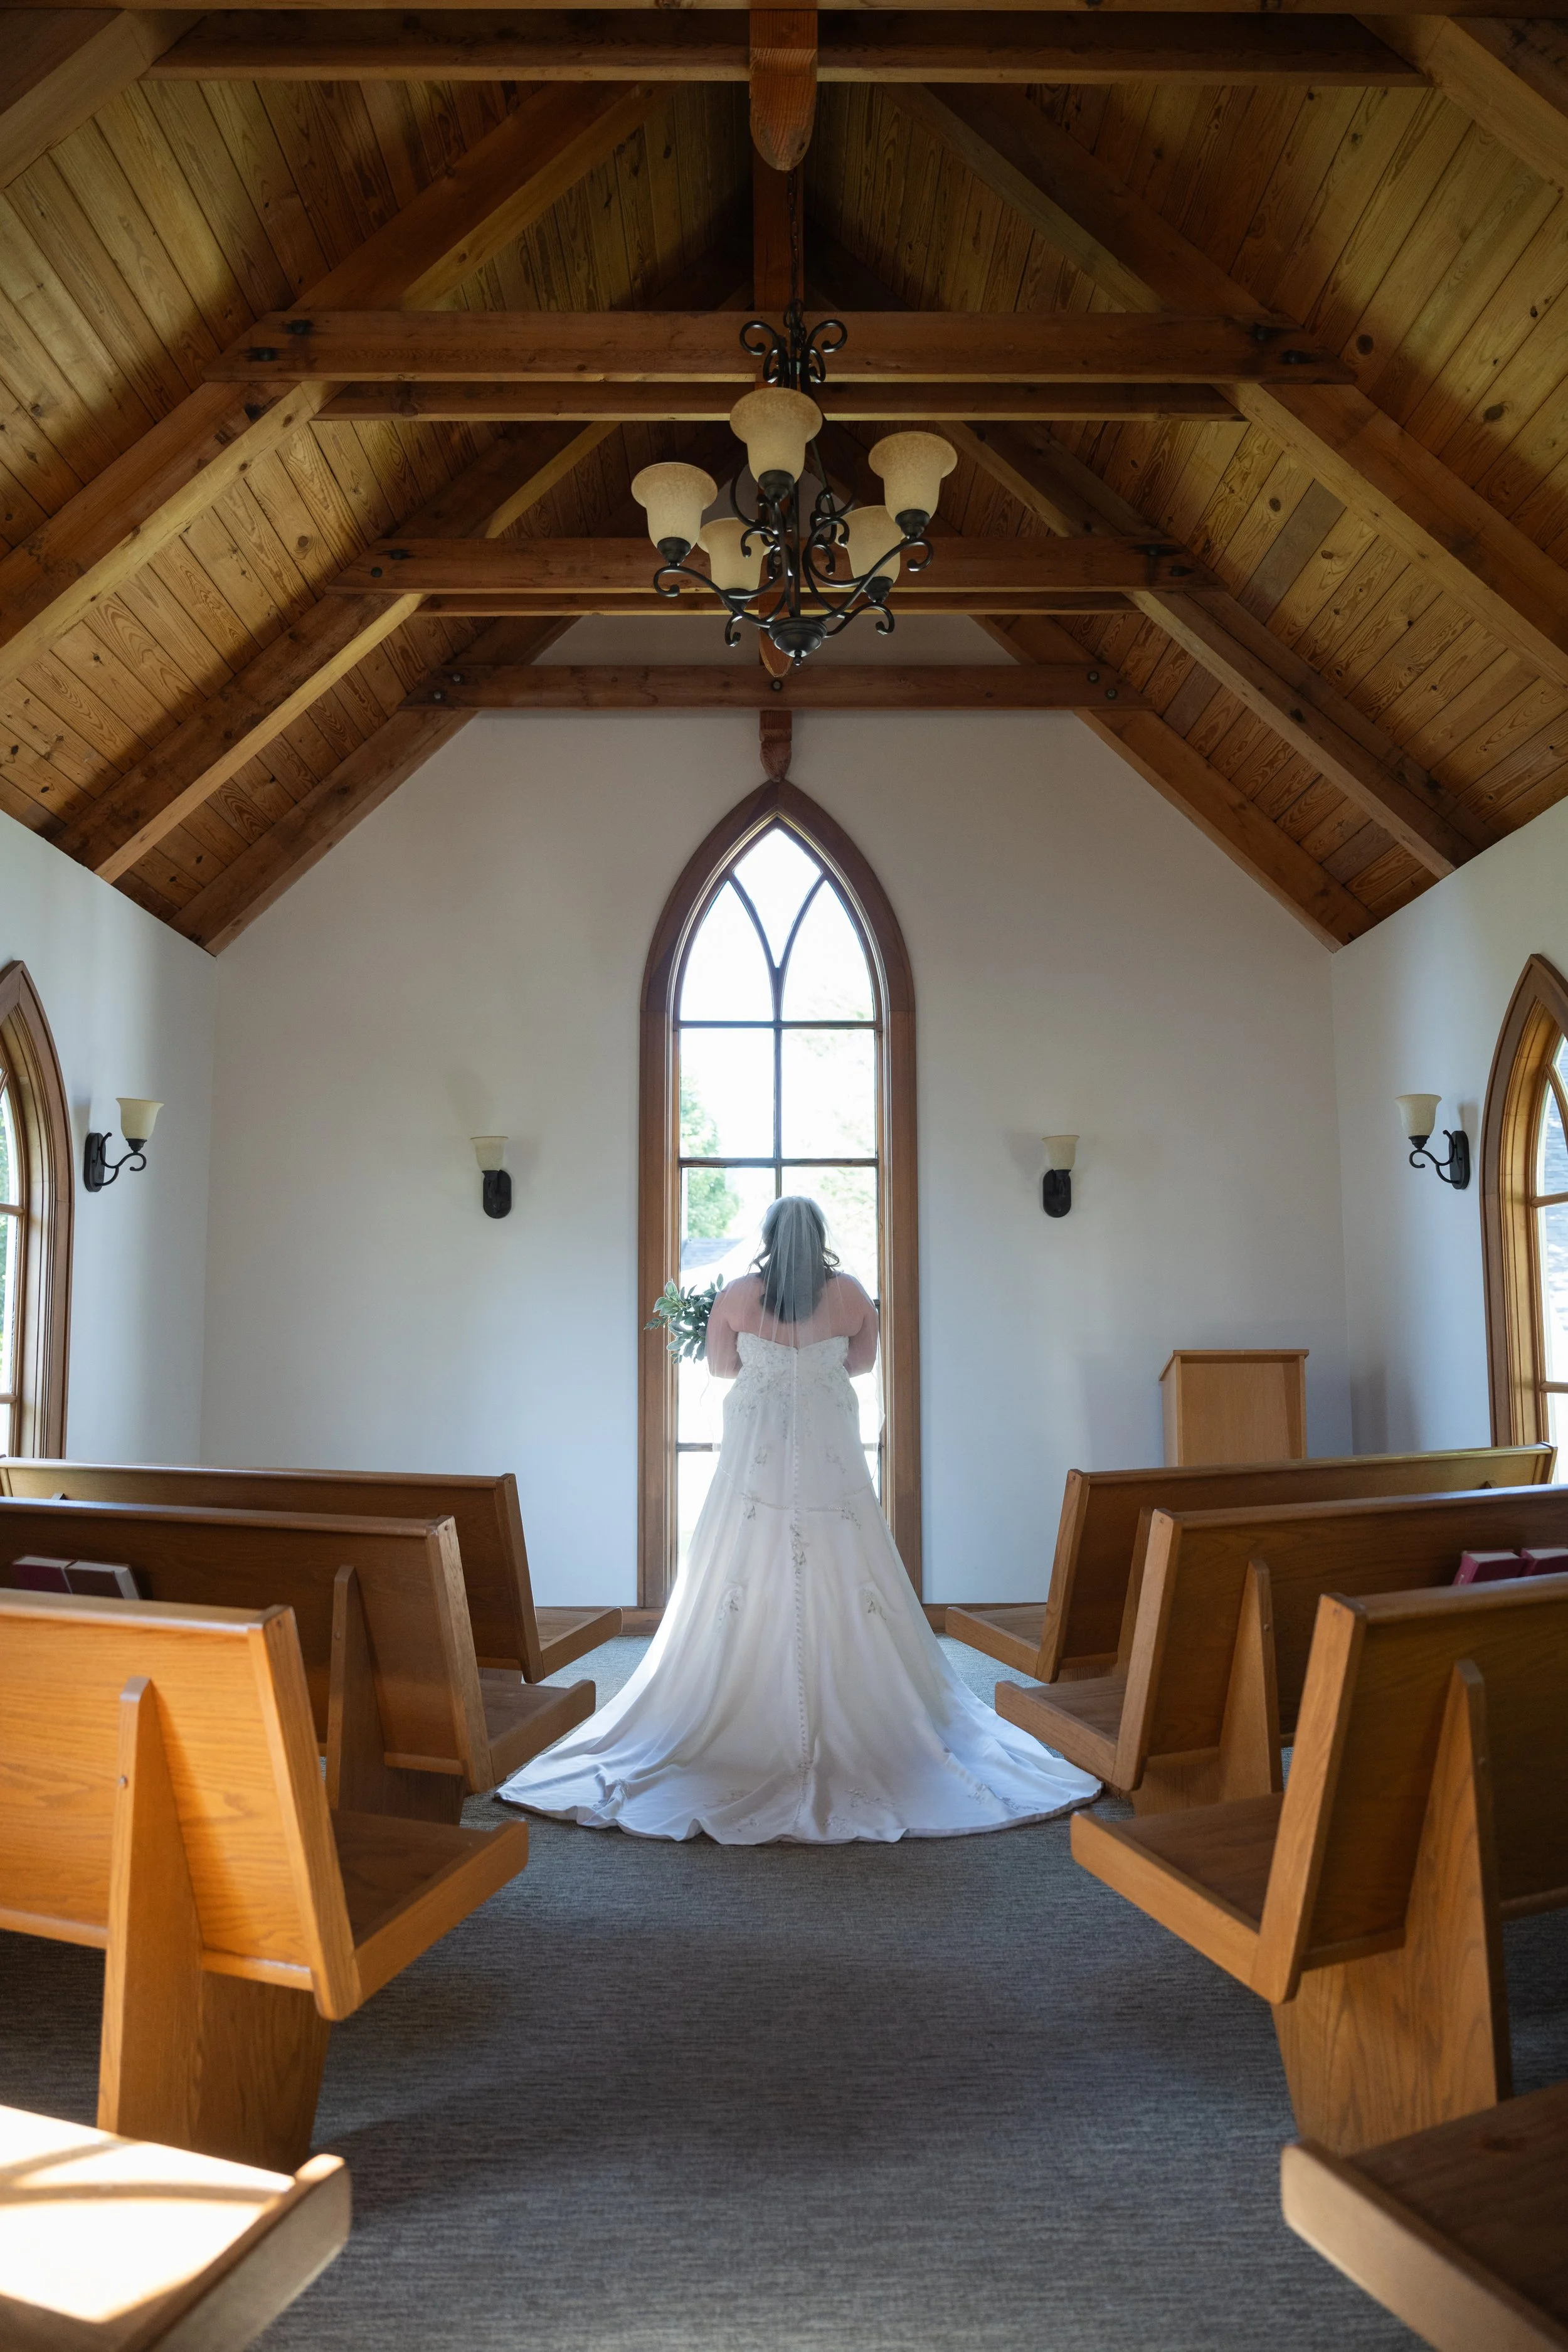
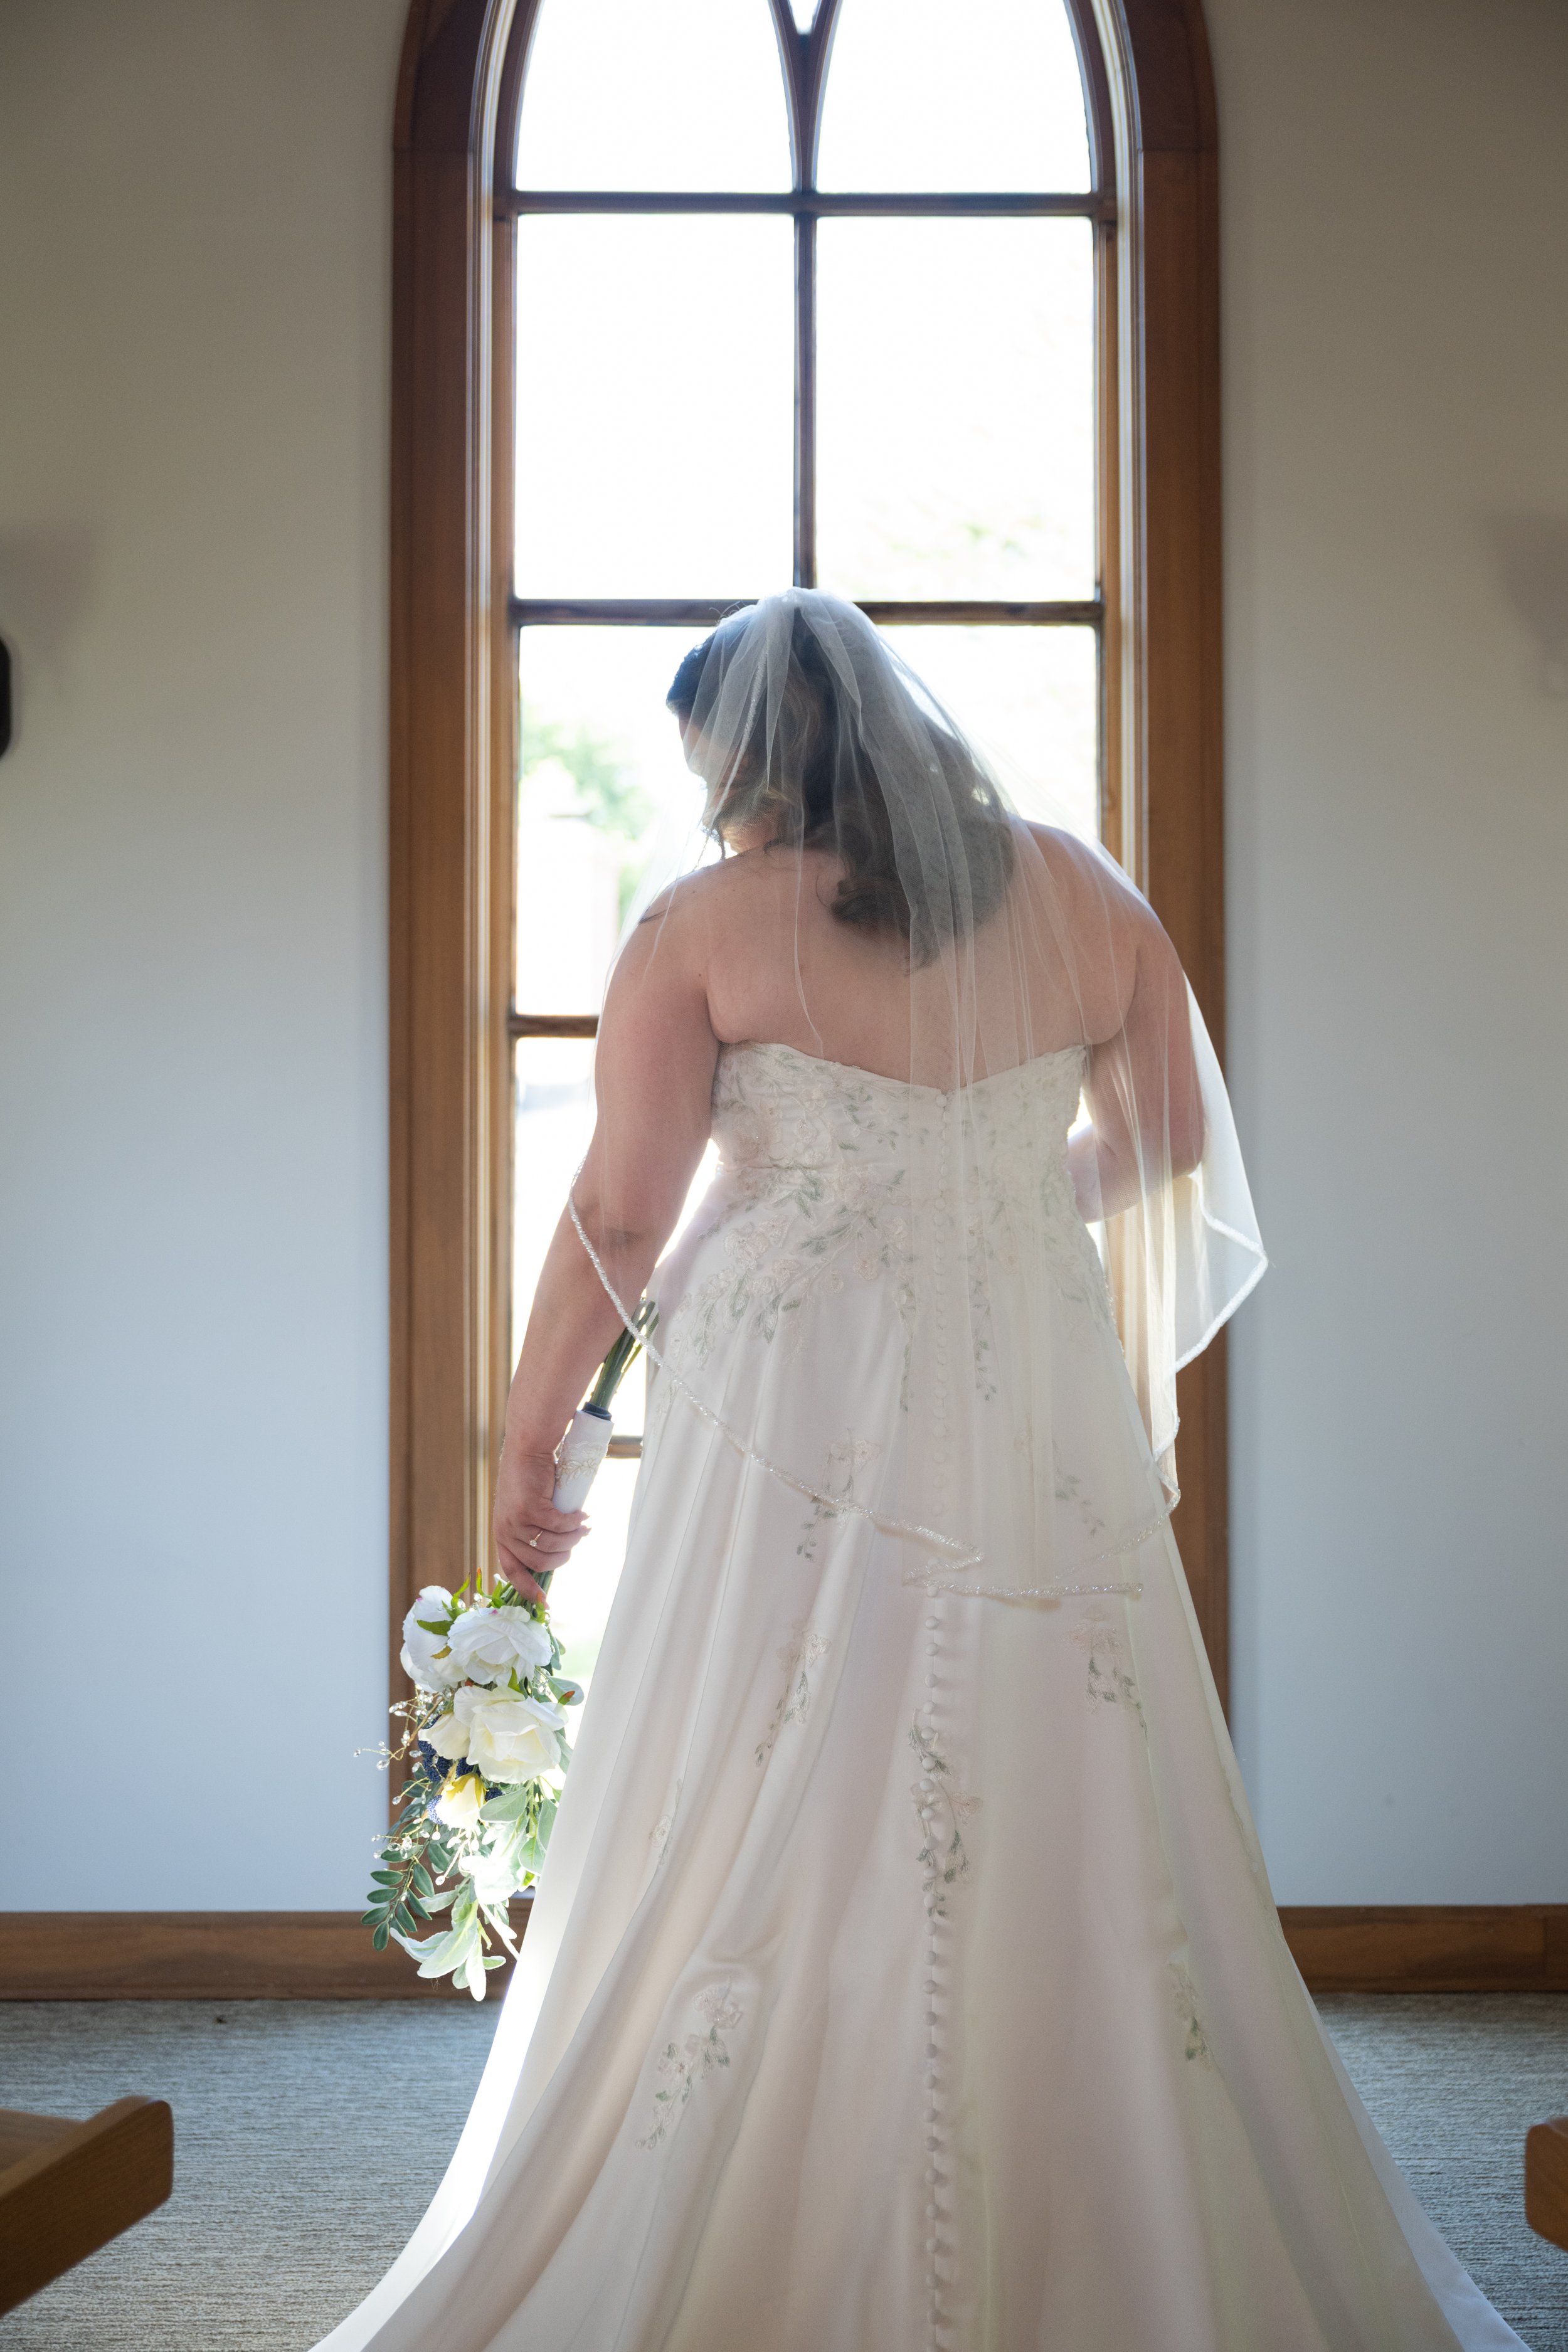
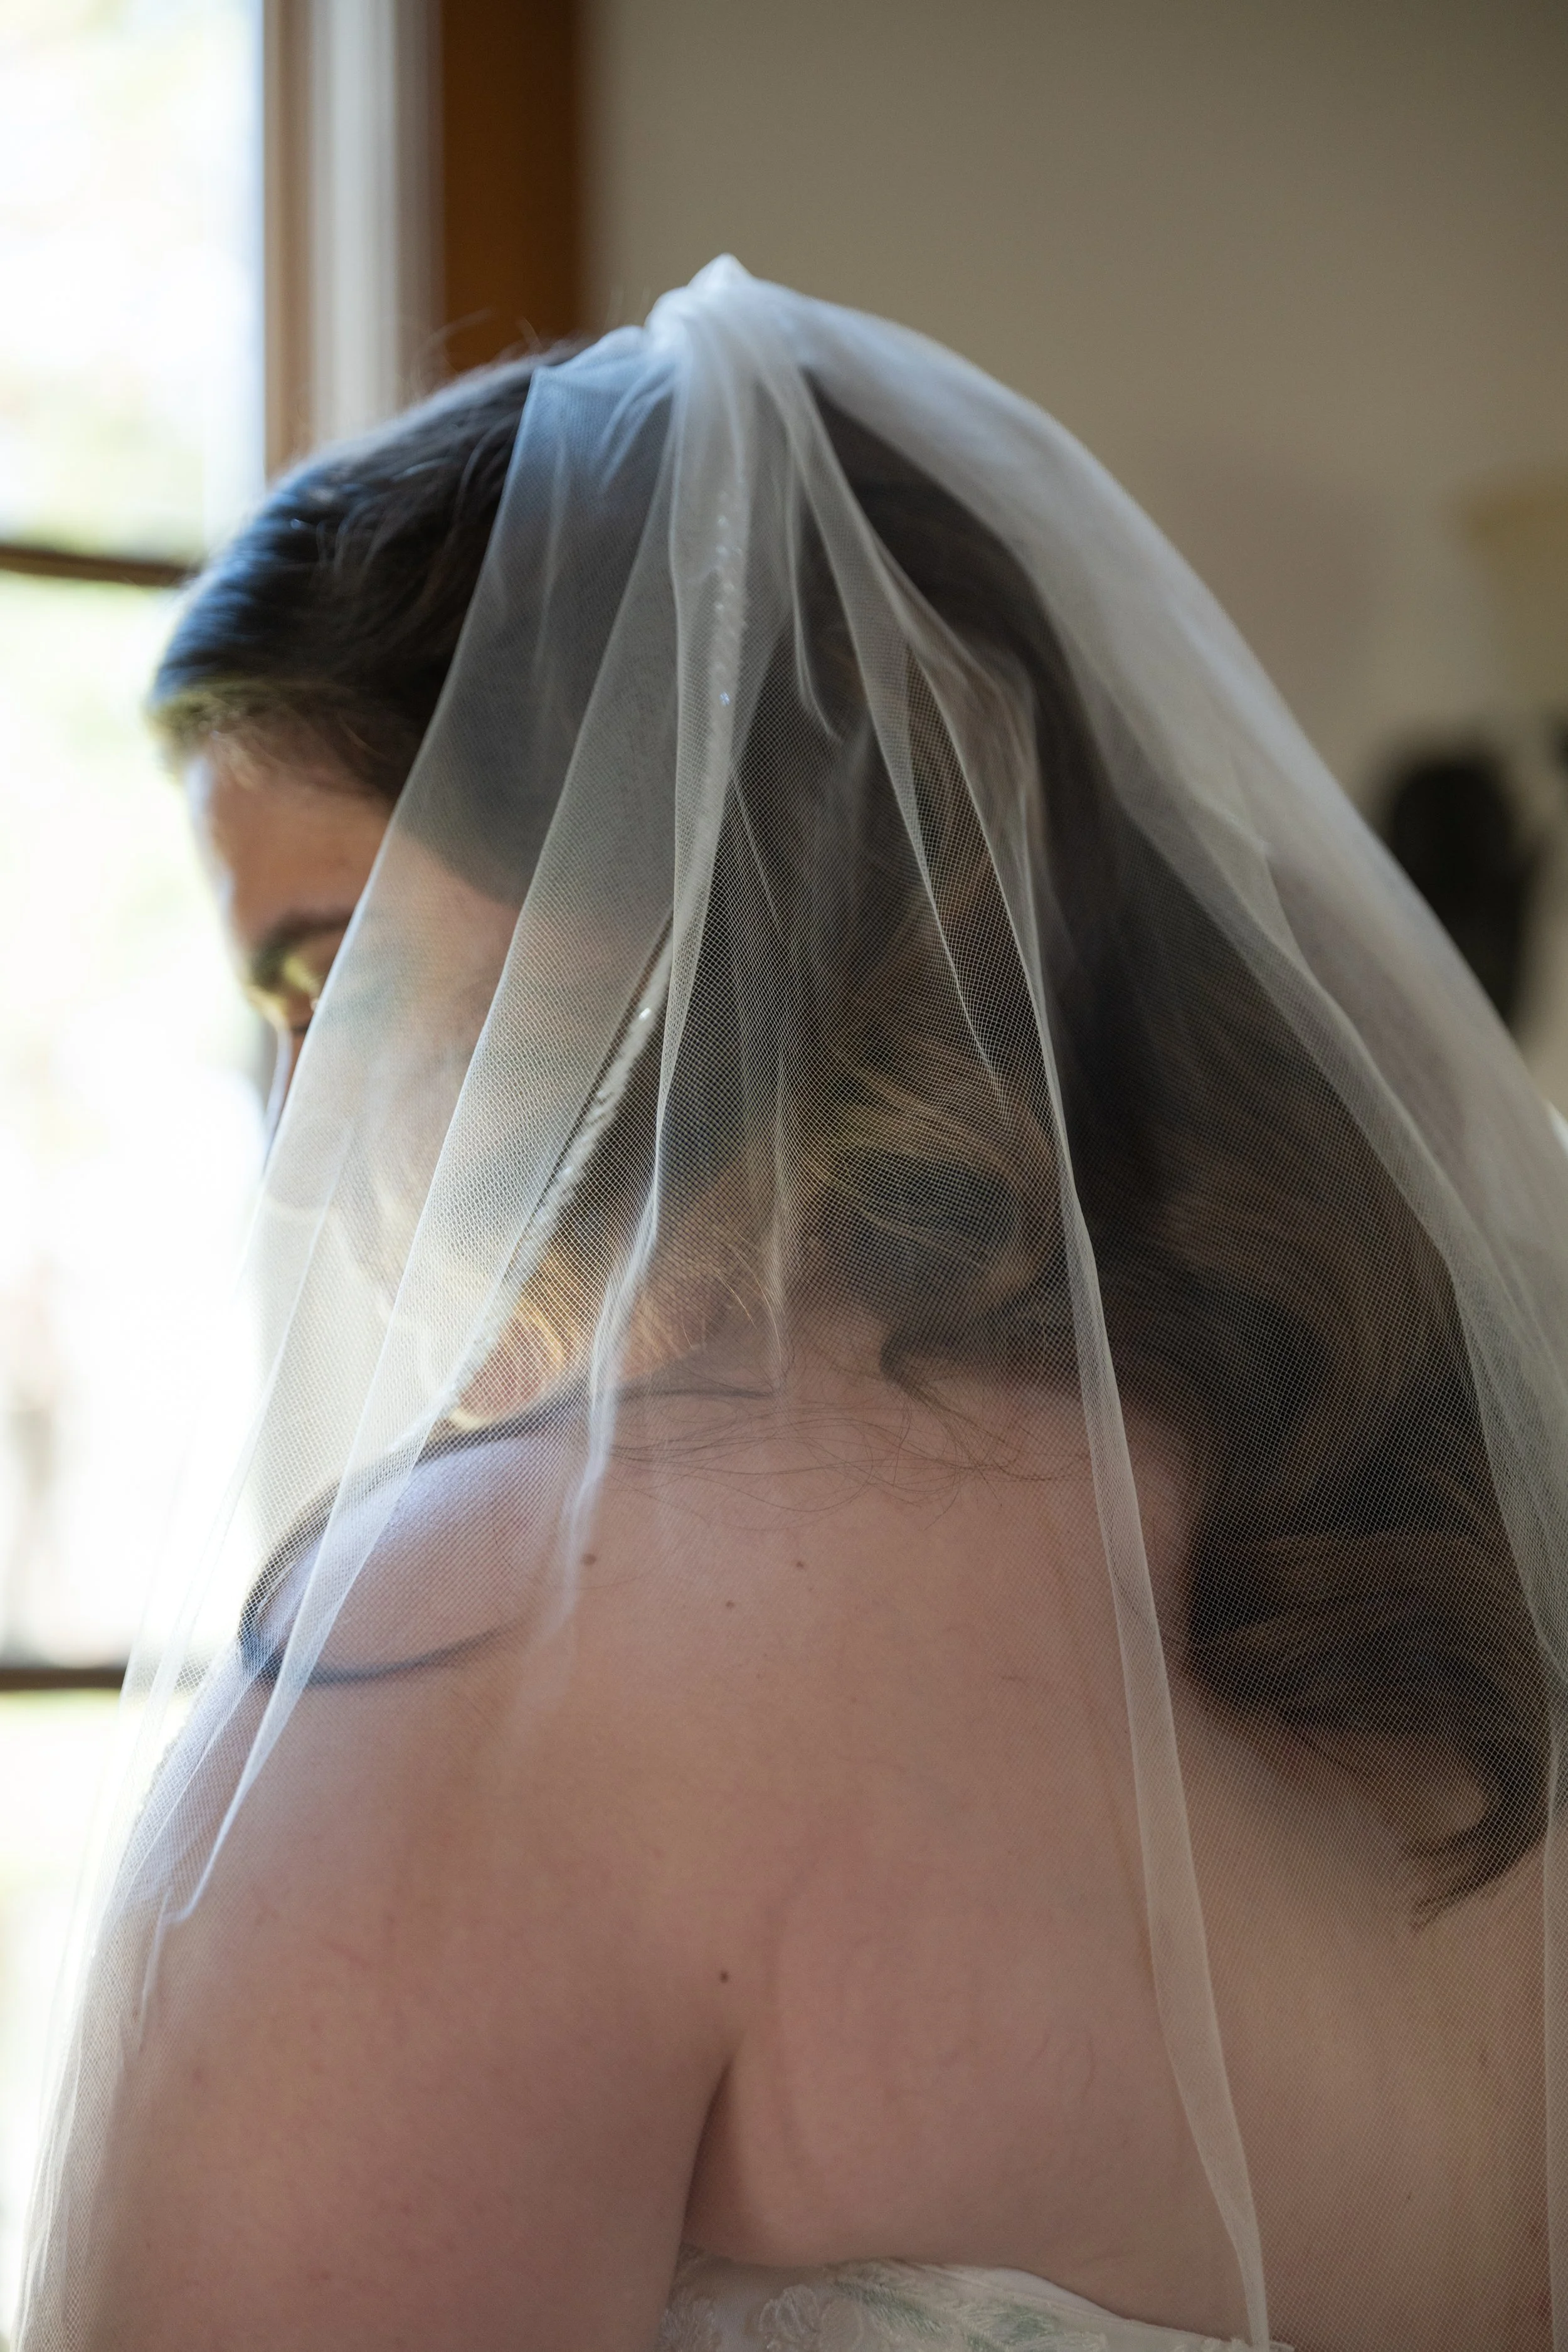
If time allows, every pose should include these three images:
Full body
¾ body
Tight portrait
Don't stop there if you have extra time. Change your angle, move your feet, and look for ways to create variety without completely changing the pose.
Whenever possible, capture a mix of both vertical and horizontal images. Couples love having options when they're printing, creating albums, or sharing online.
Walking Prompts
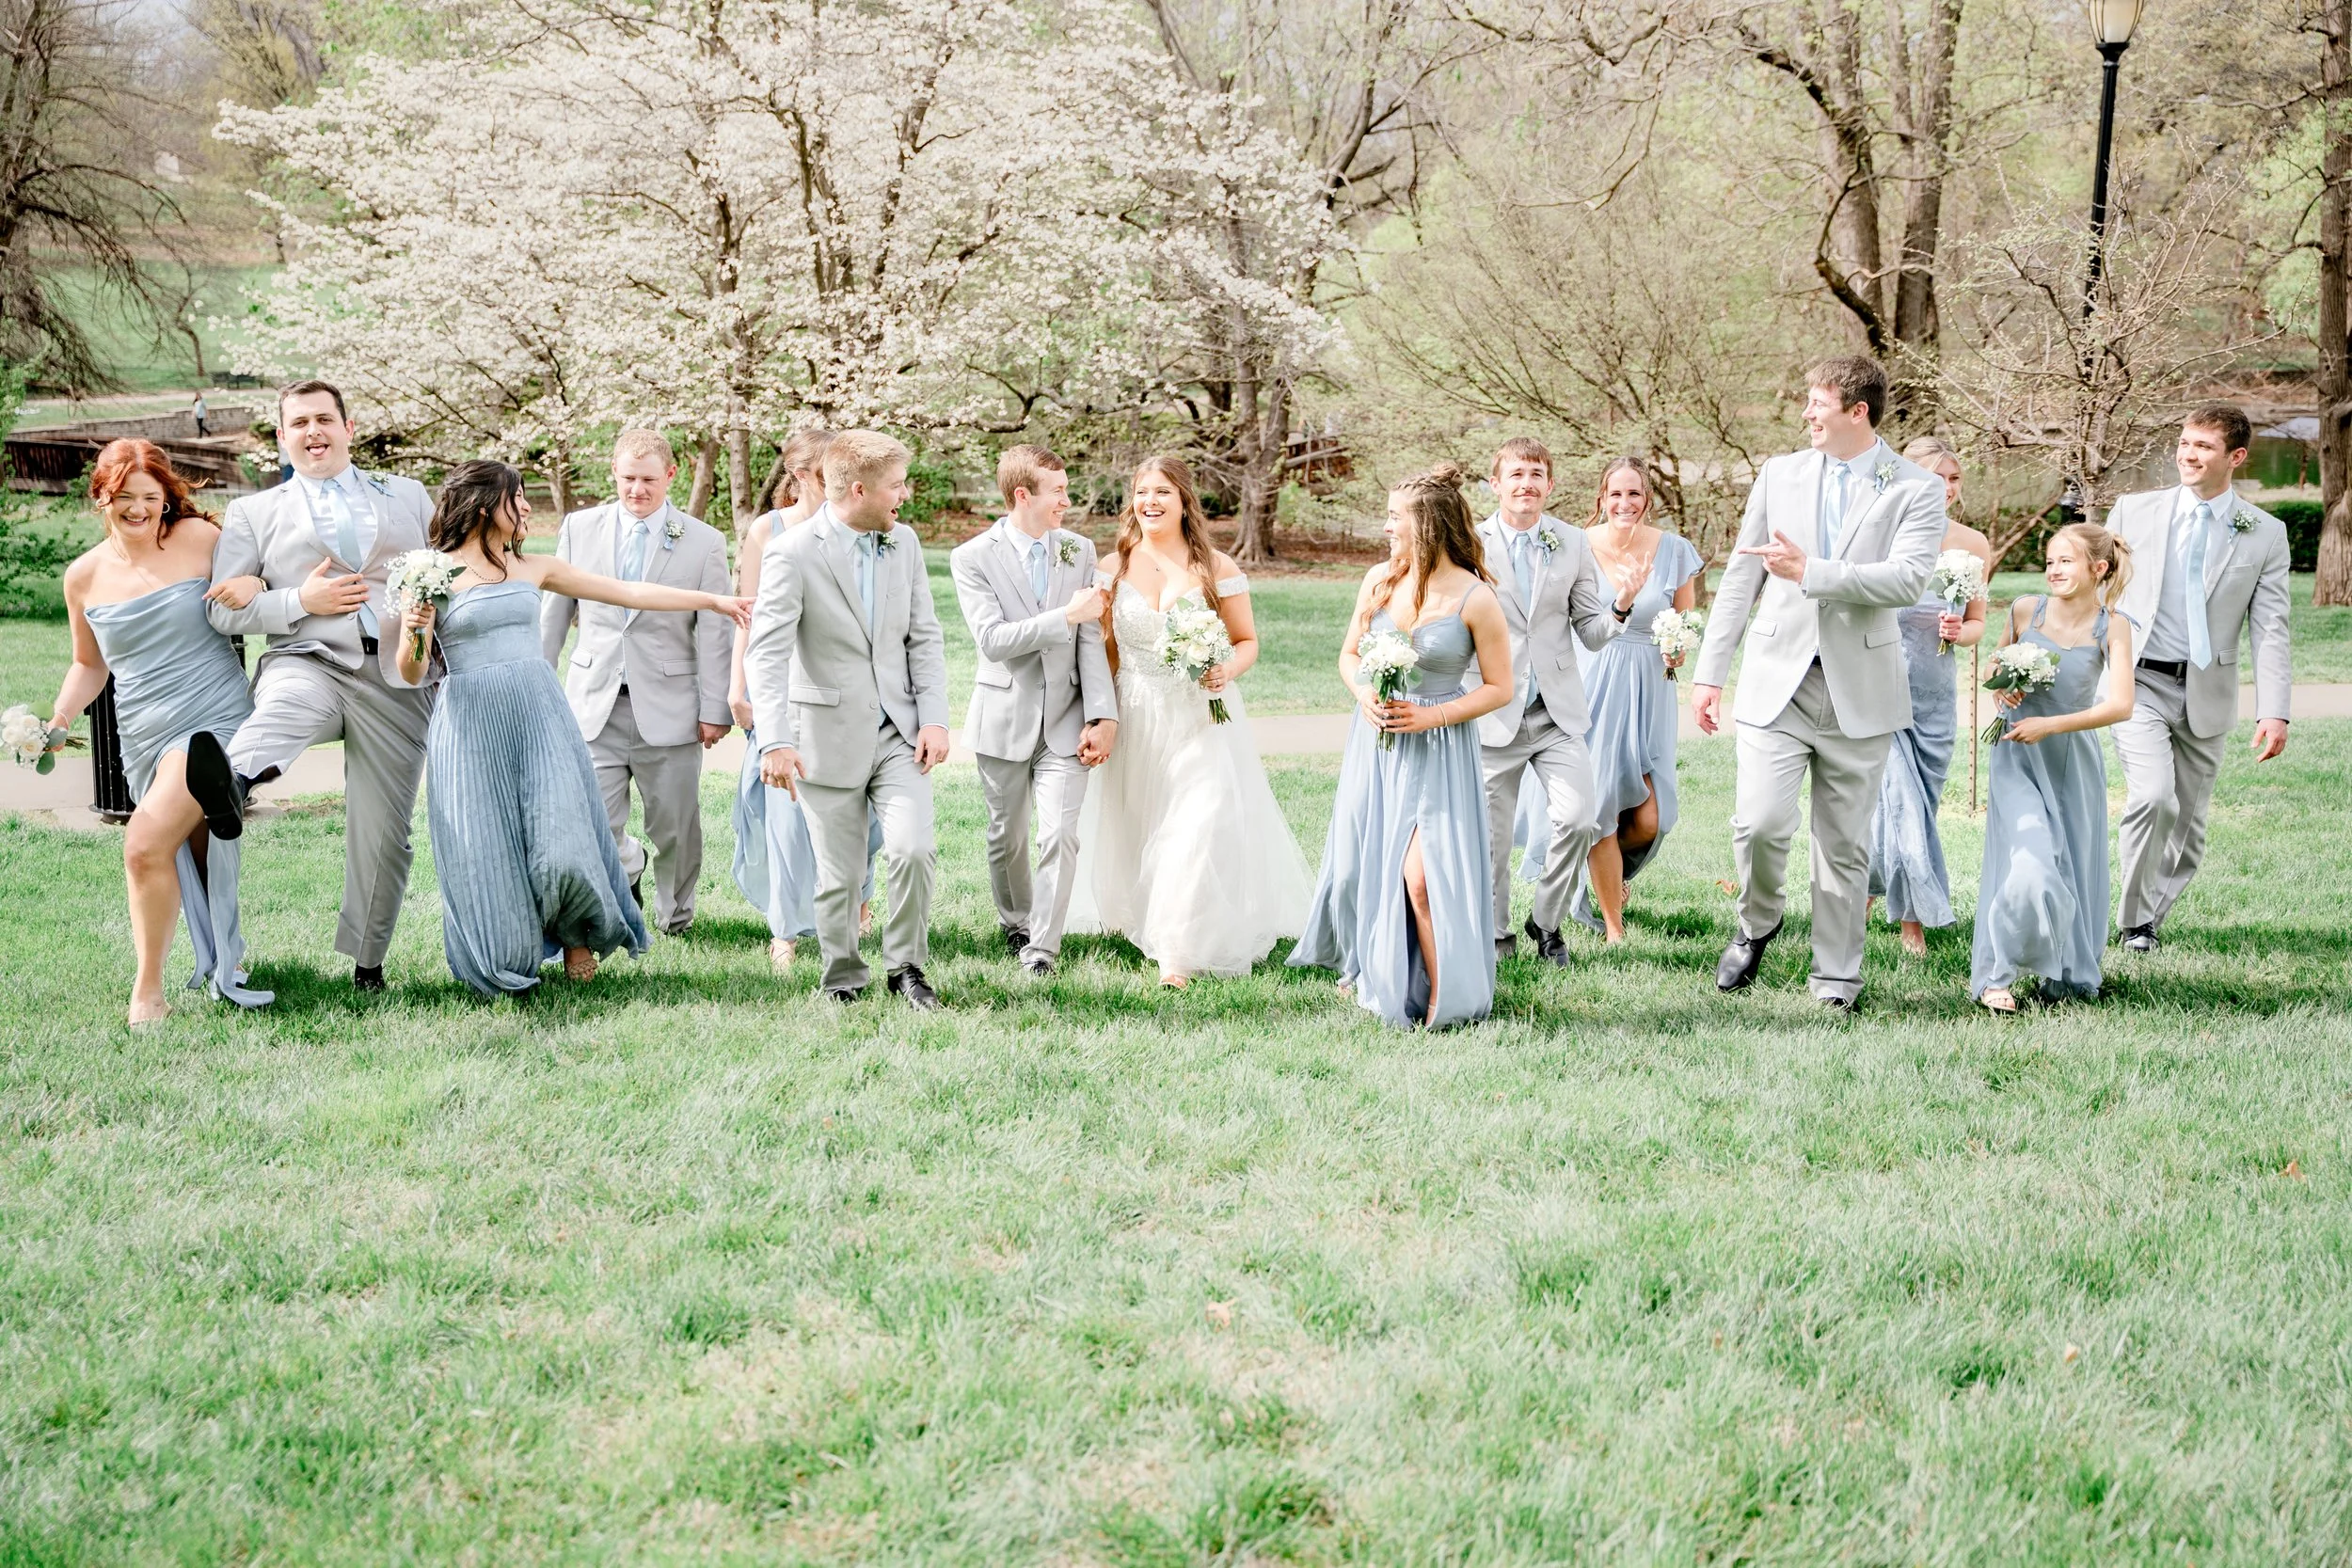
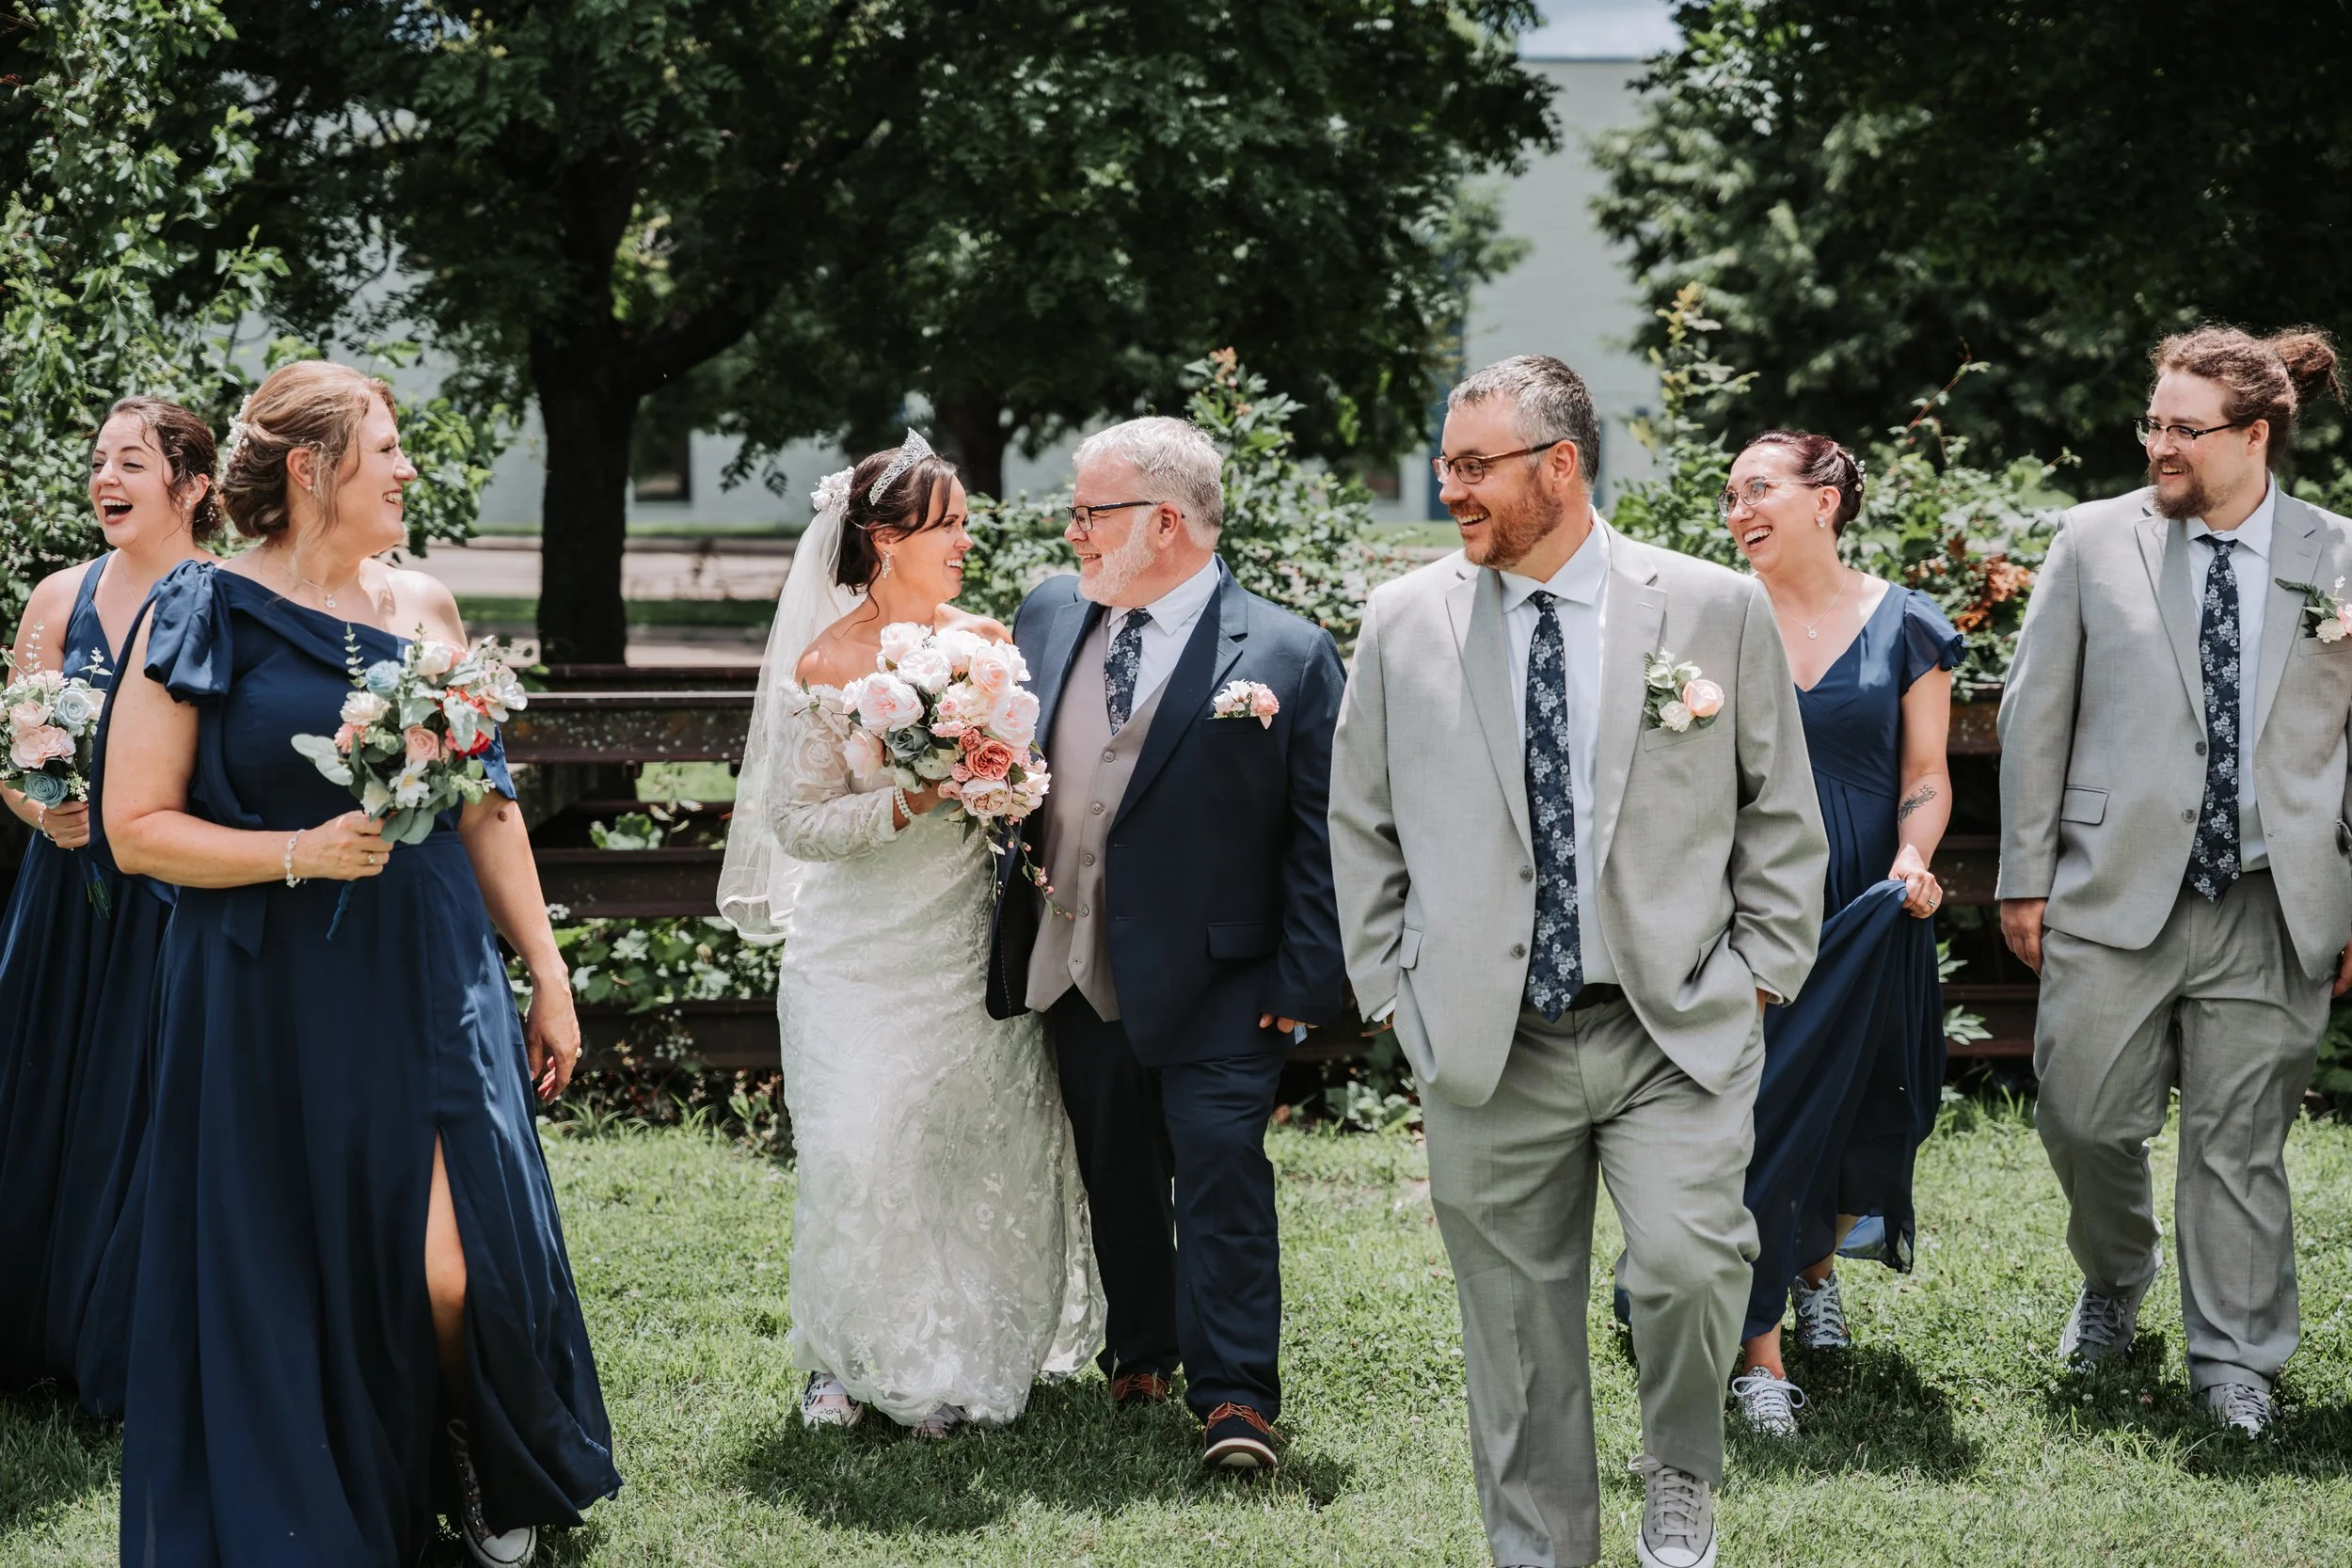
Walking pictures should feel natural, not staged.
When photographing the wedding party, put one or two people slightly in front of the bride, groom, or couple. This gives them someone to naturally look toward instead of staring straight into the camera.
One thing I try to avoid is making the lead person walk in front of everyone else. That usually results in the back of their head being the main focus of the image, and that's rarely flattering.
Slow Down Before You Click
Before taking the picture, ask yourself:
Is my horizon level?
Am I cropping anywhere awkward?
Is there anything distracting in the frame?
Am I shooting this vertically or horizontally?
Can I take one step to improve the composition?
The best photographers aren't necessarily the fastest. They're the ones who notice the little things before pressing the shutter.
6. Let’s Dive A Little Deeper Into Backgrounds
As you're choosing a location, look for backgrounds that add to the image instead of distracting from it.
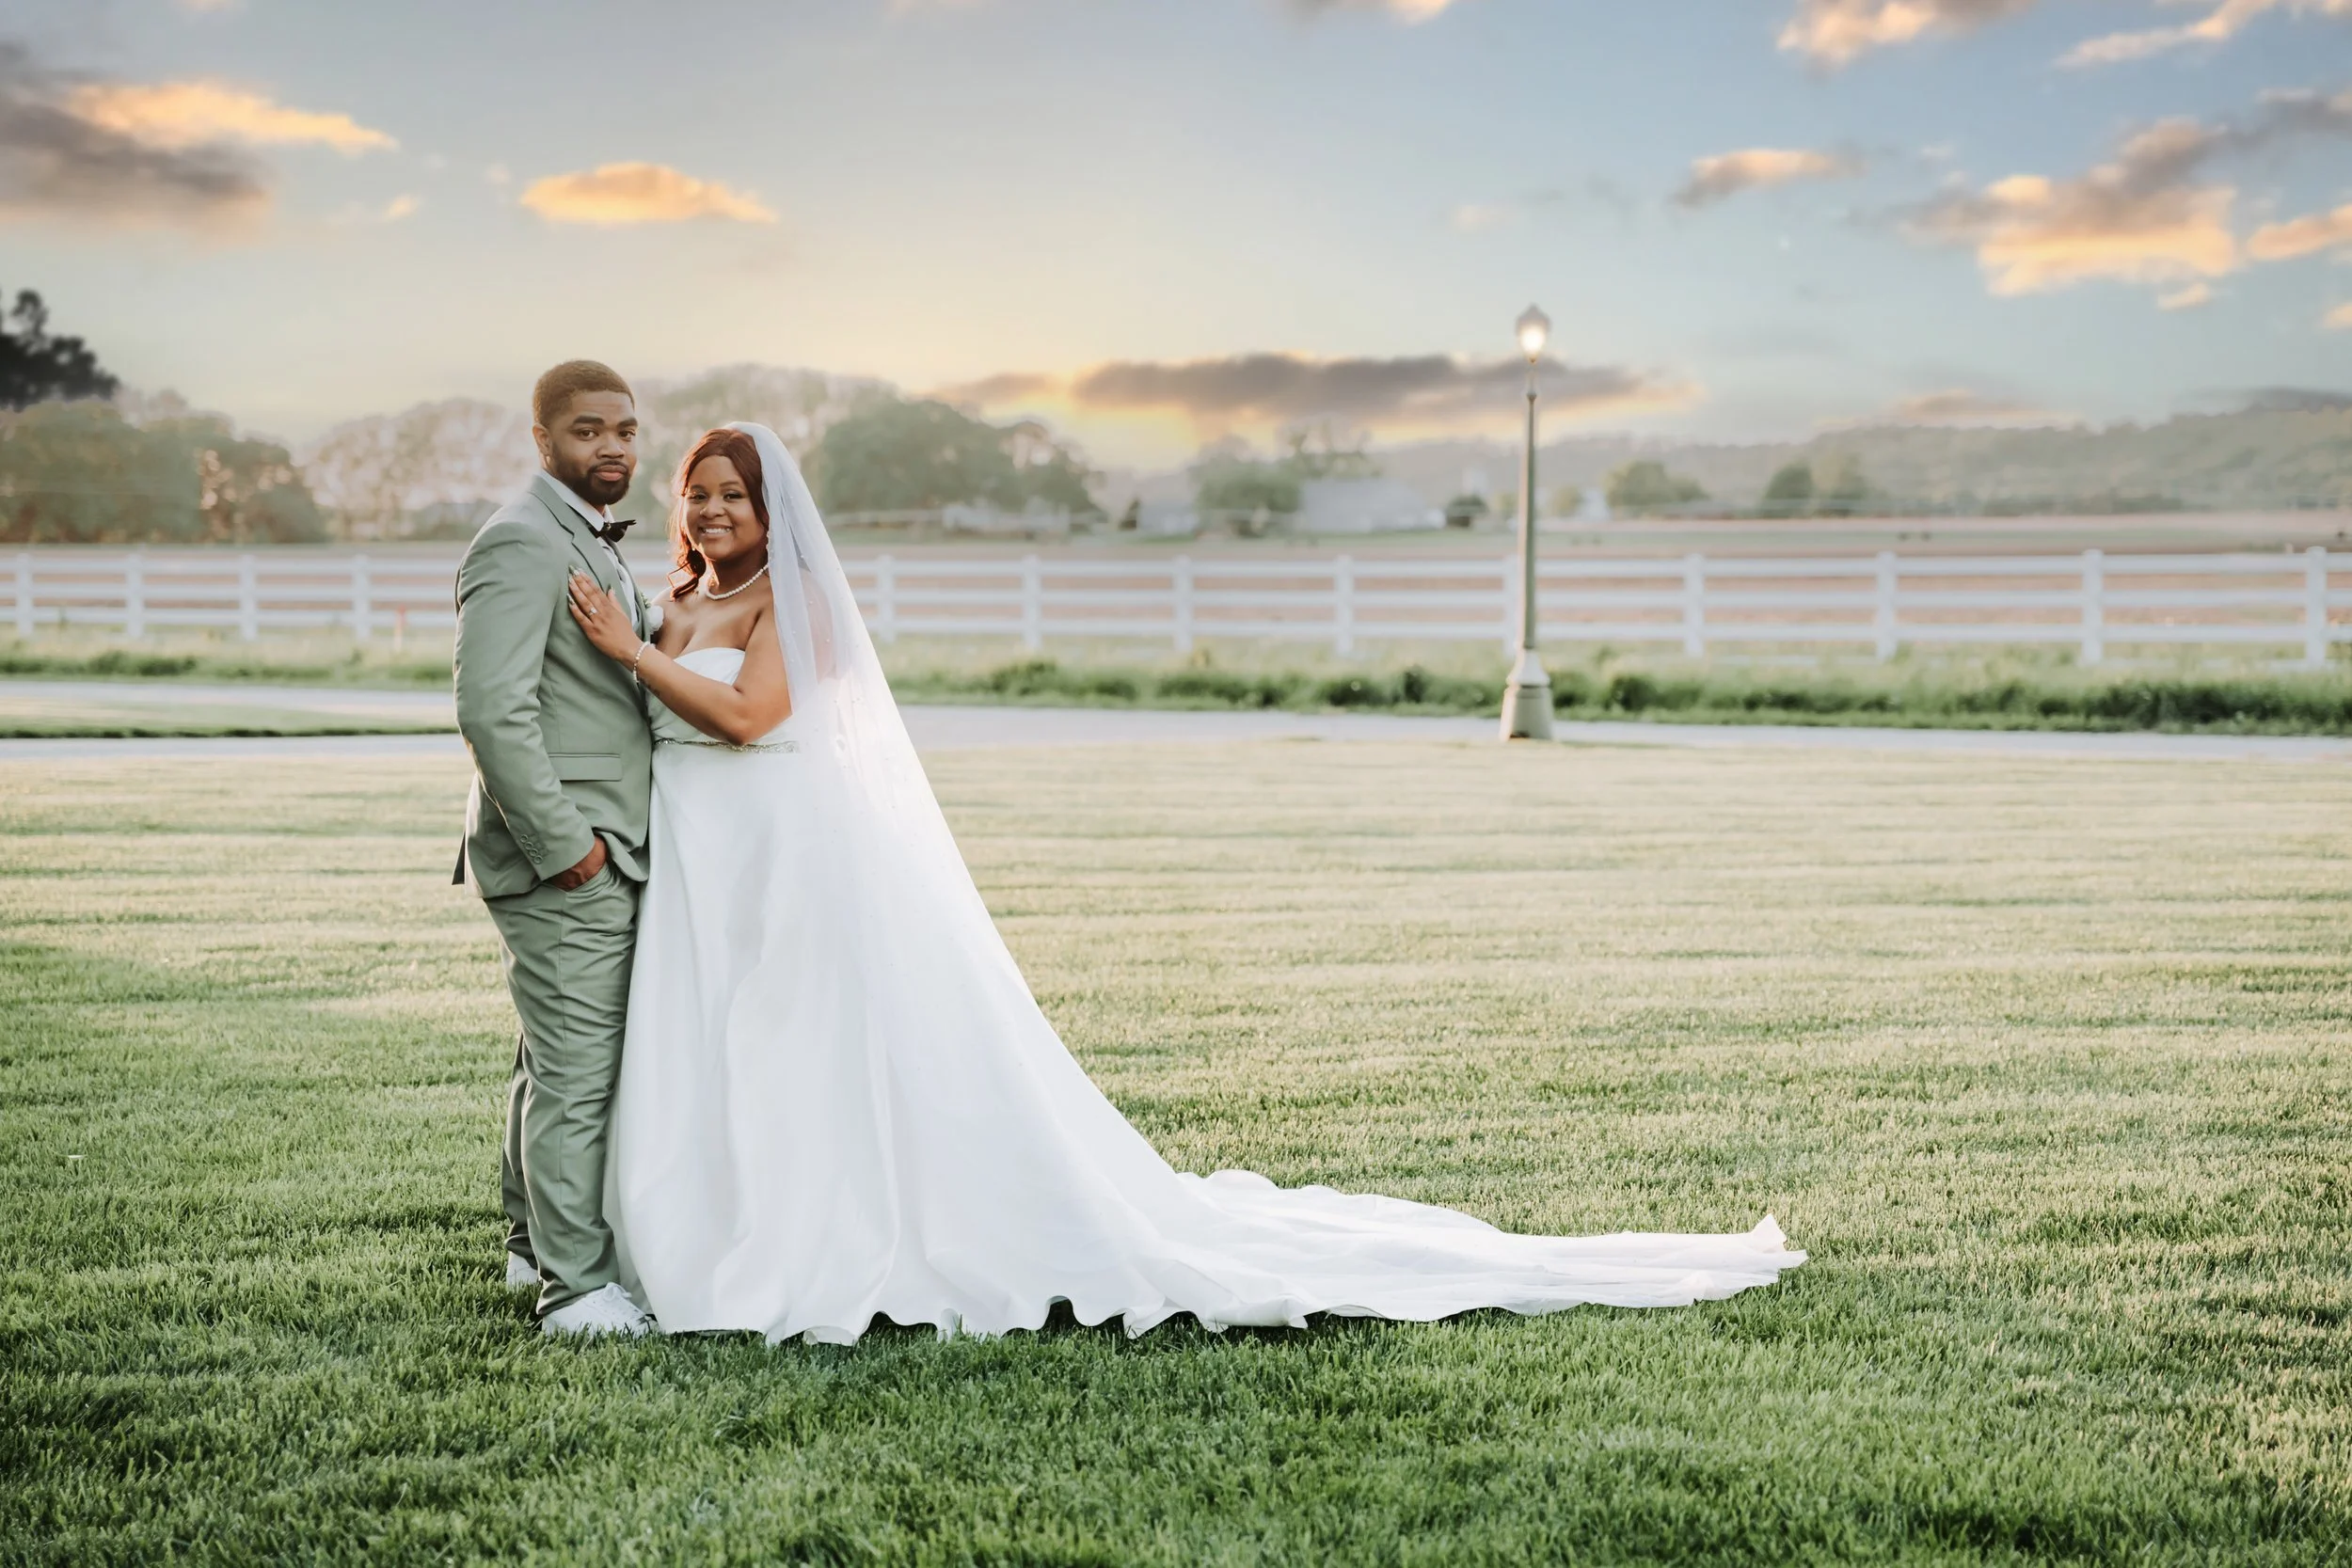
Your subject should almost never be standing directly against
a wall, tree line, building, or any other background.
Pull them away as much as comfortably possible.
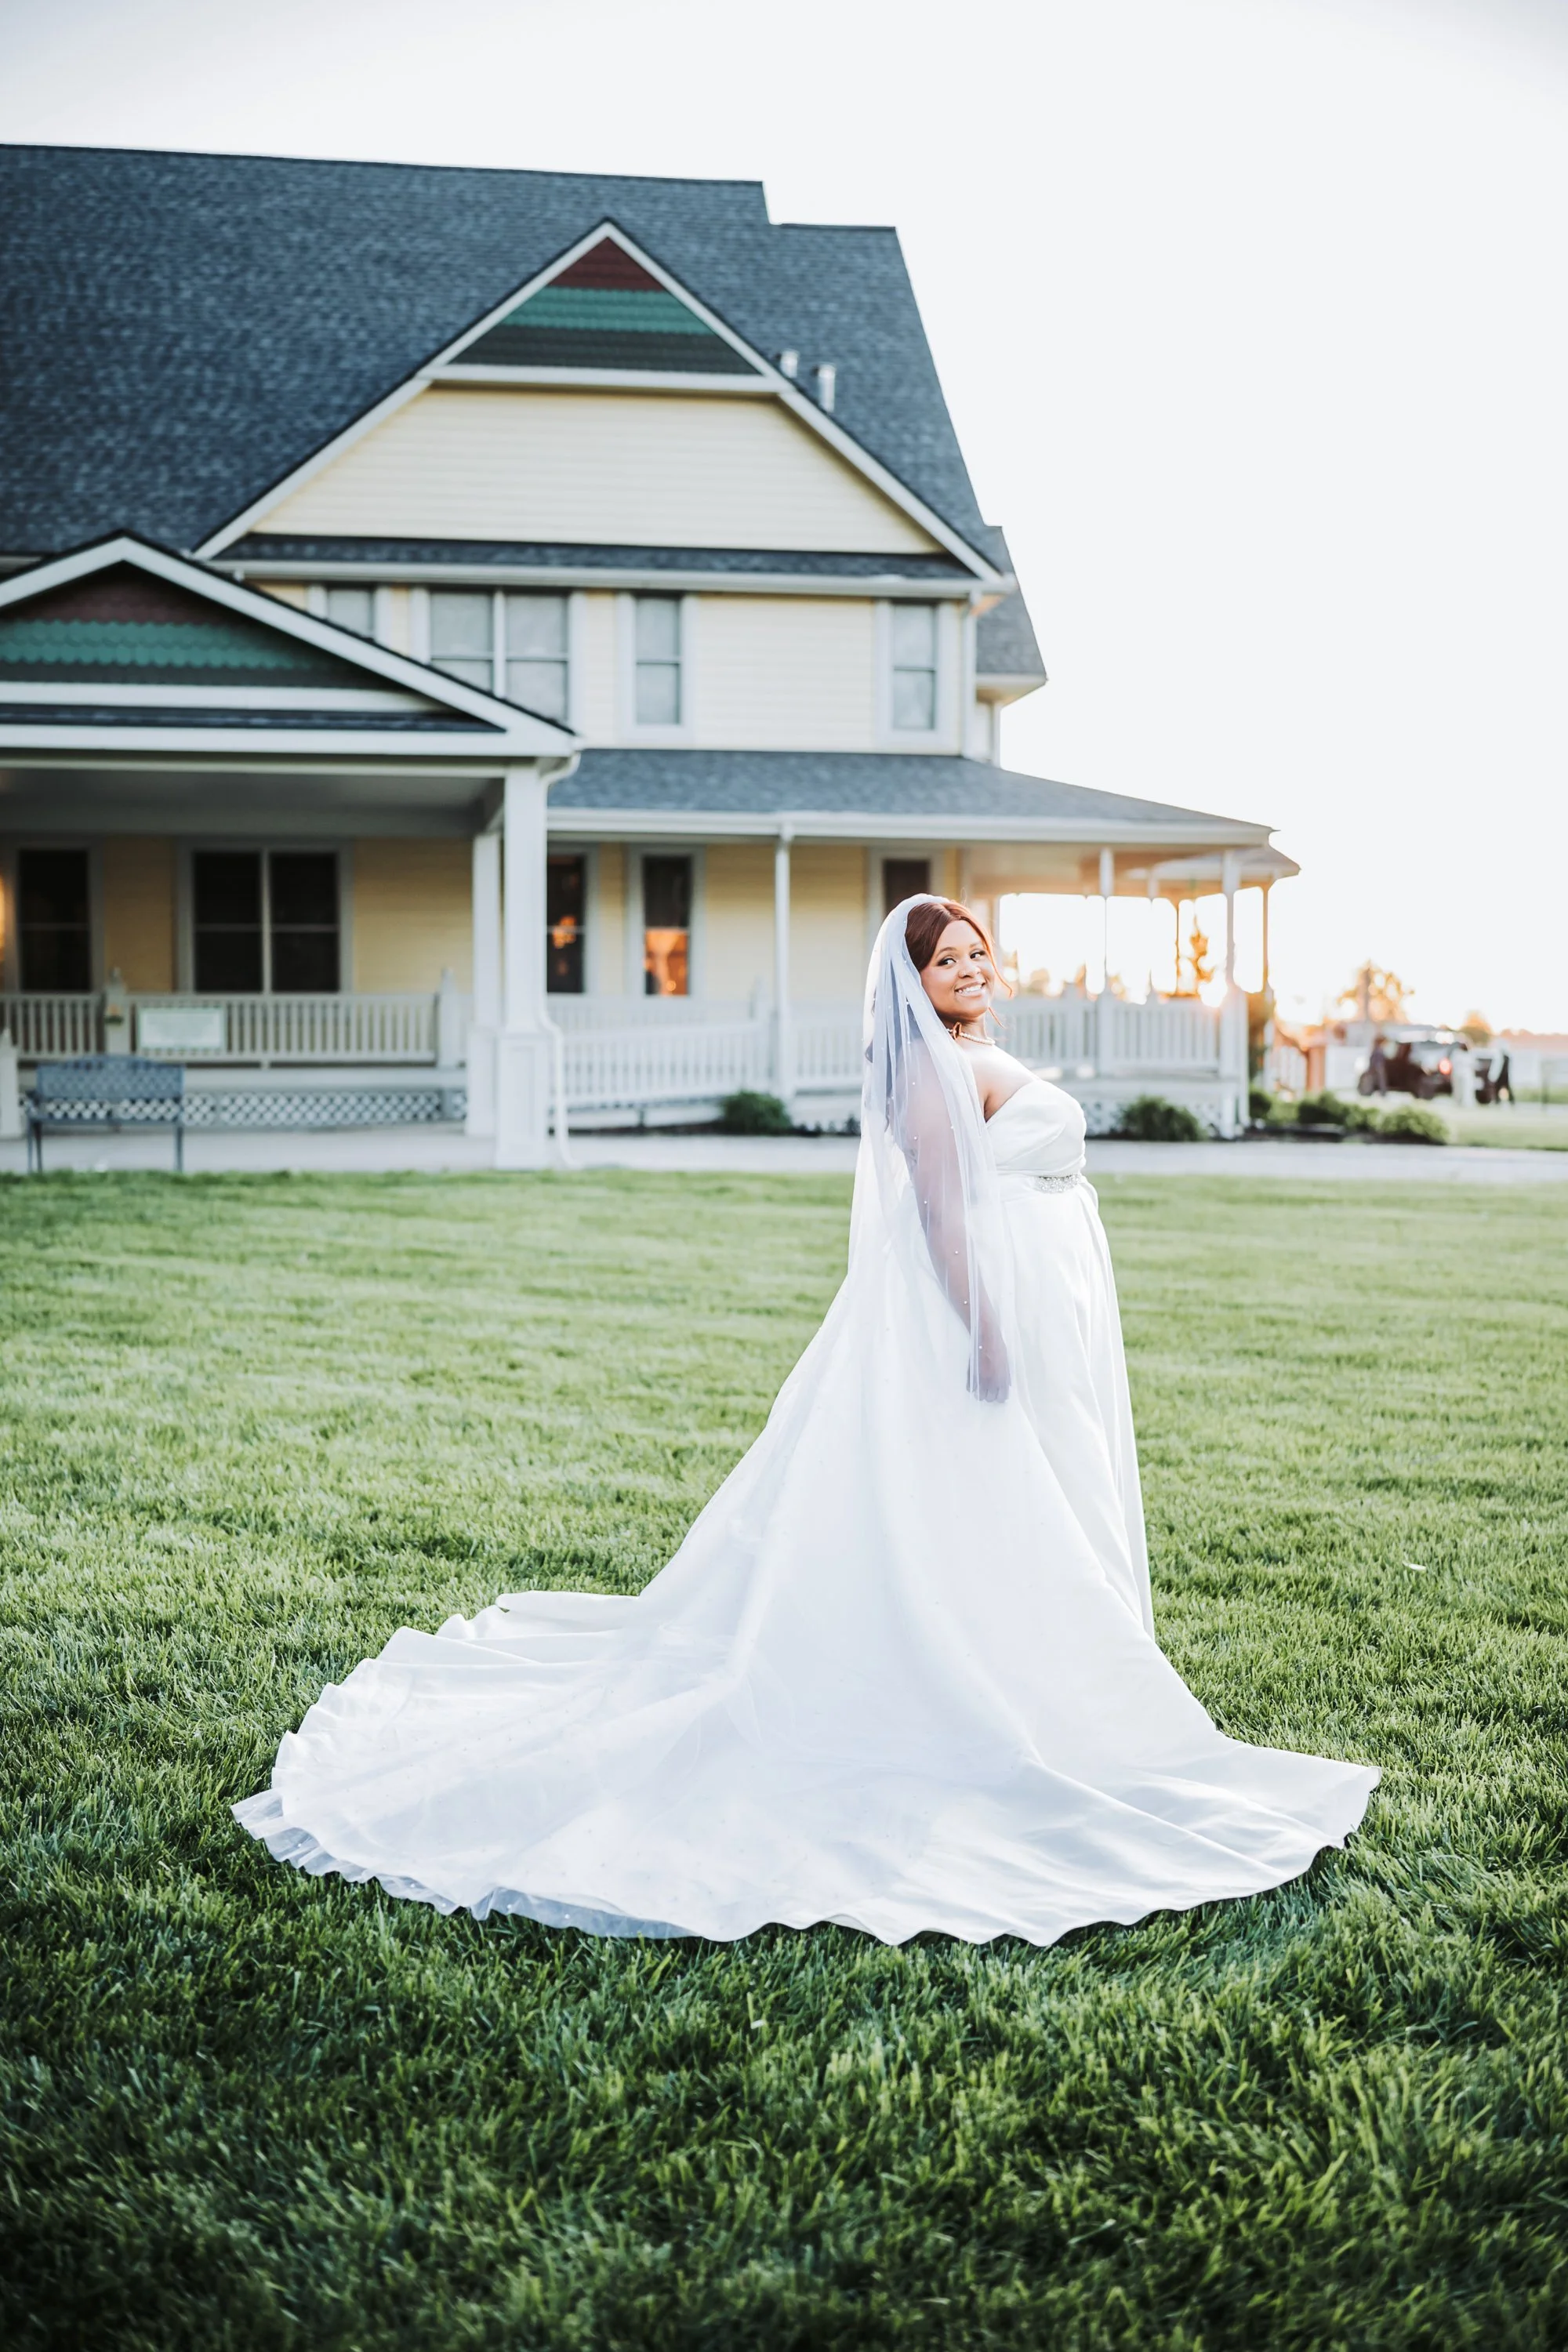
Creating separation adds depth, makes your subject stand out, and gives the image a much more professional look.
As you're choosing a location, look for backgrounds that add to the image instead of distracting from it.
Keep an eye out for:
Pretty buildings
Bridges
Interesting textures
Leading lines
Architecture
Anything that helps frame your subject
Sometimes moving your subject just a few feet can completely change the image.
Create Beautiful Background Blur
One of the easiest ways to create a more professional-looking portrait is by separating your subject from the background.
Longer focal lengths make it much easier to create beautiful background blur.
Whenever possible:
Pull your subject farther from the background.
Zoom in instead of standing close with a wide lens.
Keep your subject tack sharp while letting the background melt away.
Blurry backgrounds are prettier because they remove distractions and naturally draw your viewer's eye to the people.
Slow Down and Look
Before you press the shutter, take one final look around.
Ask yourself:
Is there anything distracting in the background?
Can I move my subject a few feet to improve the image?
Am I telling the story with enough detail shots?
Did I capture both the big picture and the little moments?
The little things are what separate a good photographer from a great one. Most clients won't know why an image feels polished, but they'll recognize the difference when they see it.
7. Technical Reminders
You can pose people perfectly and still miss the shot if your camera settings aren't where they need to be. Weddings move fast, and there are very few second chances. Make a habit of checking your settings often throughout the day, especially as the lighting changes.
Focus on Lighting
Lighting can make or break a photograph. Green color cast is bad. I don't want to fix that in editing.
If you're photographing people outside, avoid putting them where grass is reflecting green back into their faces. Whenever possible, place them on a sidewalk, gravel, dirt road, concrete, or another neutral surface.
If you can't avoid the grass, use your light.
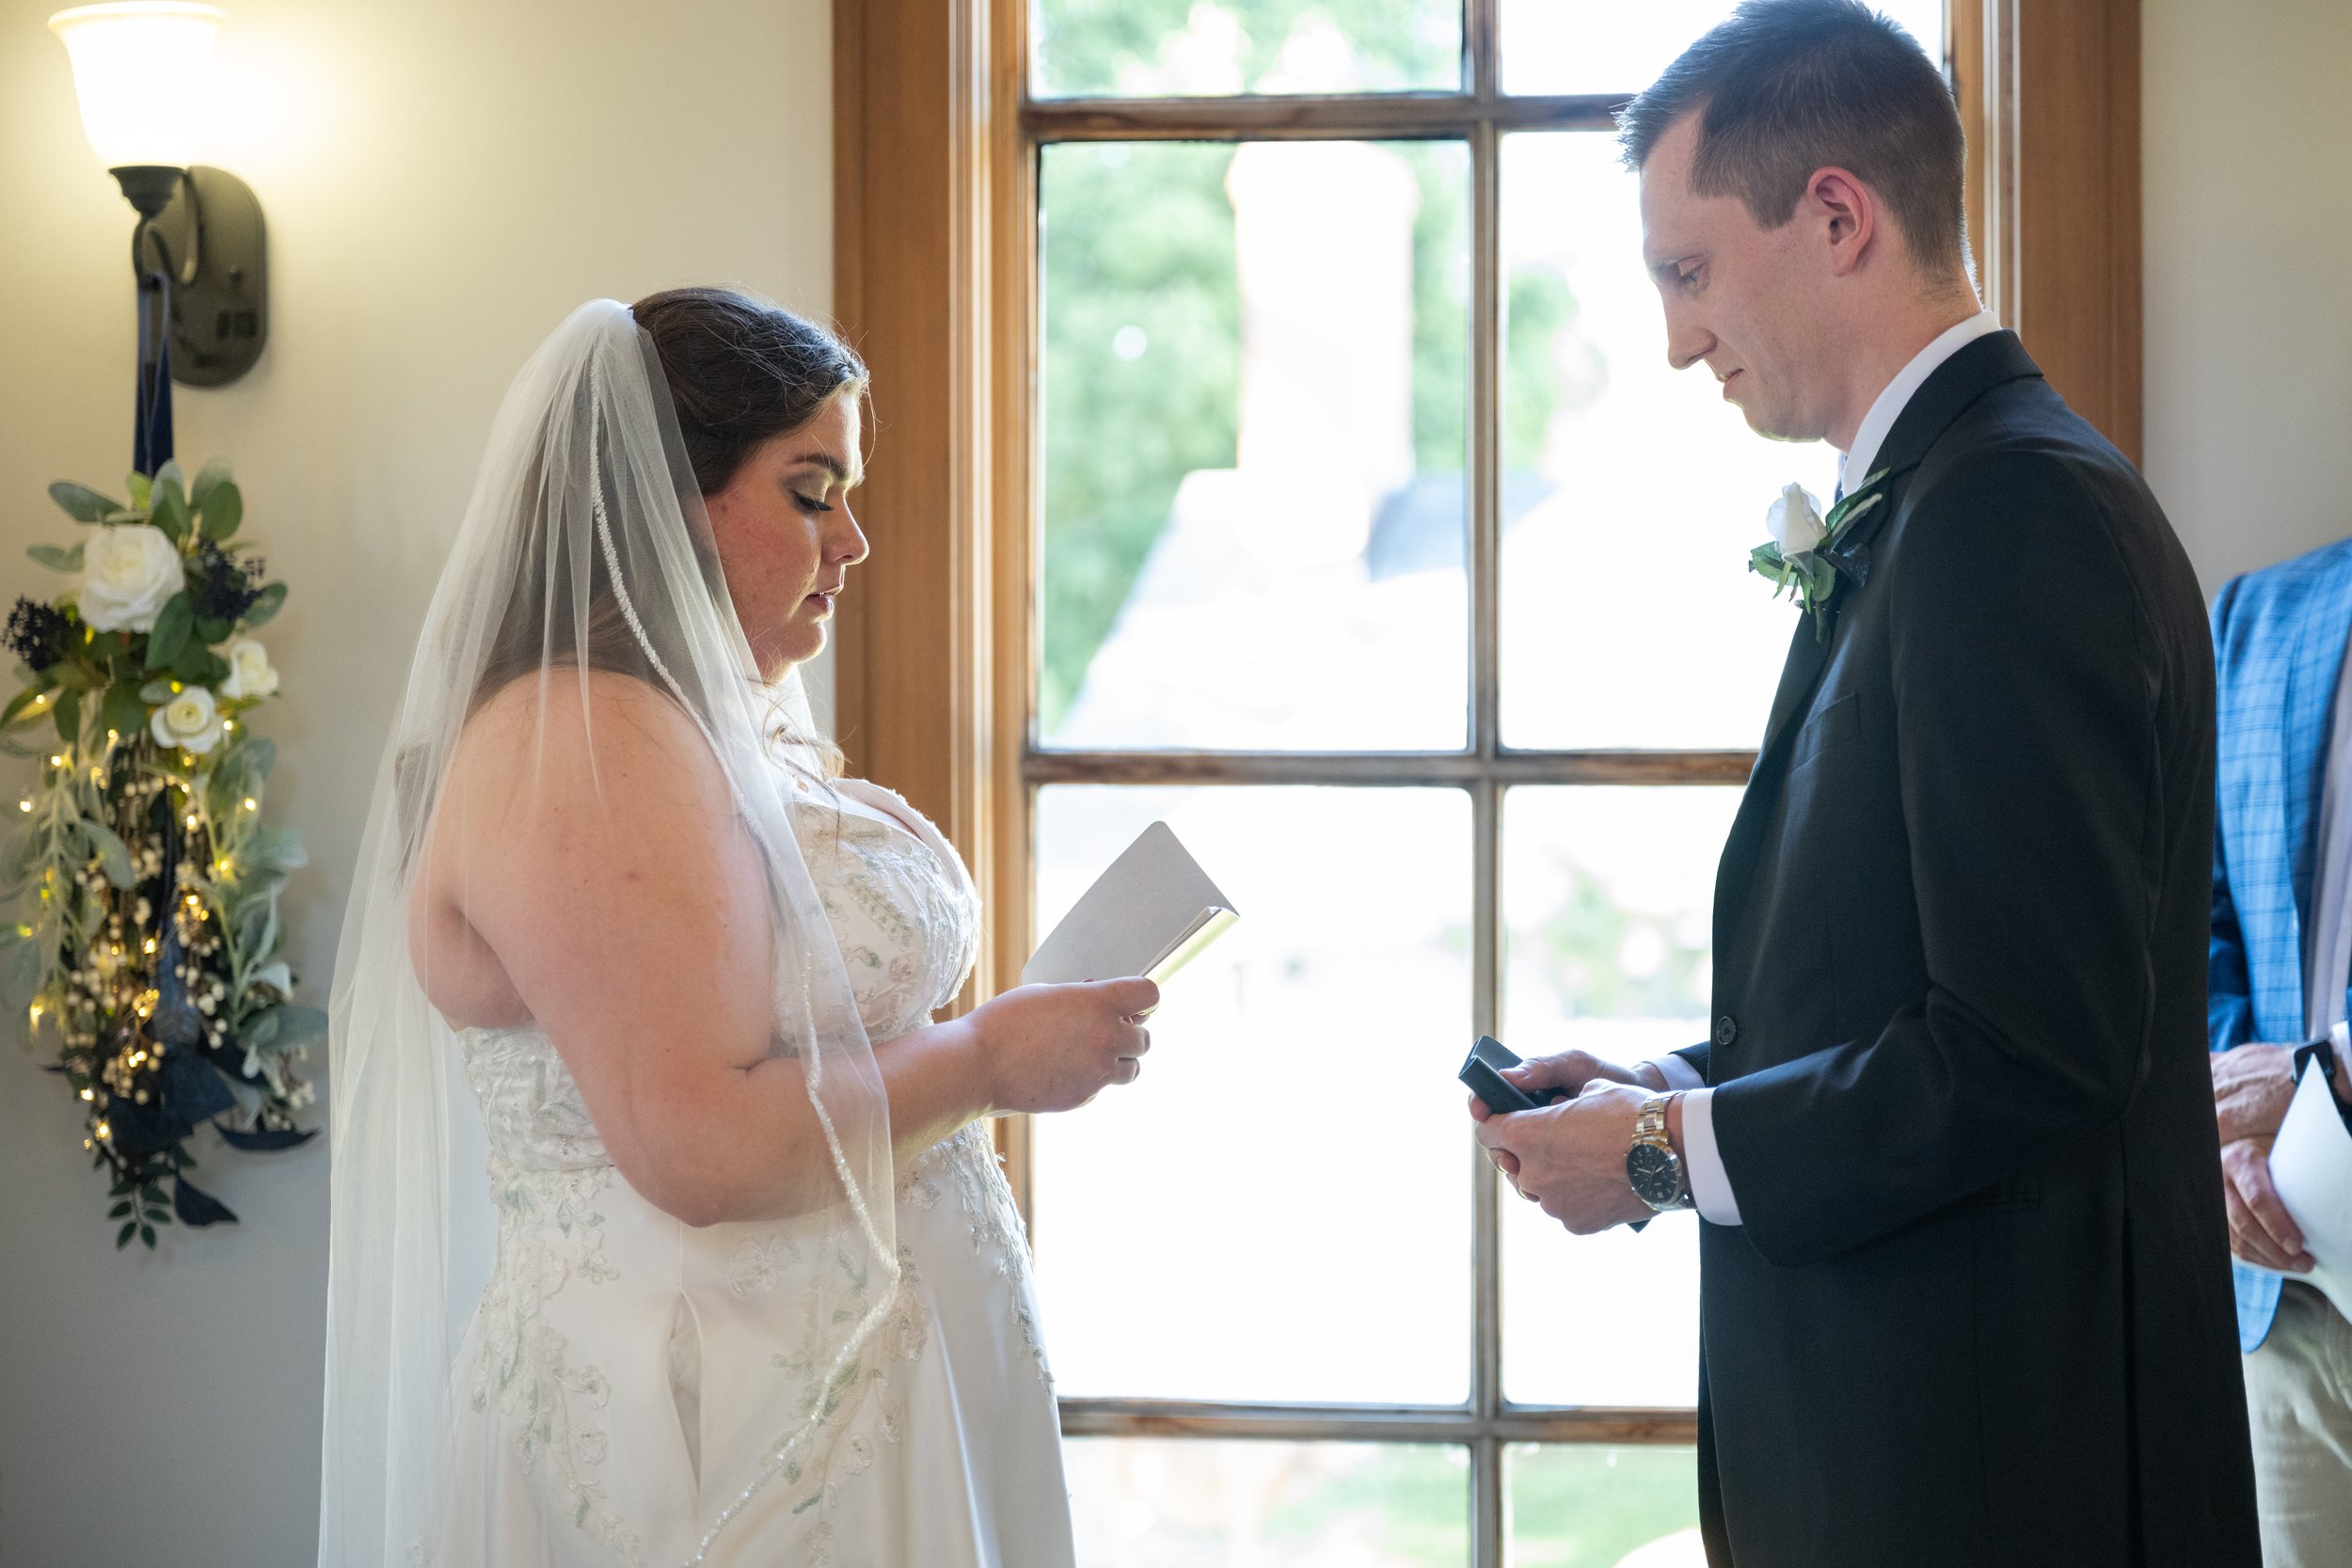
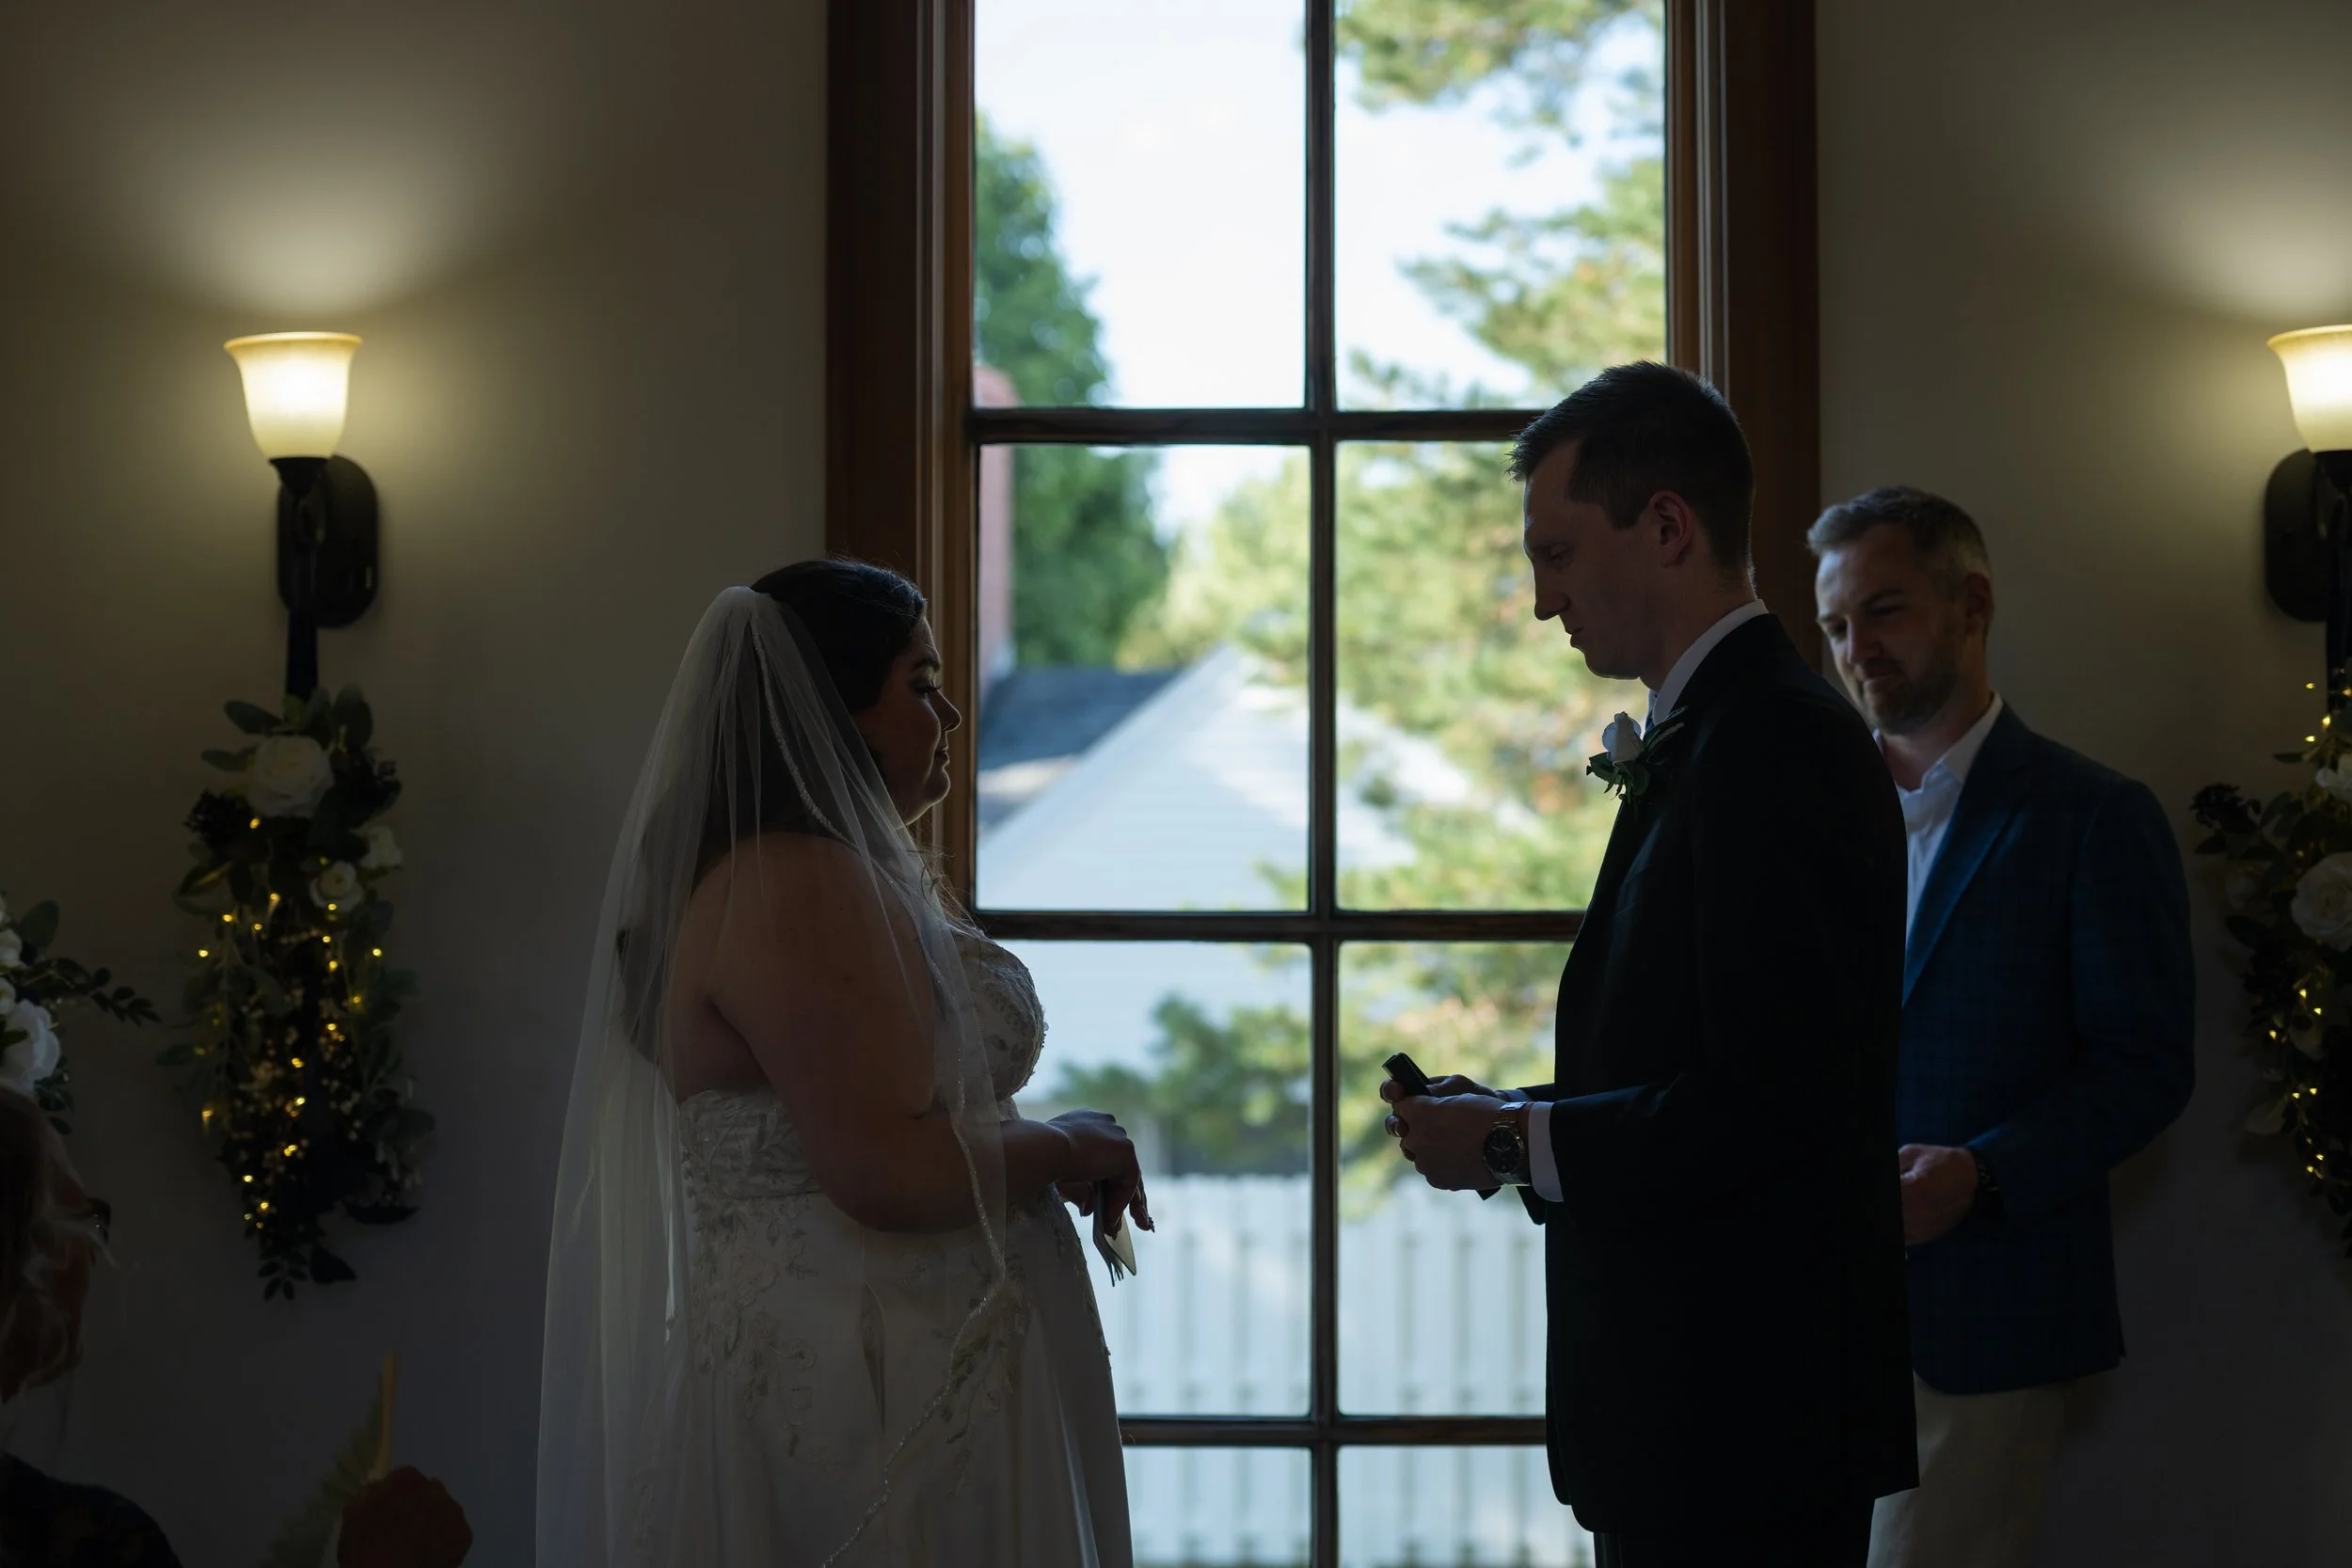
When you're indoors, use windows to your advantage. Window light creates beautiful direction and depth when used well.
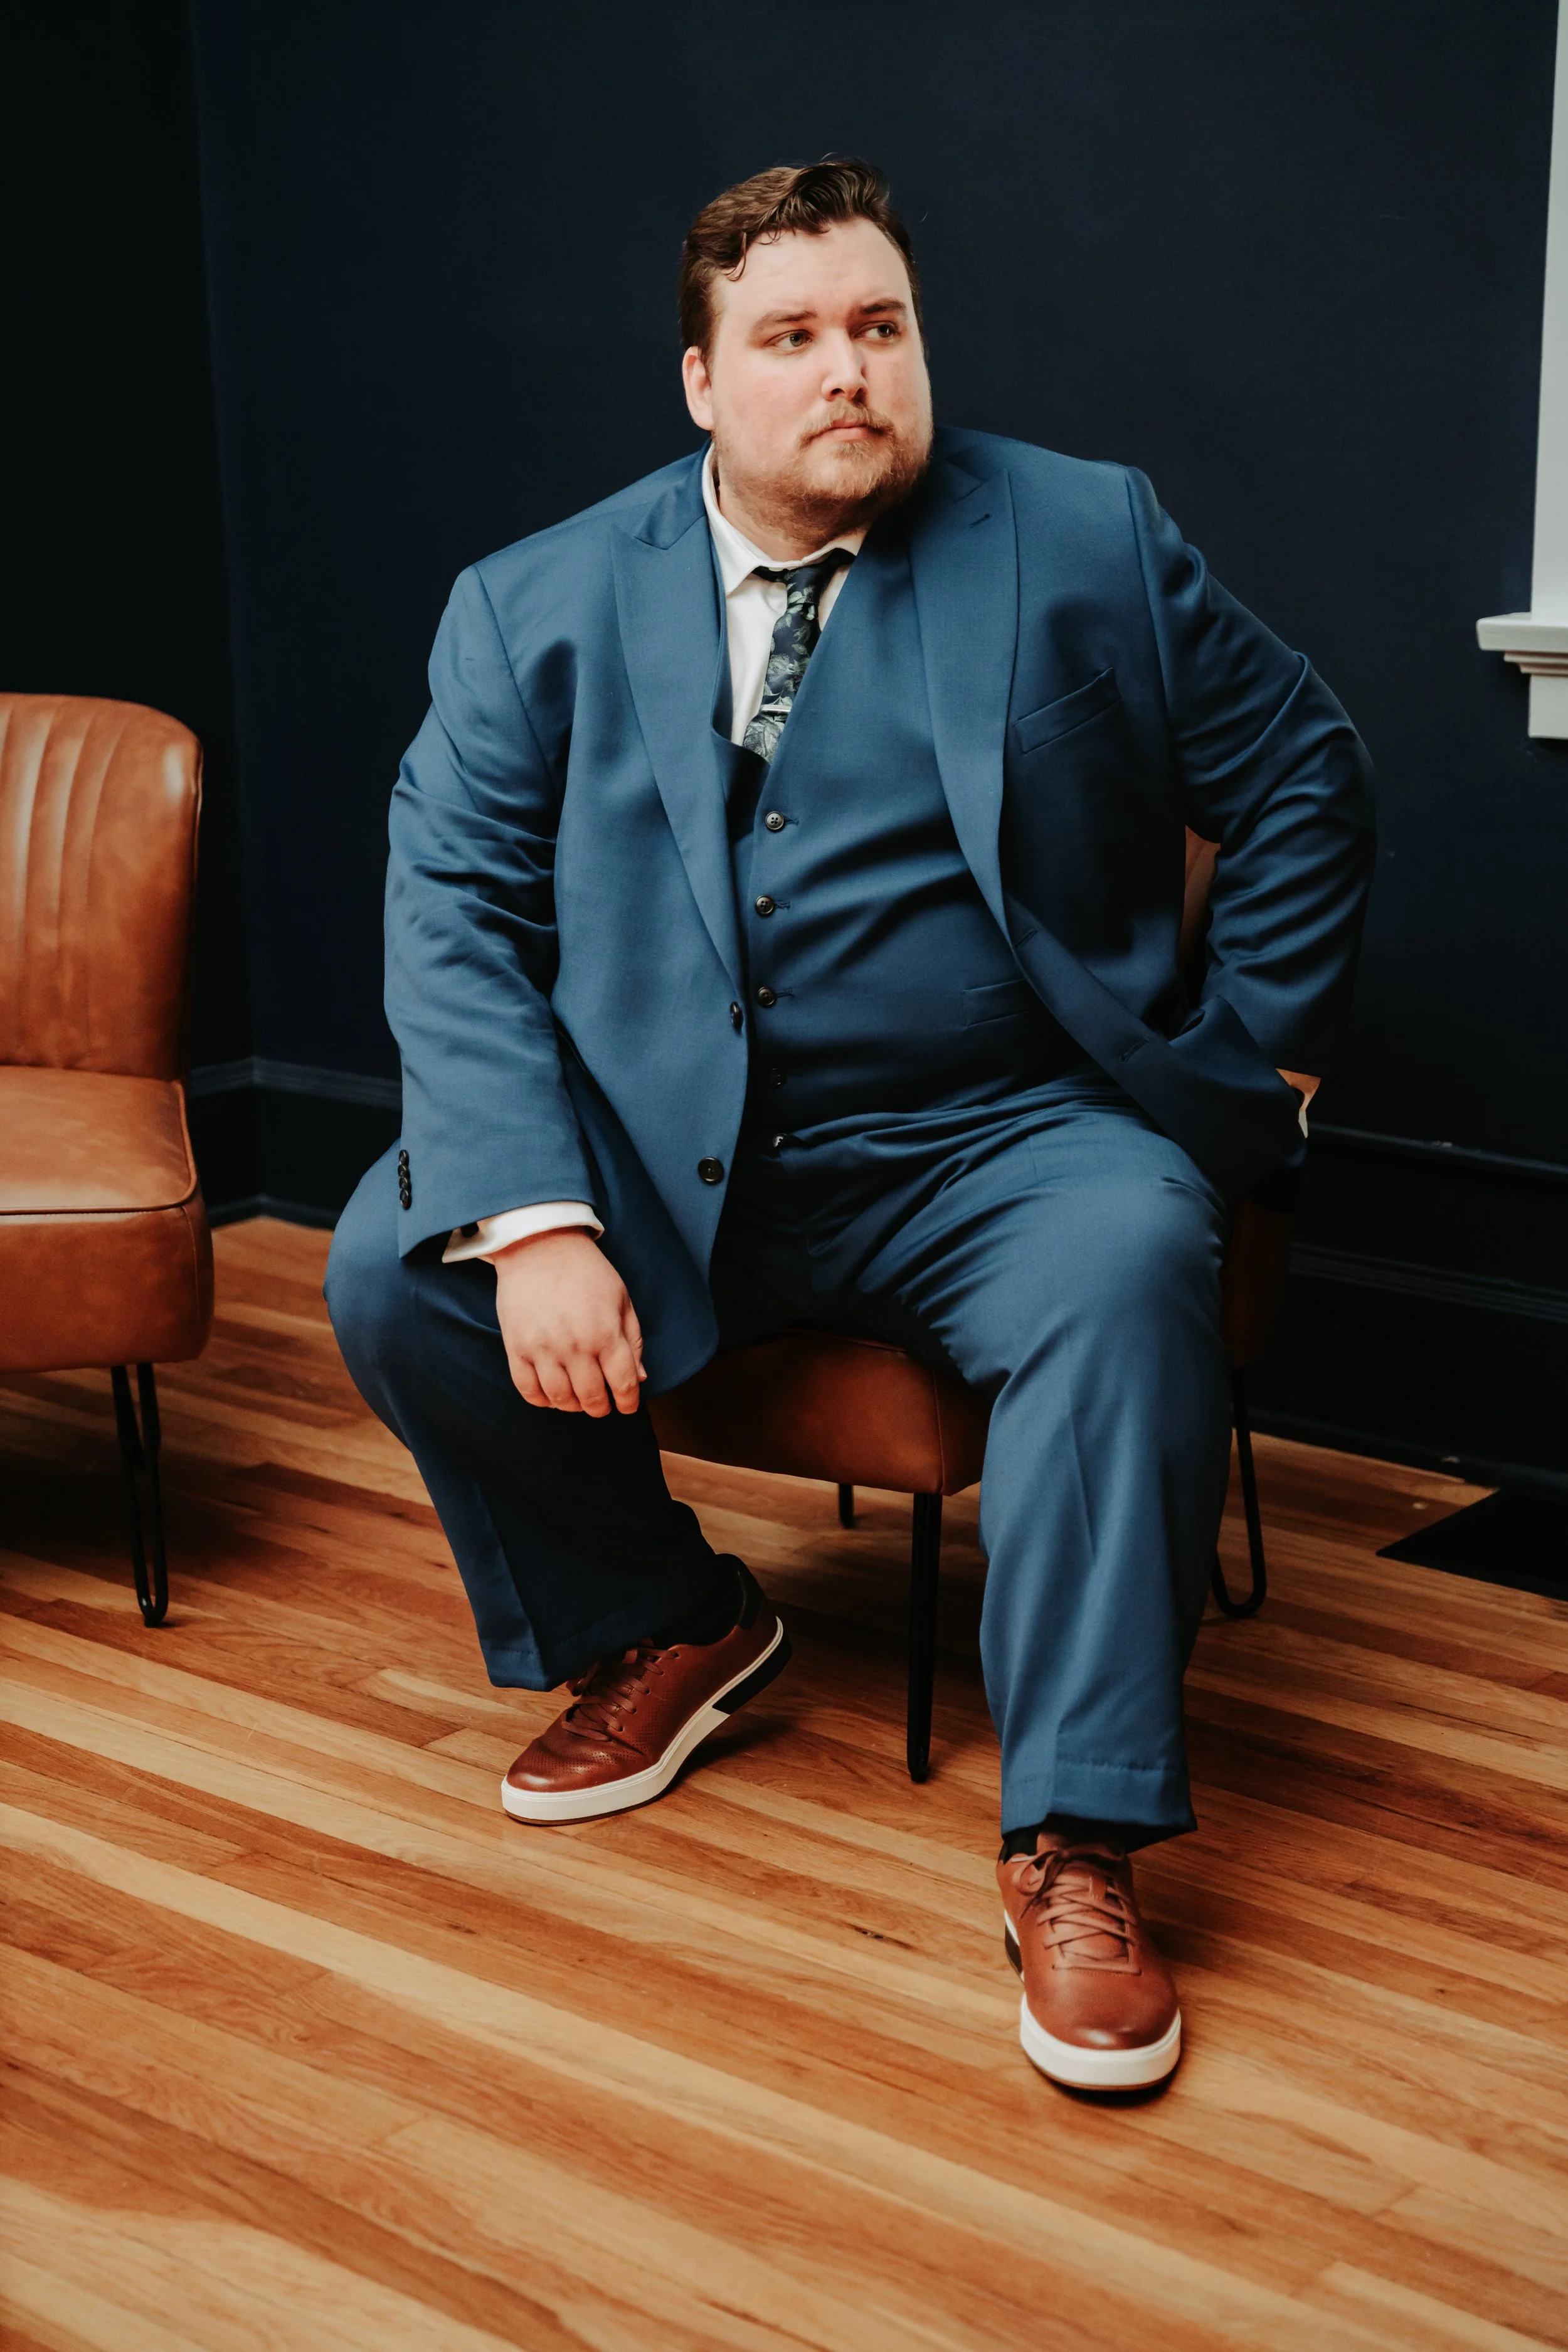
Guys' portraits usually look better with a moodier feel. Look for darker backgrounds and side lighting. If you have cool chairs, interesting architecture, windows, lamps, or other elements that add character, use them. Don't be afraid to use your environment.
Great lighting is only half the battle. Once your light is right, your camera settings need to keep up with everything happening around you.
Check Your Settings Often
Wedding days change quickly. You'll move from bright sunlight to shade... Outside to inside... Bright windows to dark reception halls...
Get into the habit of checking your settings before you start photographing each new part of the day. A quick glance at your shutter speed, ISO, aperture, and white balance can save hundreds of images from unnecessary problems.
Don't assume your camera settings are still correct just because they were correct five minutes ago.
Weddings Are Full of Movement
One of the biggest technical mistakes I see is using a shutter speed that's too slow.
Weddings are full of movement. People are walking, hugging, laughing, dancing, spinning, and celebrating. Those moments happen in an instant, and if your shutter speed isn't fast enough, you'll end up with blurry images that simply can't be fixed in editing.
If I have to choose between a little extra noise from a higher ISO or a blurry image, I'll choose the higher ISO every single time. Noise can usually be reduced. Motion blur cannot.
Fresh Feature Standard
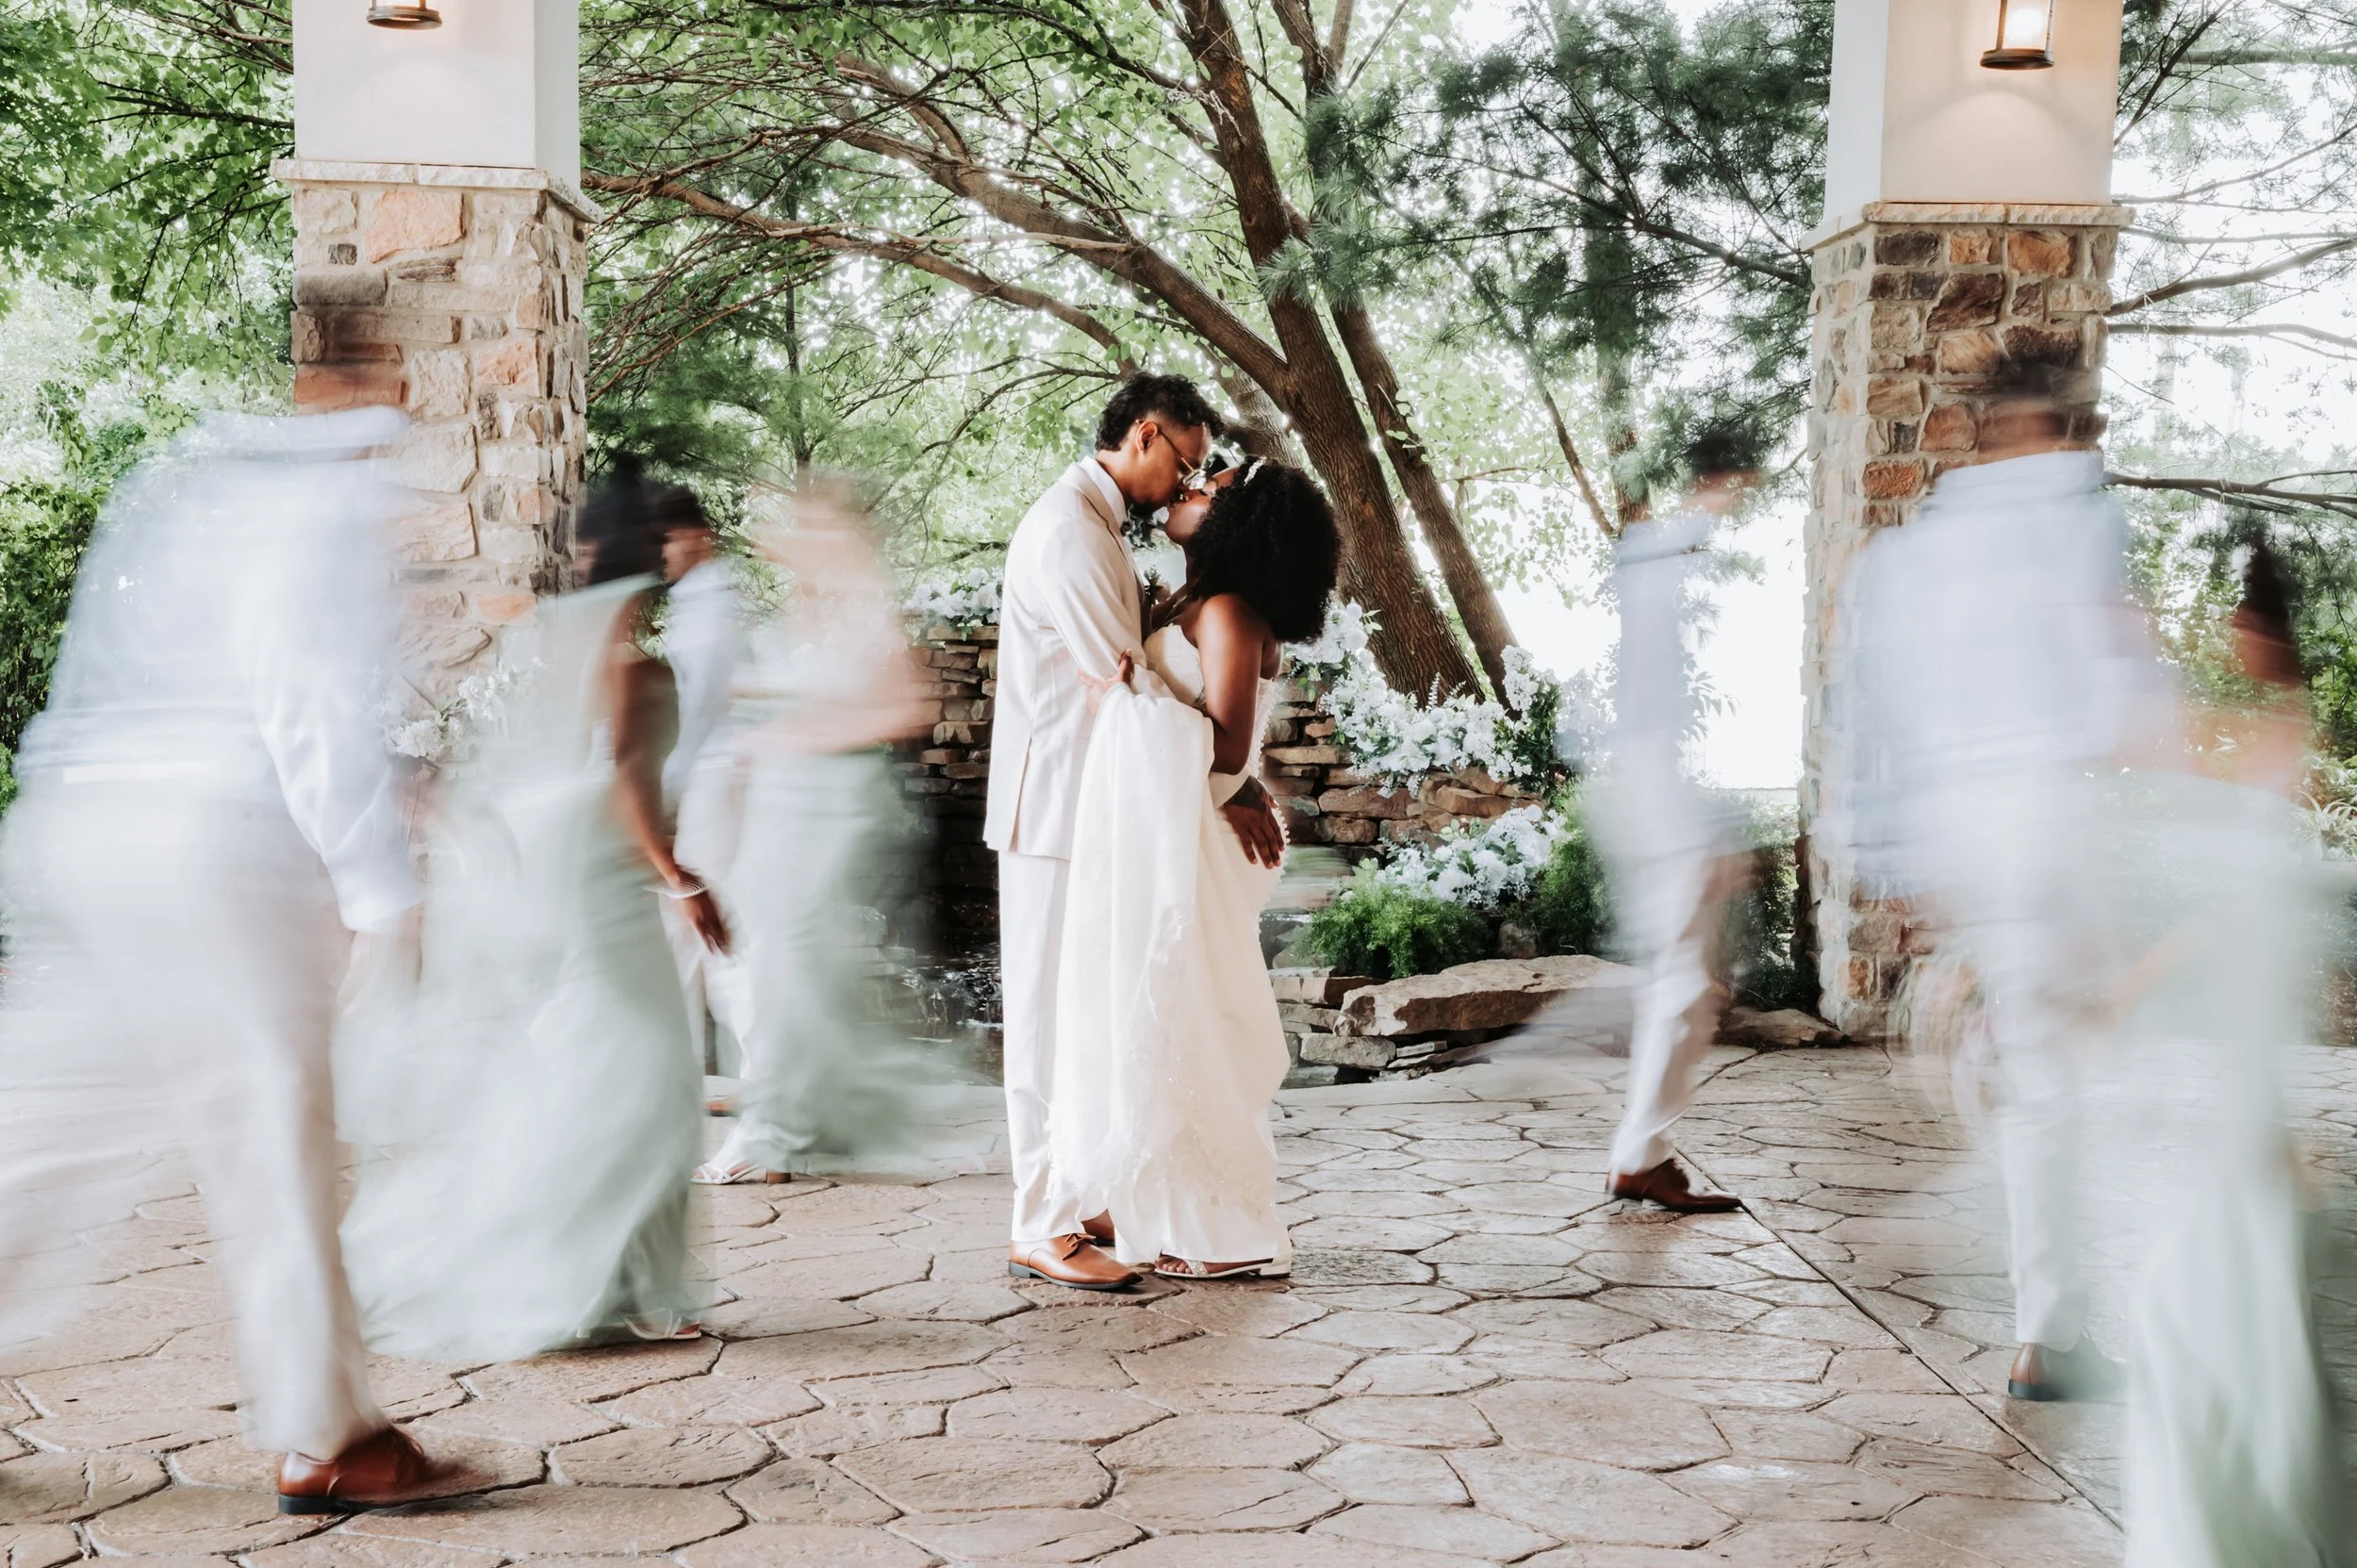
When photographing people who are moving during a wedding, keep your shutter speed at 1/320 or faster whenever possible. Unless intentionally creating an art piece.
In my experience, 1/250 is pushing it and can easily result in soft images during fast-moving moments. If your shutter speed starts dropping, raise your ISO before sacrificing sharpness.
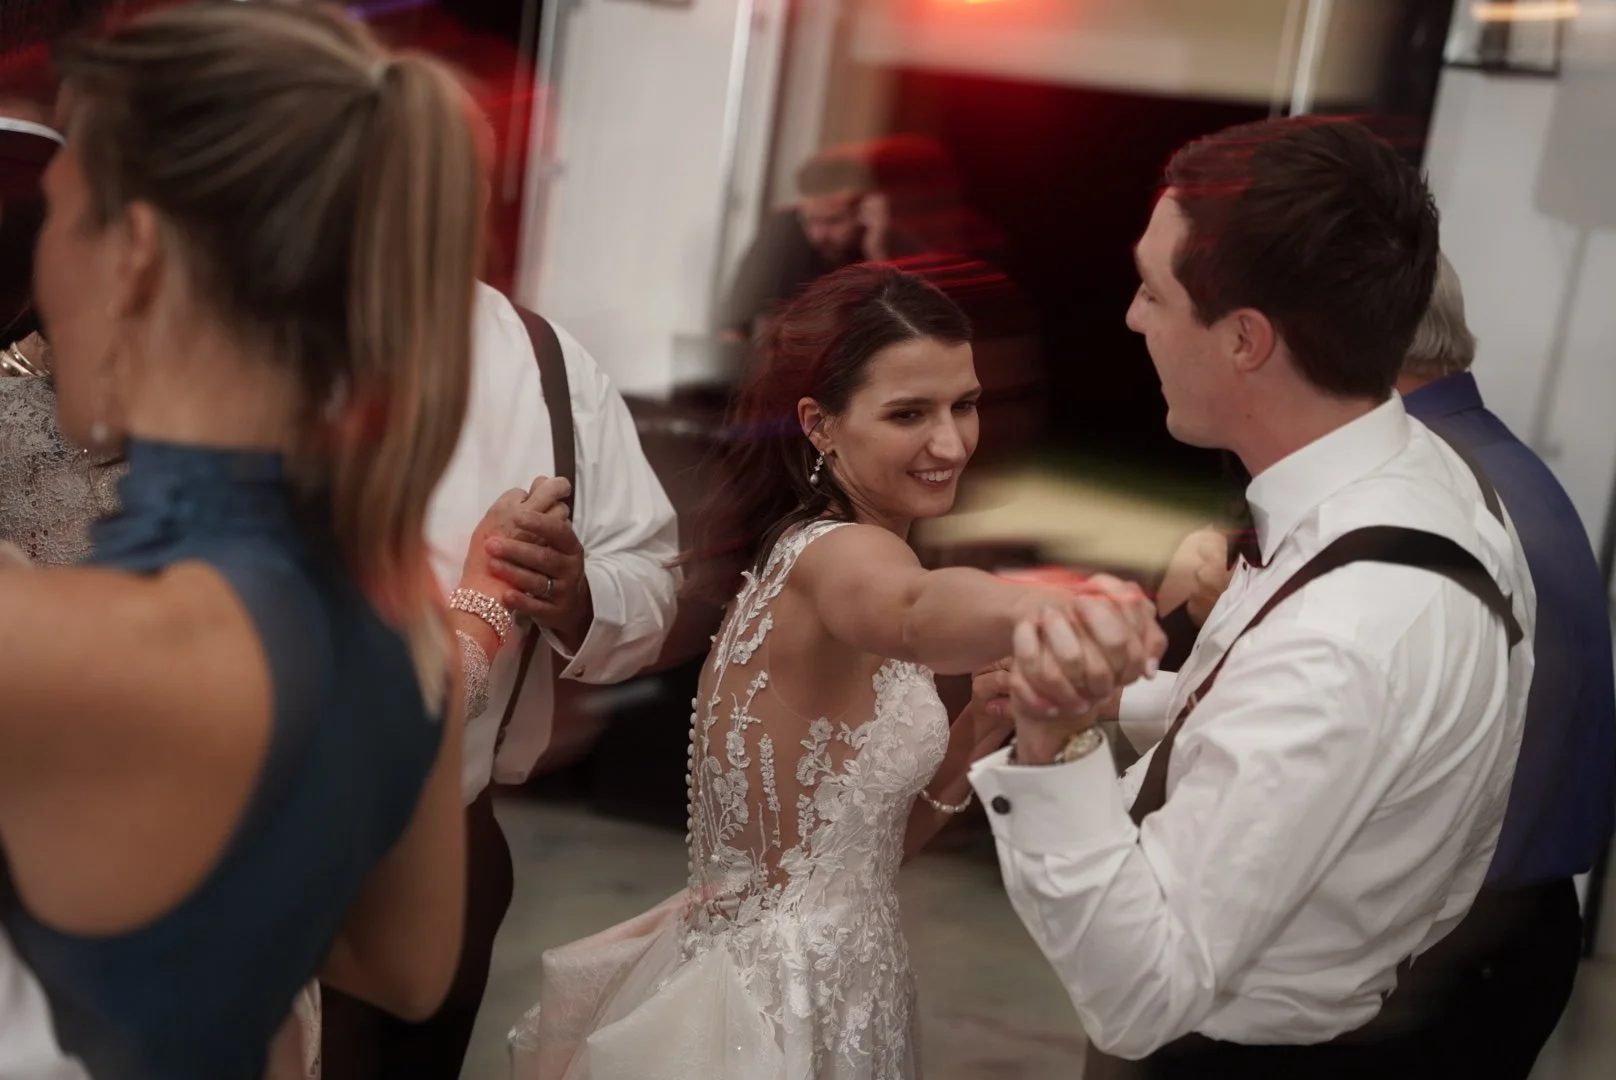
That doesn't mean every image has to be perfectly frozen. I love intentional motion blur when it's used creatively. The key word is intentional. If a photo is blurry because you wanted to tell a story or emphasize movement, that's art. If it's blurry because your shutter speed was too slow, that's a missed opportunity.
Every setting on your camera should be a choice, not an accident.
Final Thoughts
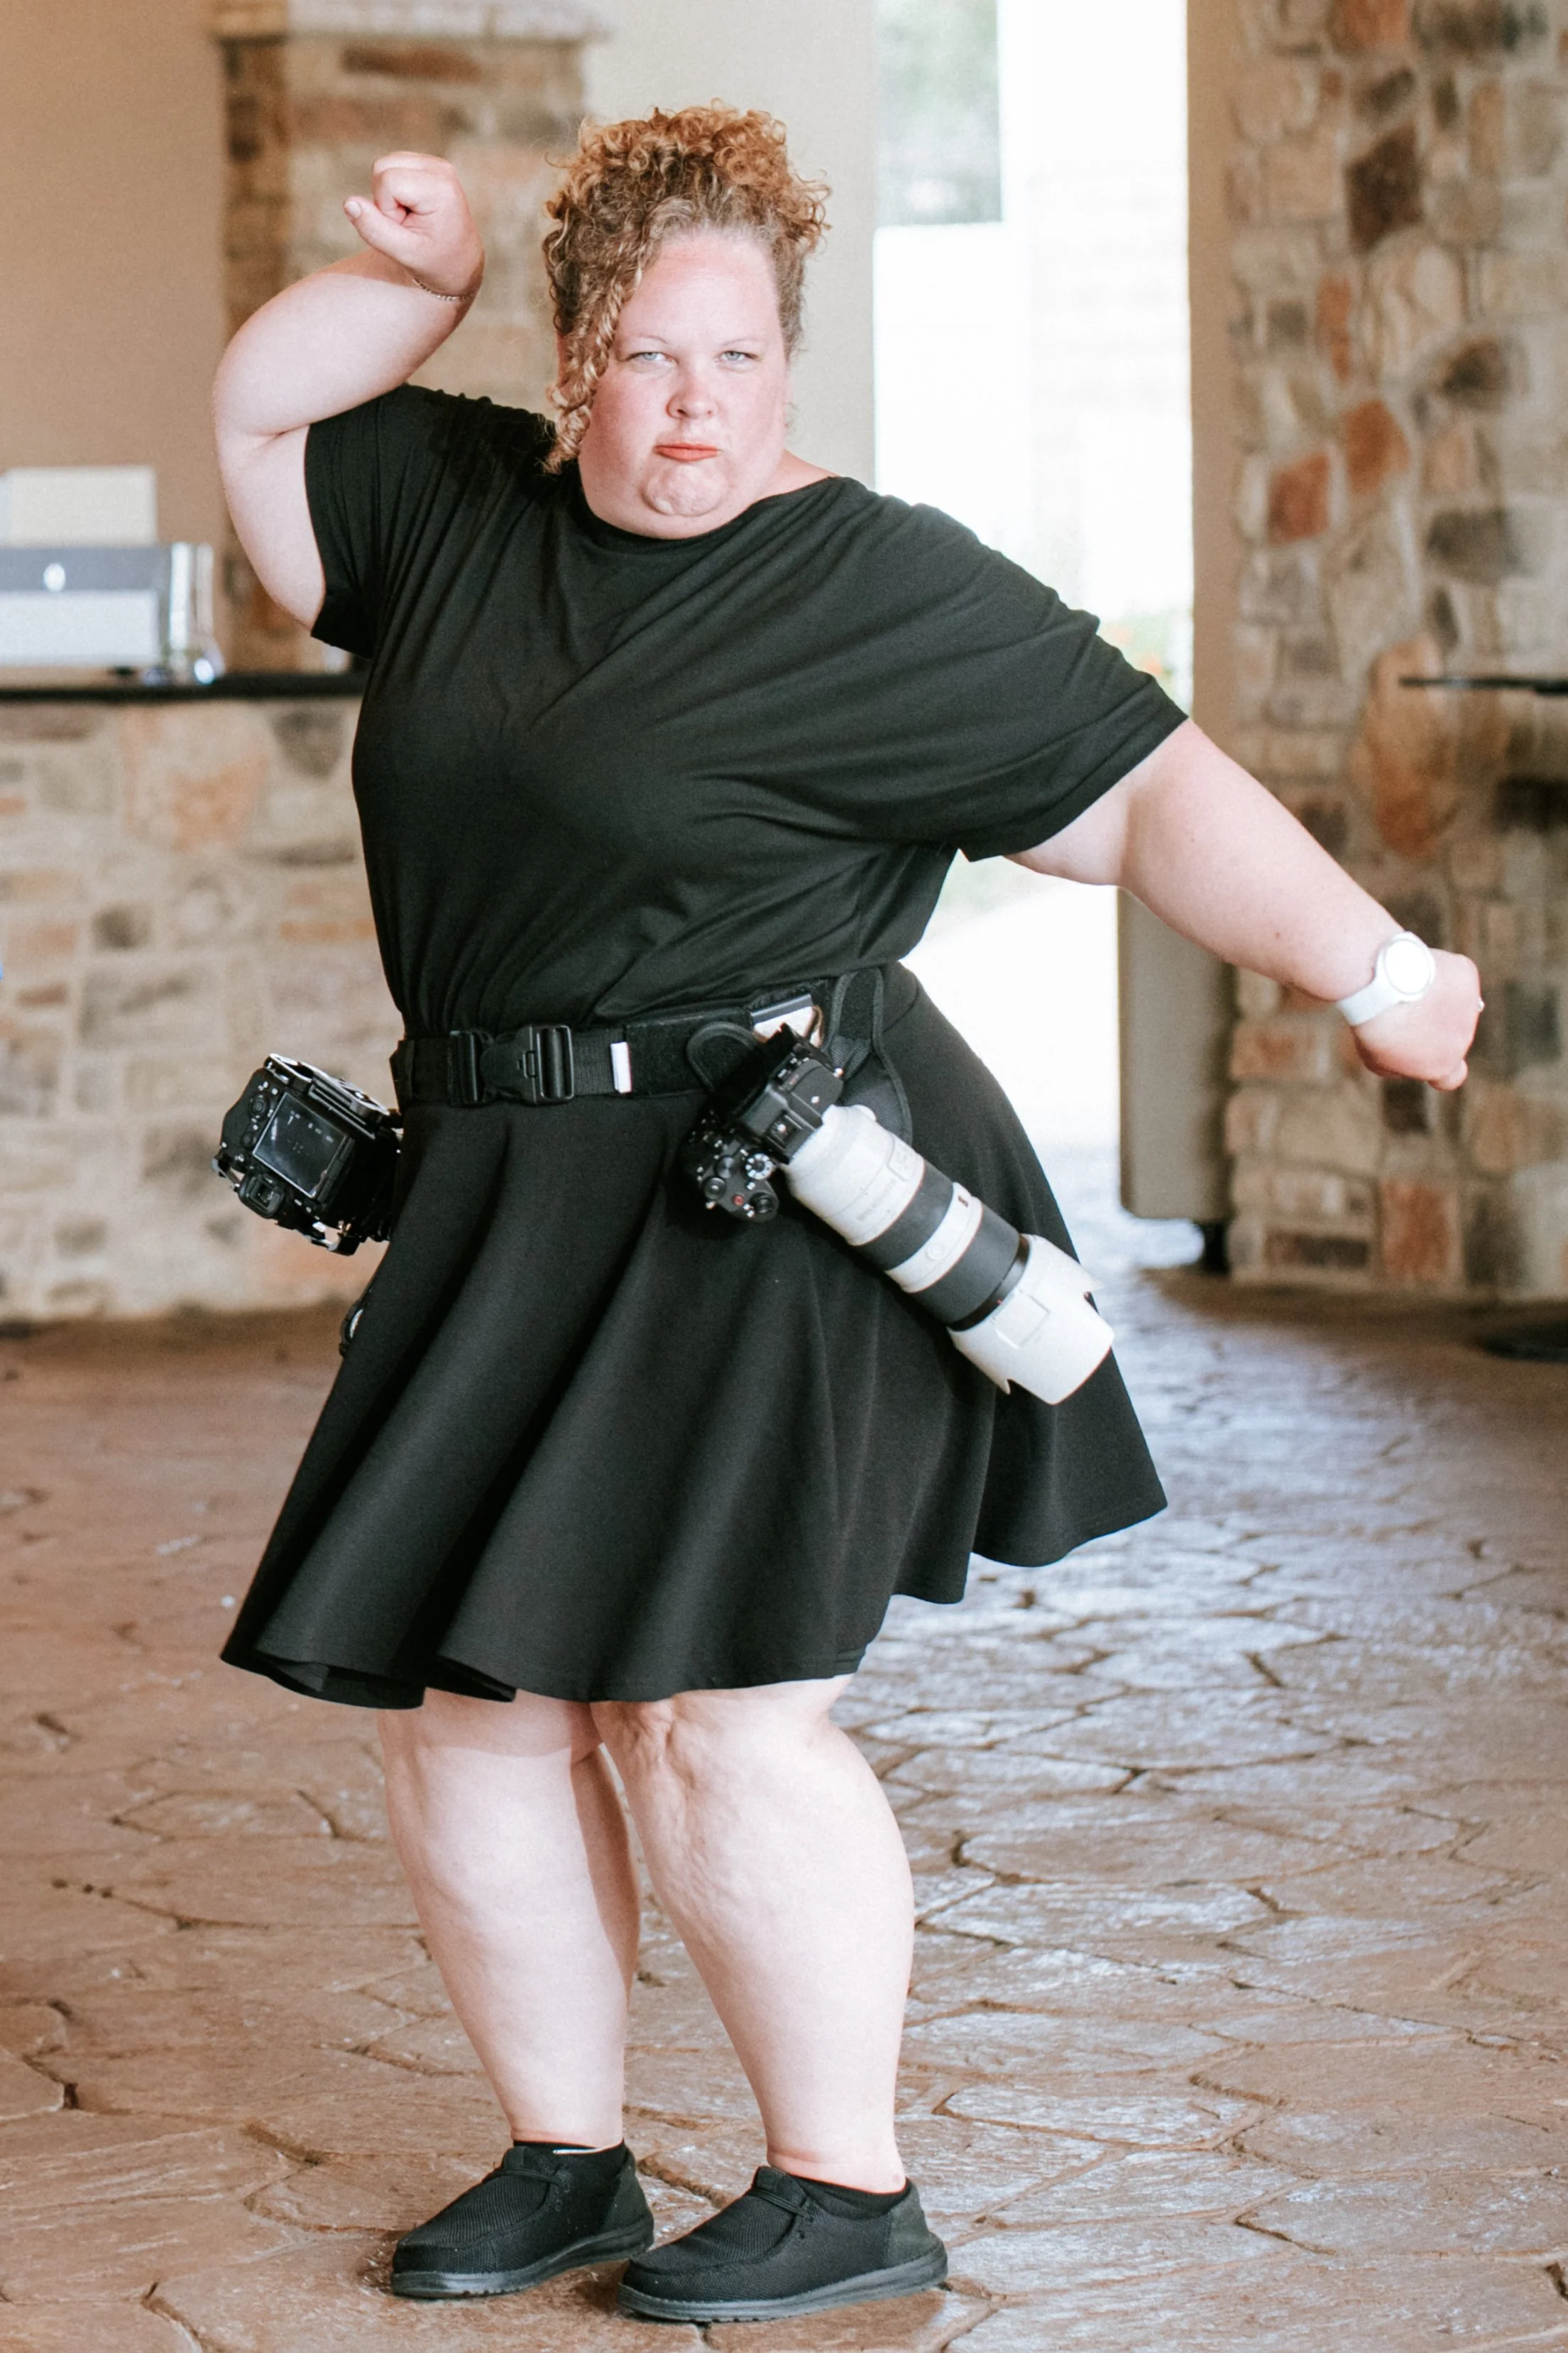
Hi There!Thank you for taking the time to read through this guide. I know it's a lot of information, and I truly appreciate your willingness to learn and grow.
I don't expect anyone to remember every single tip the first time they read this. The goal isn't perfection. The goal is to build good habits. Every wedding you photograph will teach you something new, and I hope this guide helps shorten that learning curve.
When you're photographing for Fresh Feature, I ask that you follow these guidelines so every client receives the consistent experience and quality they've come to expect from our brand. Our couples trust us with one of the biggest days of their lives, and I never take that responsibility lightly. Every photographer on our team plays a part in protecting that trust.
Outside of Fresh Feature, I encourage you to experiment, push yourself creatively, and continue developing your own style. Some of my favorite techniques have come from photographers who weren't afraid to try something new. I never want you to lose what makes your work unique. In fact, I hope you continue learning, growing, and becoming a better photographer with every wedding you shoot.
Most of all, thank you for being part of the Fresh Feature team. It means a lot that you've chosen to be here, and I'm genuinely excited to have you beside me. There's something special about working alongside people who care deeply about serving others, paying attention to the little details, and creating images that families will treasure for generations.
I believe the best teams are built on trust, encouragement, and a shared desire to keep learning. I hope this guide gives you a strong foundation, and I can't wait to watch your confidence grow as we photograph weddings together.
Let's create something our couples will never forget.